
 Pin this
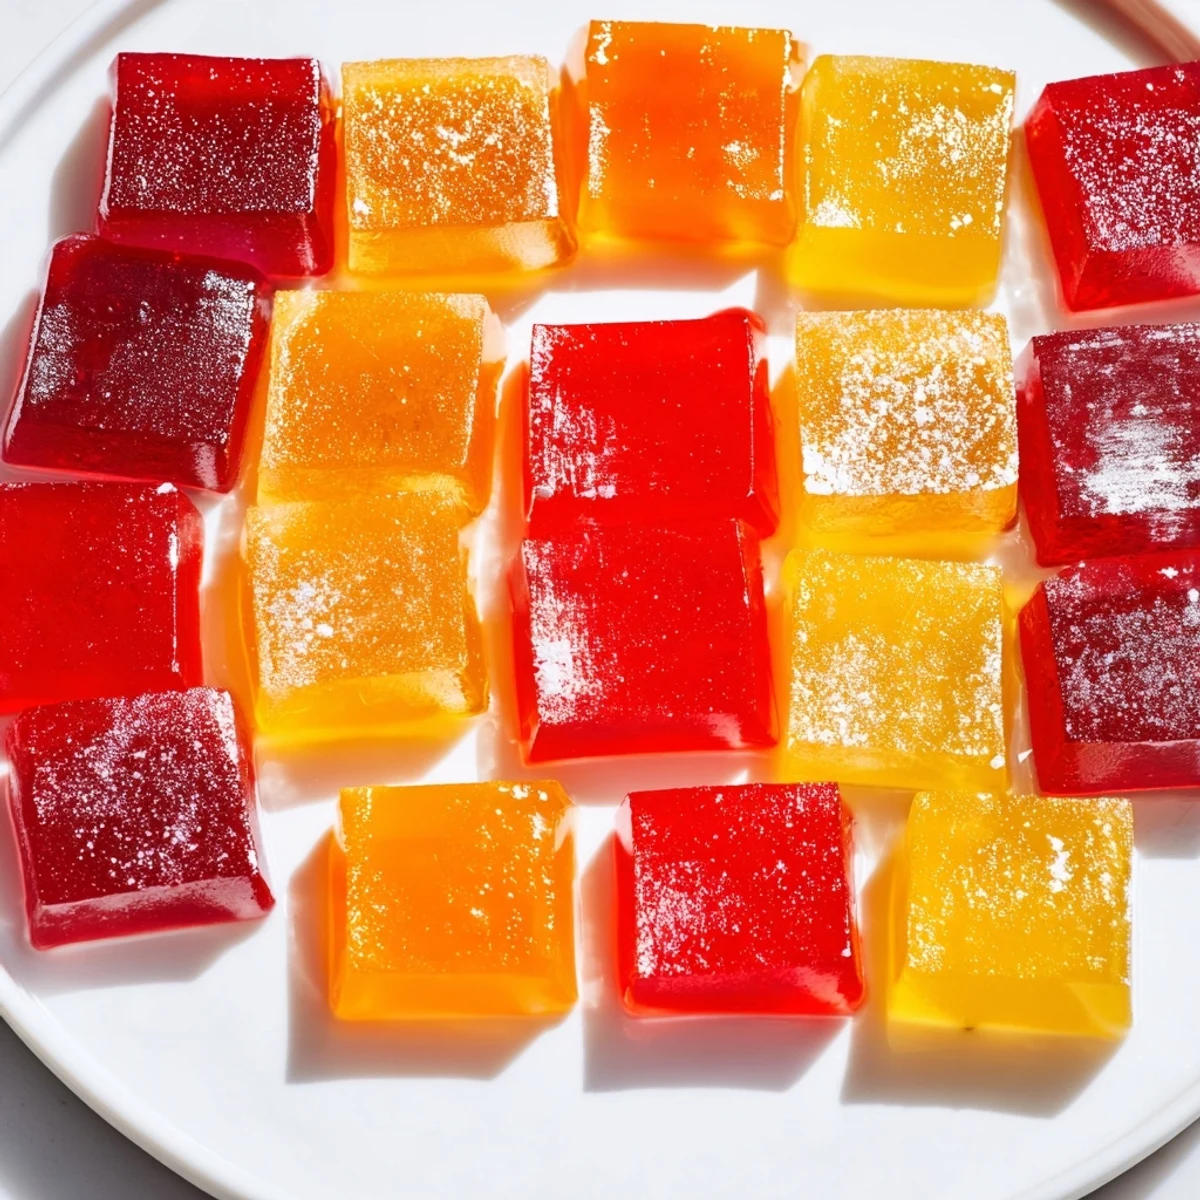
 These homemade fruit jellies combine the natural sweetness of real fruit juice with the added benefits of grass-fed collagen peptides. Gently set with unflavored gelatin, they deliver a delightfully chewy texture without any artificial ingredients.
Ready in just 20 minutes of active preparation plus chilling time, they're a simple yet satisfying treat the whole family can enjoy. Each bite-sized piece is naturally gluten-free, dairy-free, and low in sugar, making them an ideal wholesome snack.
My kitchen counter was a sticky disaster zone the afternoon I discovered these little gems, with three different juice stains mapping my experimentation across the cutting board. What started as a desperate attempt to make collagen supplements feel less like a chore turned into the snack my entire family fights over. These fruit jellies are proof that healthy treats do not have to taste like sacrifice.
My neighbor Lisa stopped by unannounced one afternoon and caught me pulling a batch of these out of the fridge, and she looked genuinely skeptical when I said they were healthy. Twenty minutes later she had eaten six of them standing in my kitchen and was asking for the recipe. Now we trade flavors over the fence, her mango batches against my blackberry ones.
Ingredients
- 1 cup 100% fruit juice: Orange, mixed berries, or apple all work beautifully, but read the label and avoid anything with added sugar or artificial flavors because that will throw off both taste and texture.
- 2 to 3 tablespoons honey or maple syrup: Optional depending on the natural sweetness of your juice, so taste your juice first and decide.
- 2 tablespoons grass-fed collagen peptides: This is the quiet hero of the recipe, dissolving invisibly while adding protein and that skin-loving boost everyone wants.
- 3 tablespoons unflavored gelatin powder: The structural backbone that gives these their signature bounce, so do not skimp or substitute unless you are using agar-agar for a vegan version.
Instructions
- Bloom the gelatin:
- Pour your fruit juice into a small saucepan and sprinkle the gelatin evenly across the surface, then resist the urge to stir and just let it sit for 2 to 3 minutes until it looks wrinkly and absorbed.
- Gentle heat:
- Set the pan over low heat and stir constantly with a whisk until the gelatin dissolves completely and the liquid looks smooth and glossy, but never let it boil because high heat will weaken the set.
- Add the good stuff:
- Take the pan off the heat and whisk in the collagen peptides and your chosen sweetener until everything is fully incorporated and the mixture looks uniform.
- Pour and chill:
- Transfer the liquid into silicone molds or a small baking dish lined with parchment paper, then place in the refrigerator for at least 2 hours until completely firm to the touch.
- Unmold and enjoy:
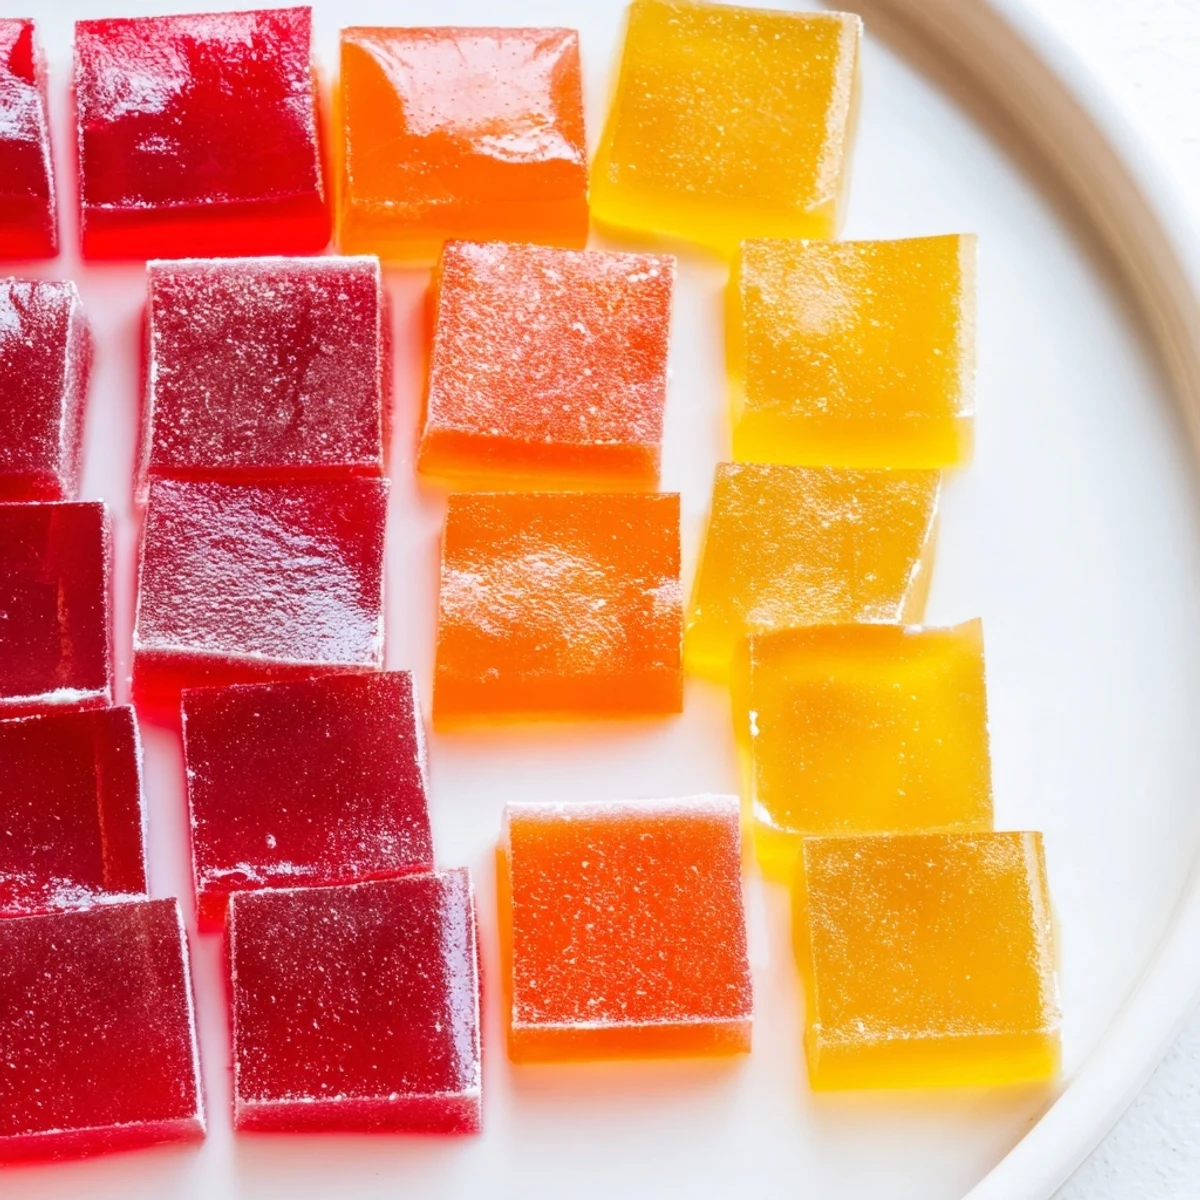
- Pop the jellies out of their molds or cut the sheet into bite-sized squares with a paring knife, dusting lightly with cornstarch if you plan to stack them so they do not stick together.
 Pin this
 The moment these went from a quirky health experiment to something I genuinely craved was when I rolled them in a little coconut sugar and served them alongside afternoon tea for friends. Nobody believed me when I said they were homemade, let alone nutritious.
Choosing Your Juice
Not all juices behave the same way in this recipe, and I learned that the hard way with a watery grape juice batch that refused to set firmly. Tart juices like cranberry or pomegranate create a more sophisticated flavor, while sweeter options like mango nectar produce something closer to a traditional gummy. Cloudy juices with some pulp add a rustic charm, but clear juices give you that jewel-like translucency that looks stunning on a plate.
Storing Them Right
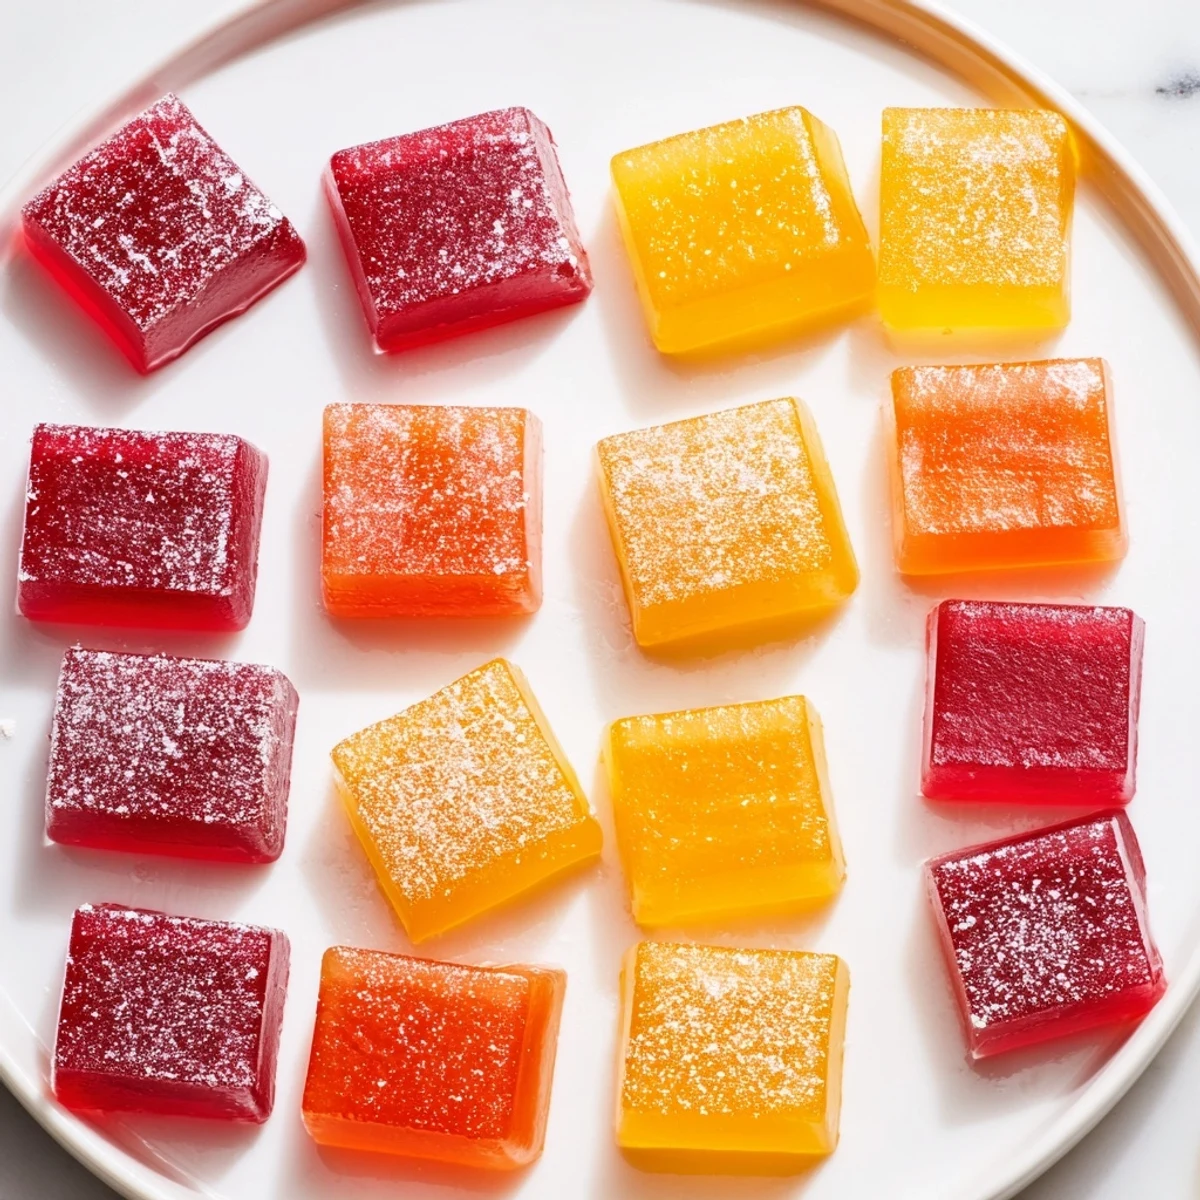
These jellies will keep beautifully in an airtight container in the refrigerator for up to one week, though in my house they rarely survive three days. If you stack them without a dusting of cornstarch between layers, they will fuse into one giant jelly mass that is still delicious but far less photogenic.
Flavor Variations Worth Trying
Once you master the basic technique, the possibilities open up in genuinely exciting ways. A teaspoon of lemon juice or zest transforms a simple orange batch into something bright and complex. You can even layer two different juice flavors by letting the first layer set partially before adding the second, creating a two-toned effect that looks impressive with almost no extra effort.
- Try a pomegranate and lime combo for a sophisticated adult flavor profile.
- A pinch of sea salt on top of mango jellies creates an addictive sweet-salty contrast.
- Always taste your juice mixture before pouring into molds because once set, there is no going back.
 Pin this
 Keep a batch in your fridge and you will always have something bright and satisfying waiting for you when the afternoon sugar craving hits. These little jellies turned my snack routine upside down in the best possible way.
Recipe FAQs
- → Can I use any type of fruit juice for these jellies?
-
Yes, you can use any 100% fruit juice such as orange, mixed berries, apple, or pomegranate. For the best flavor and texture, avoid juices with added sugar or artificial flavors, as these can affect how the gelatin sets.
- → How should I store the finished jellies?
-
Store your jellies in an airtight container in the refrigerator for up to one week. Keeping them chilled helps maintain their firm, chewy texture and prevents them from becoming sticky or losing their shape.
- → Why do I need to let the gelatin bloom before heating?
-
Blooming the gelatin means sprinkling it over cold liquid and letting it sit for a few minutes to absorb moisture. This step ensures the gelatin dissolves smoothly and evenly when heated, preventing clumps and giving you a consistent, silky texture throughout.
- → Can I make a vegan version of these jellies?
-
Absolutely. Swap the gelatin for agar-agar powder following the package ratio guidelines, and replace honey with maple syrup or agave nectar. Note that agar-agar sets more firmly than gelatin, so the texture will be slightly different but still delicious.
- → What does collagen add to these jellies?
-
Collagen peptides add a boost of protein and may support skin elasticity and joint health when consumed regularly. It dissolves completely into the warm mixture without affecting taste or texture, making it an effortless nutritional upgrade to a fun snack.
- → How do I prevent the jellies from sticking together?
-
Lightly dust the finished jellies with cornstarch or arrowroot powder before storing. This creates a thin barrier between pieces and keeps them separate. Storing them in a single layer in an airtight container also helps.