 Pin this
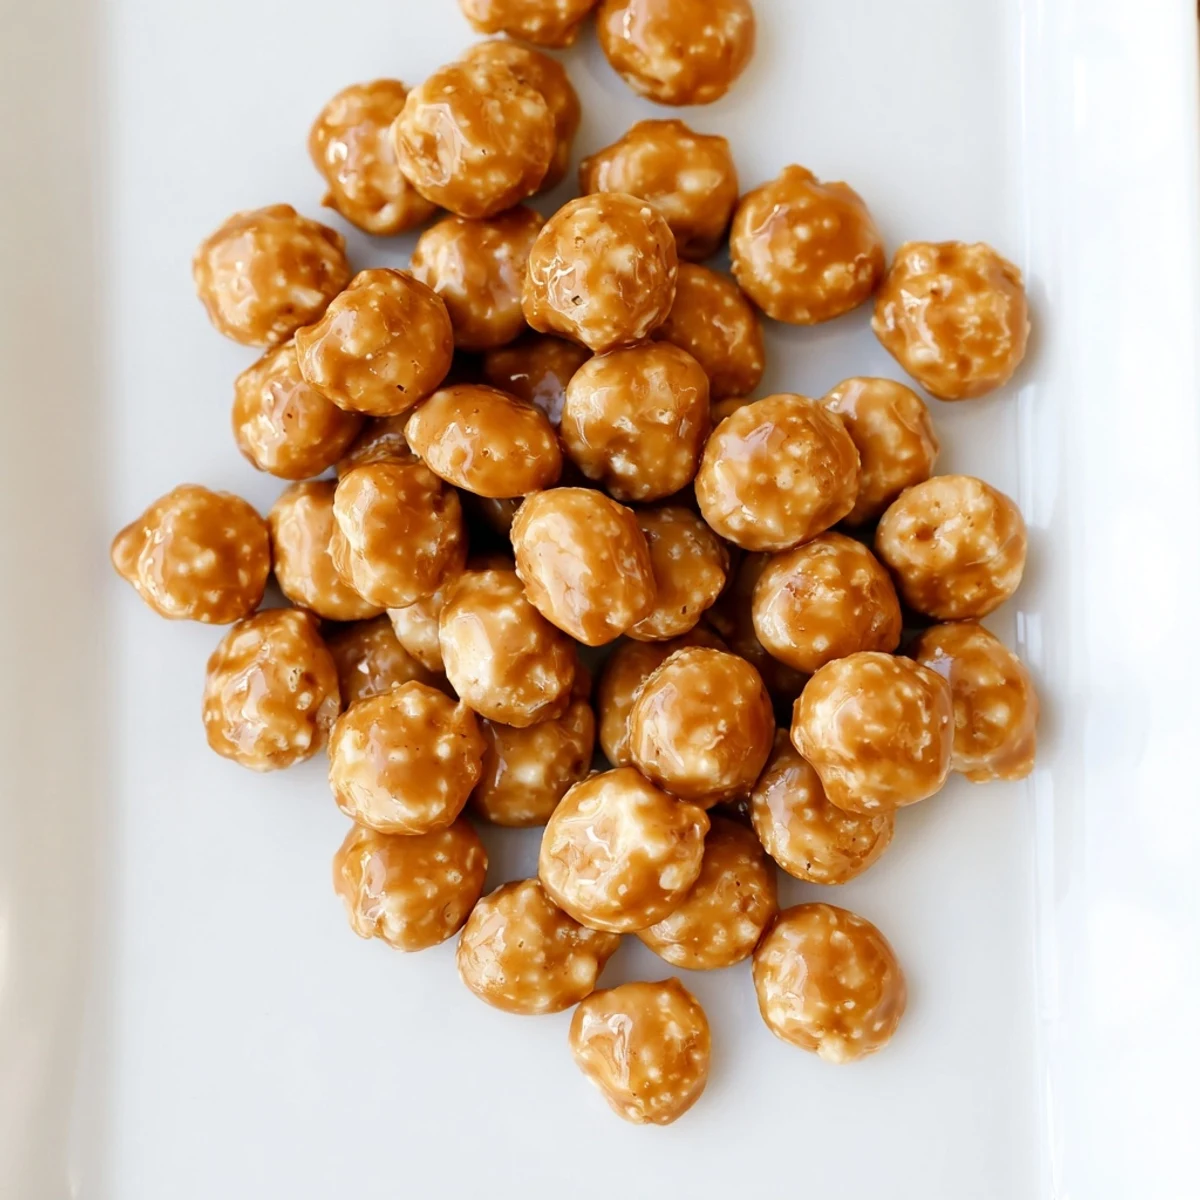
 These crispy oyster crackers get transformed with a buttery caramel glaze that creates the perfect balance of sweet and salty flavors. The coating process involves boiling a simple mixture of butter, brown sugar, and corn syrup until it reaches the right consistency, then baking until everything sets into a crunchy, addictive coating.
The technique requires stirring every 10 minutes during baking to ensure even coverage. As the crackers cool, they develop that signature crunch that makes them impossible to stop eating. Perfect for parties, movie nights, or whenever you need a satisfying homemade snack that feels special but comes together with minimal effort.
I'd been searching for months to recreate that addictive snack from my favorite neighborhood bar, the one that kept me ordering drinks just to keep the bowl coming. After countless failed attempts and too many kitchen experiments, I finally stumbled on the magic ratio of buttery caramel to crispy crackers. Now my friends beg me to bring a batch to every gathering, and the bowl disappears within minutes of hitting the table.
Last Christmas, my sister caught me eating them straight from the cooling tray, burning my fingers because I couldn't wait. She teased me about having zero self-control, then promptly joined me, both of us standing over the counter like sneaky teenagers. Now it's our holiday tradition to make a double batch, though somehow none ever makes it into gift bags.
Ingredients
- Oyster Crackers: These small, crisp crackers hold the caramel glaze beautifully without becoming soggy
- Unsalted Butter: Using unsalted lets you control exactly how much salt goes into the final caramel coating
- Light Brown Sugar: Adds a deeper, more complex caramel flavor than white sugar alone
- Light Corn Syrup: Prevents the caramel from crystallizing and gives the coating a glossy finish
- Kosher Salt: Enhances all the flavors and creates that irresistible sweet-salty contrast
- Baking Soda: Creates tiny bubbles in the caramel, making it lighter and crispier after baking
- Vanilla Extract: Rounds out the caramel flavor and adds warmth
Instructions
- Prep Your Baking Station:
- Heat your oven to 250°F and line a large rimmed baking sheet with parchment paper, then spread the oyster crackers in an even layer so every piece gets coated in caramel
- Make the Caramel Glaze:
- Melt the butter in a medium saucepan over medium heat, then stir in the brown sugar, corn syrup, and salt until everything's combined and the mixture comes to a gentle boil
- Let It Boil:
- Let the caramel bubble for exactly 2 minutes without stirring, watching as it transforms into a smooth, golden glaze that will coat every cracker perfectly
- Add the Magic:
- Remove from heat and immediately stir in the baking soda and vanilla, watching the caramel foam up like a science experiment before it settles back down
- Coat the Crackers:
- Pour the hot caramel over your crackers and gently fold with a spatula until every piece is evenly coated and glistening
- Bake to Perfection:
- Bake for 30 minutes, stirring every 10 minutes so the caramel sets evenly and nothing sticks to the pan
- Cool and Crisp:
- Let the crackers cool completely on the baking sheet, listening to them snap and crunch as they harden into that addictive texture
- Break and Store:
- Break apart any clusters that formed during baking and store in an airtight container, though they rarely last longer than a day in my house
 Pin this
 My toddler walked into the kitchen while I was photographing these and simply reached up with grabby hands, chanting 'crackers, crackers' in that tiny voice that melts my heart. Now every time I make them, she pulls her step stool over to help pour, creating a mess we both laugh about while licking caramel off our fingers.
Mix-In Magic
I've discovered that adding a handful of pecans or walnuts during the coating step transforms this into an entirely different snack. The nuts toast alongside the crackers, becoming candied and incredibly addictive. Just be sure to break them into smaller pieces first so everything stays bite-sized.
Storage Secrets
These stay perfectly crisp for up to a week in an airtight container at room temperature, though humidity can make them slightly sticky after a few days. If they lose their crunch, a quick 10-minute bake at 250°F brings them back to life. I've started making double batches just to keep some in the pantry for unexpected guests.
Serving Ideas
While these are incredible on their own, I love serving them alongside vanilla ice cream as a sweet-salty crunch element. They're also the perfect companion to a cheese board, especially with sharp cheddar or aged gouda. During movie night, my family insists on having a bowl instead of regular popcorn.
- Package them in mason jars with pretty ribbon for homemade holiday gifts
- Crush a few over vanilla yogurt or pudding for an instant topping
- Set them out during cocktail hour as an alternative to mixed nuts
 Pin this
 These caramel crunch crackers have become my go-to for everything from late-night snacking to impromptu gatherings. Something about that combination of buttery sweetness and salty crunch makes people instantly at home.
Recipe FAQs
- → How do I store caramel crunch crackers?
-
Store in an airtight container at room temperature for up to one week. Place a piece of parchment paper between layers to prevent sticking. Avoid refrigeration as it can affect the crispy texture.
- → Can I make these gluten-free?
-
Yes, substitute the oyster crackers with gluten-free crackers or pretzels. Ensure all other ingredients, particularly the vanilla extract, are certified gluten-free. The coating technique remains exactly the same.
- → Why did my caramel coating turn out sticky?
-
This usually means the crackers didn't bake long enough or weren't allowed to cool completely. Ensure they bake the full 30 minutes with proper stirring intervals. Let them cool completely on the baking sheet—they'll crisp up as they reach room temperature.
- → What other snacks can I use instead of oyster crackers?
-
Mini pretzels, cornflakes, Chex cereal, or even mixed nuts work beautifully. The key is choosing something dry and crisp that can hold up to the coating process and maintain texture during baking.
- → Can I double this batch?
-
Absolutely. Use two large rimmed baking sheets or bake in batches. You may need to extend the cooking time slightly if crowding the pans, but keep the same temperature and stir regularly for even coating.
