 Pin this
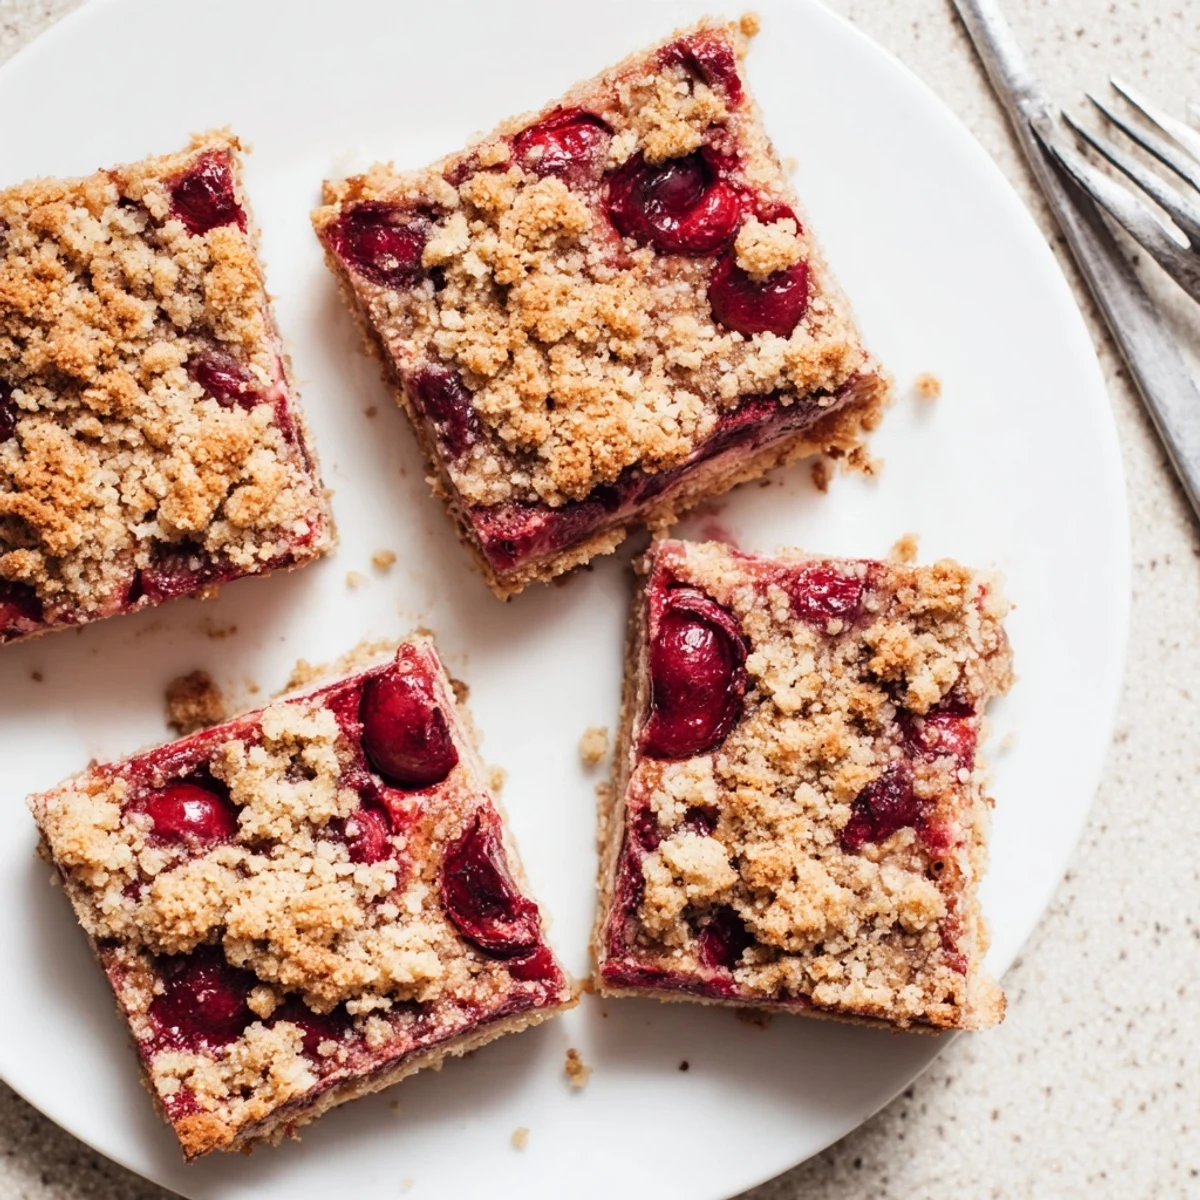
 These cherry crumble bars feature a buttery, cinnamon-spiced crust with a luscious sweet-tart cherry filling. The texture strikes the perfect balance between crisp topping and tender fruit layer.
Simple to assemble with pantry staples, these bars bake in under an hour and yield 16 generous servings. The cinnamon-scented crumble adds warmth while the cherries provide bright, fruity contrast.
Cool completely before cutting to ensure clean slices. Serve plain or dress them up with whipped cream or vanilla ice cream for an extra special treat.
My grandmother kept cherry pie filling in the pantry year round, but there was something about waiting until summer for fresh cherries that made everything taste better. These bars started as an experiment to capture that flavor without the fuss of rolling out pie crust on a humid afternoon.
I brought these to a Fourth of July party last summer, still slightly warm from the oven. My friend Sarah took one bite, closed her eyes, and asked if I could make them for her wedding shower six months later. The recipe card she gave me afterward has butter stains on the corners now.
Ingredients
- All-purpose flour: The foundation that gives these bars their structure and tender crumb, dont pack it down when measuring
- Granulated sugar: Sweetens both the crust and filling while creating that irresistible golden finish on top
- Baking powder: Just enough to lift the crumble slightly, preventing it from becoming too dense
- Salt: Essential for balancing all that sweetness and making the cherry flavor pop
- Ground cinnamon: A warm hint that bridges the gap between the buttery crust and bright cherries
- Unsalted butter: Must be cold straight from the fridge to create those perfect crumbly pockets
- Large egg: Binds the crumble mixture together just enough to press into the pan
- Fresh or frozen cherries: The star of the show, halving them helps the filling cook evenly
- Cornstarch: Thickens the cherry juices into a glossy, jammy consistency
- Lemon juice: Brightens the cherry flavor and prevents it from becoming cloyingly sweet
- Vanilla extract: Rounds out the filling and adds that classic baked dessert aroma
Instructions
- Preheat and prep your pan:
- Heat your oven to 350°F and line a 9x9 inch pan with parchment paper, letting the edges hang over like handles
- Mix the dry crumble ingredients:
- Whisk together the flour, sugar, baking powder, salt, and cinnamon until everything is evenly combined
- Work in the butter and egg:
- Cut in the cold butter and crack in the egg, using your fingers to blend until it looks like coarse crumbs with some pea-sized pieces remaining
- Form the bottom crust:
- Press about two thirds of the mixture firmly into the bottom of your prepared pan, using the back of a measuring cup to even it out
- Prepare the cherry filling:
- Toss the halved cherries with sugar, cornstarch, lemon juice, and vanilla until every piece is coated
- Layer the filling:
- Spread the cherry mixture evenly over the pressed crust, leaving no gaps
- Add the topping:
- Sprinkle the remaining crumble mixture over the cherries, pressing it very lightly so it adheres
- Bake until golden:
- Bake for 38 to 42 minutes until the top is golden brown and you can see the cherry filling bubbling through the crumble
- Cool completely:
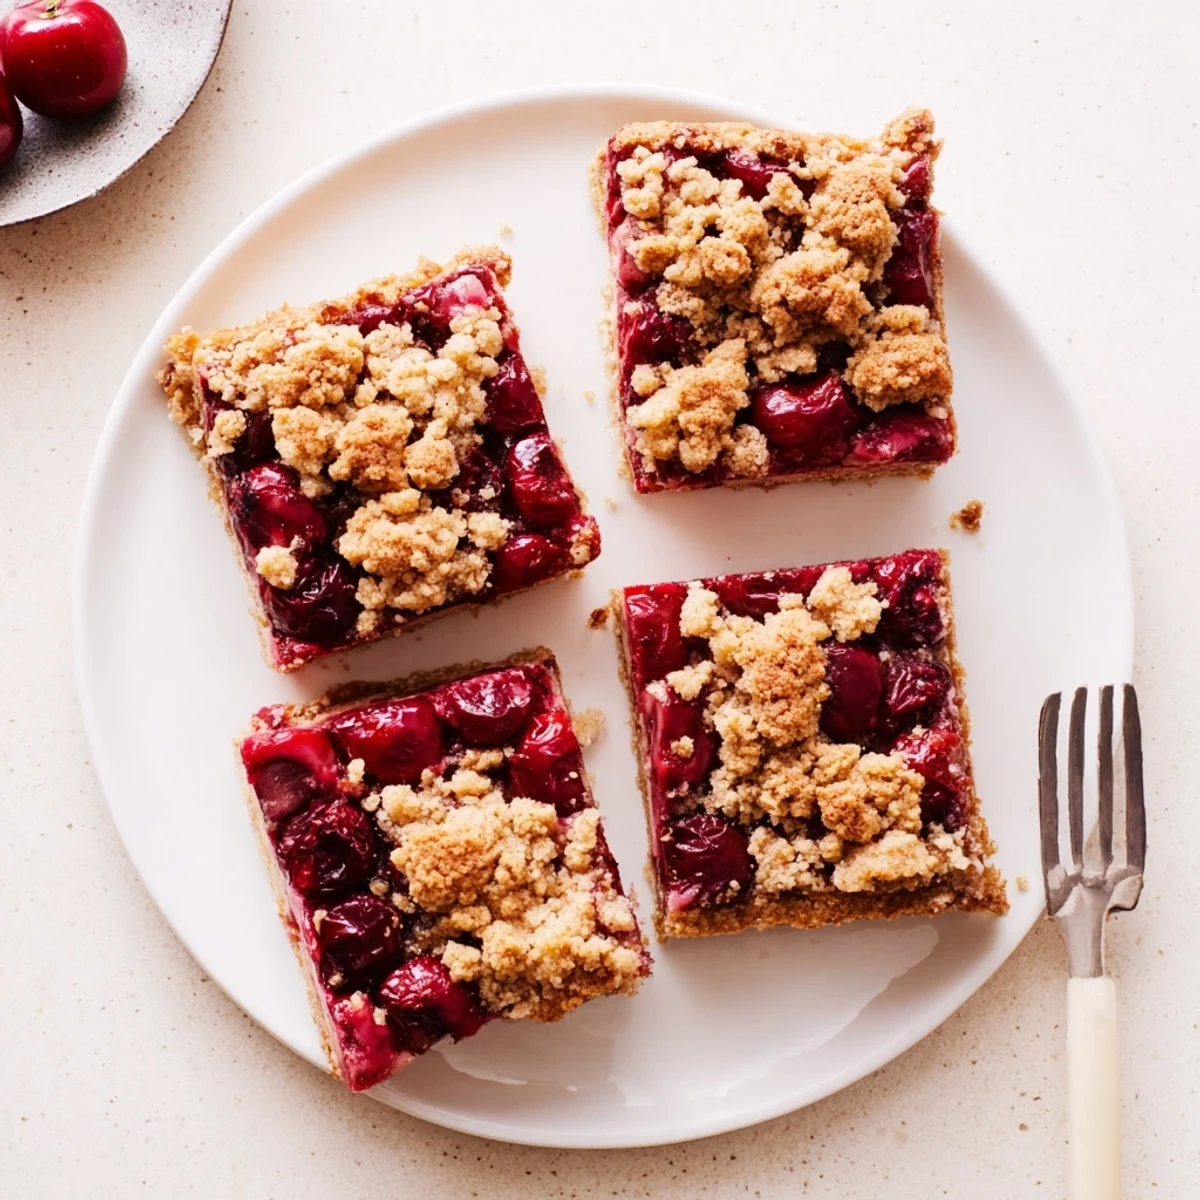
- Let the bars cool completely in the pan before using the parchment handles to lift them out and cut into squares
 Pin this
 My daughter helped me make these for the first time when she was eight, standing on a chair to press the crumble into the pan. Now she makes them by herself, and honestly, hers turn out better than mine.
Making Ahead
You can prepare the crumble mixture up to two days in advance and store it in the refrigerator. The cherry filling can also be mixed ahead and kept in a sealed container. This actually helps the flavors meld together.
Storage Secrets
These bars keep beautifully at room temperature for three days, though the crust softens slightly. For longer storage, wrap individual bars and freeze them for up to three months. They thaw in about twenty minutes.
Serving Suggestions
A warm bar with a scoop of vanilla ice cream is pretty much perfection. The contrast between the hot cherry filling and cold cream is something else entirely.
- Dust with powdered sugar right before serving for a bakery finish
- Try swapping cherries for blueberries or diced peaches when they are in season
- A dollop of Greek yogurt makes for a surprisingly good breakfast the next morning
 Pin this
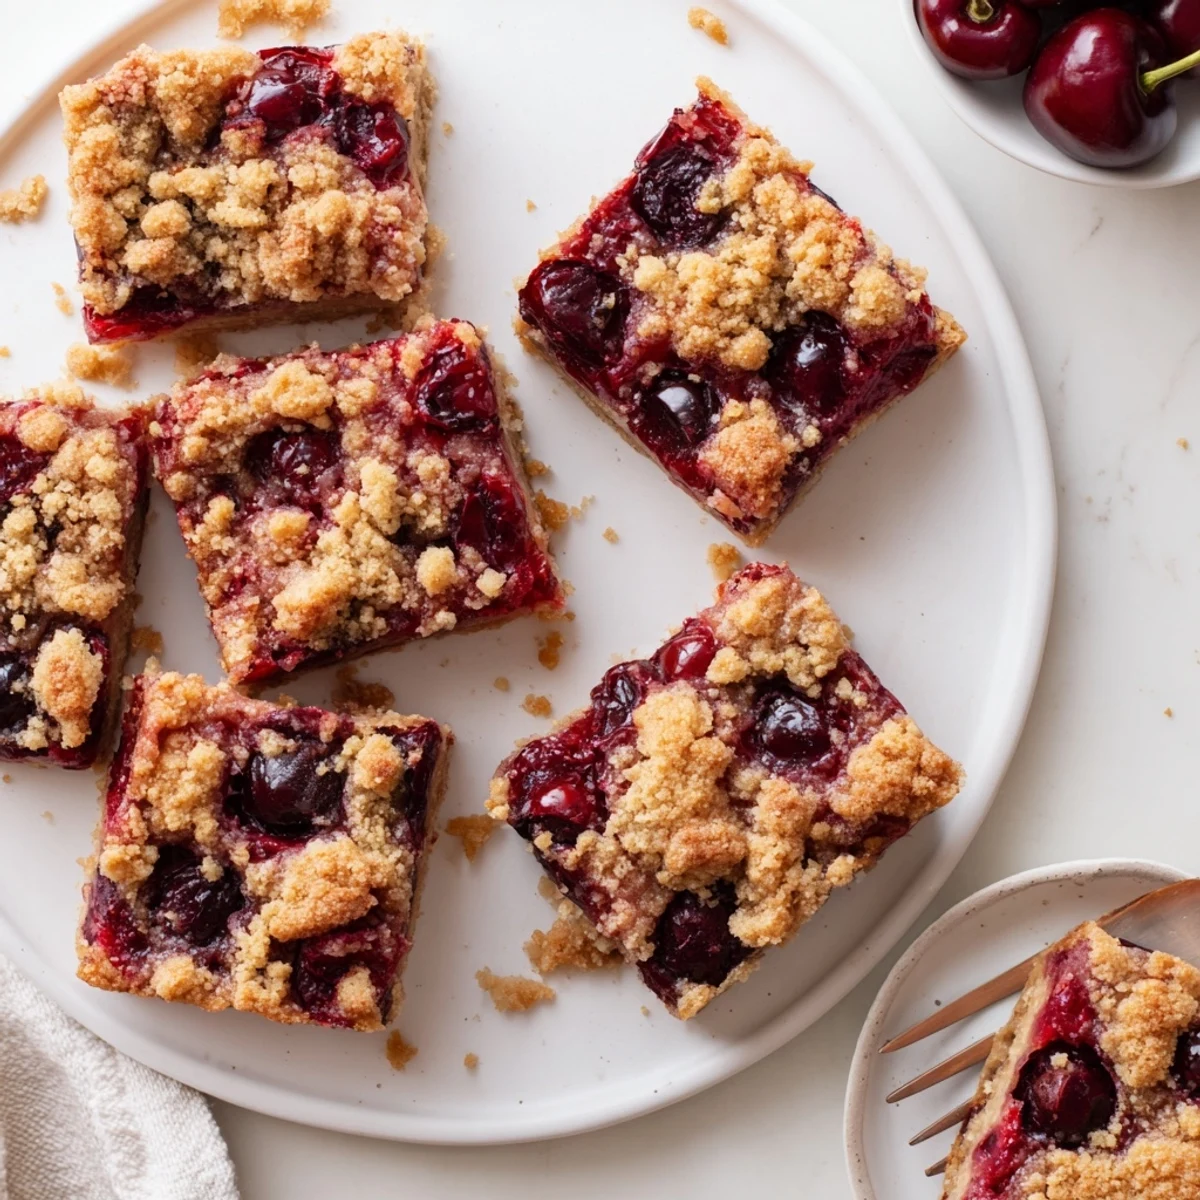
 There is something deeply satisfying about a dessert that looks fancy but comes together with such simple ingredients. Hope these bring a little joy to your kitchen.
Recipe FAQs
- → Can I use frozen cherries instead of fresh?
-
Yes, frozen cherries work beautifully. No need to thaw them first—just toss them with the sugar and cornstarch mixture as directed. They may need a few extra minutes of baking time.
- → How should I store these bars?
-
Store in an airtight container at room temperature for up to 3 days. For longer storage, refrigerate for up to a week. The bars also freeze well—wrap individual portions and freeze for up to 3 months.
- → Can I make these gluten-free?
-
Absolutely. Substitute the all-purpose flour with a 1:1 gluten-free flour blend. The texture and flavor remain excellent, making these suitable for those with gluten sensitivities.
- → Why must I cool the bars completely before cutting?
-
The filling needs time to set as it cools. Cutting while warm causes the cherry layer to ooze and the bars to lose their shape. Patience yields clean, neat slices that hold together perfectly.
- → Can I substitute other fruits?
-
Definitely. Blueberries, mixed berries, sliced peaches, or apples all work well. Adjust sugar slightly based on fruit sweetness and keep the cornstarch the same for proper thickening.
- → What size pan should I use?
-
A 9x9-inch square pan is ideal. Using a larger pan will result in thinner bars that may bake faster, while a smaller pan yields thicker bars needing more time. Adjust baking time accordingly.
