 Pin this
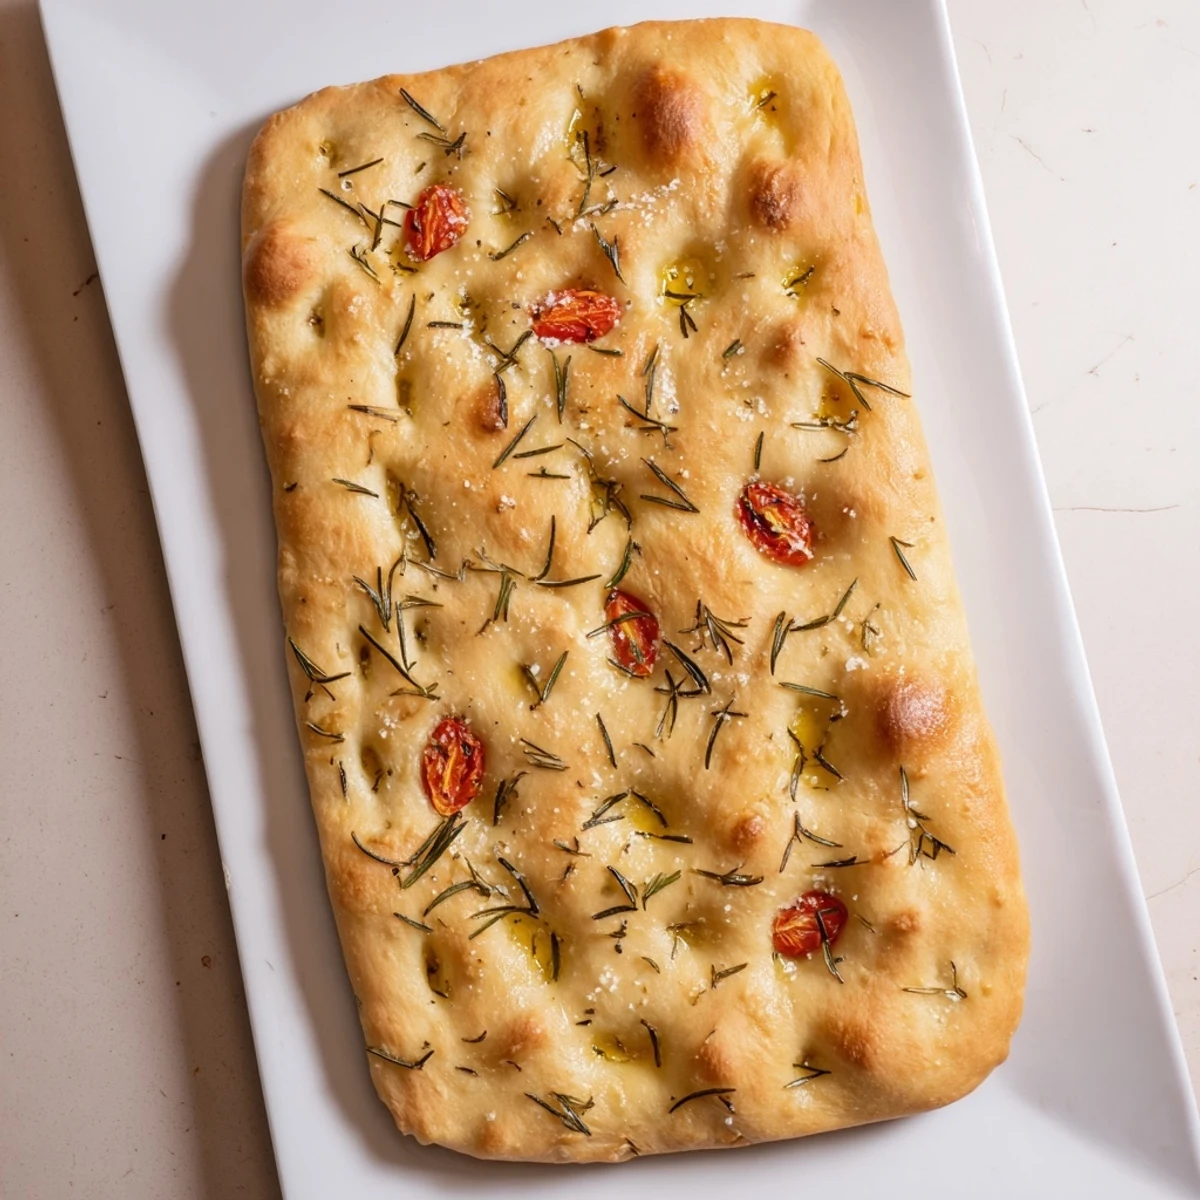
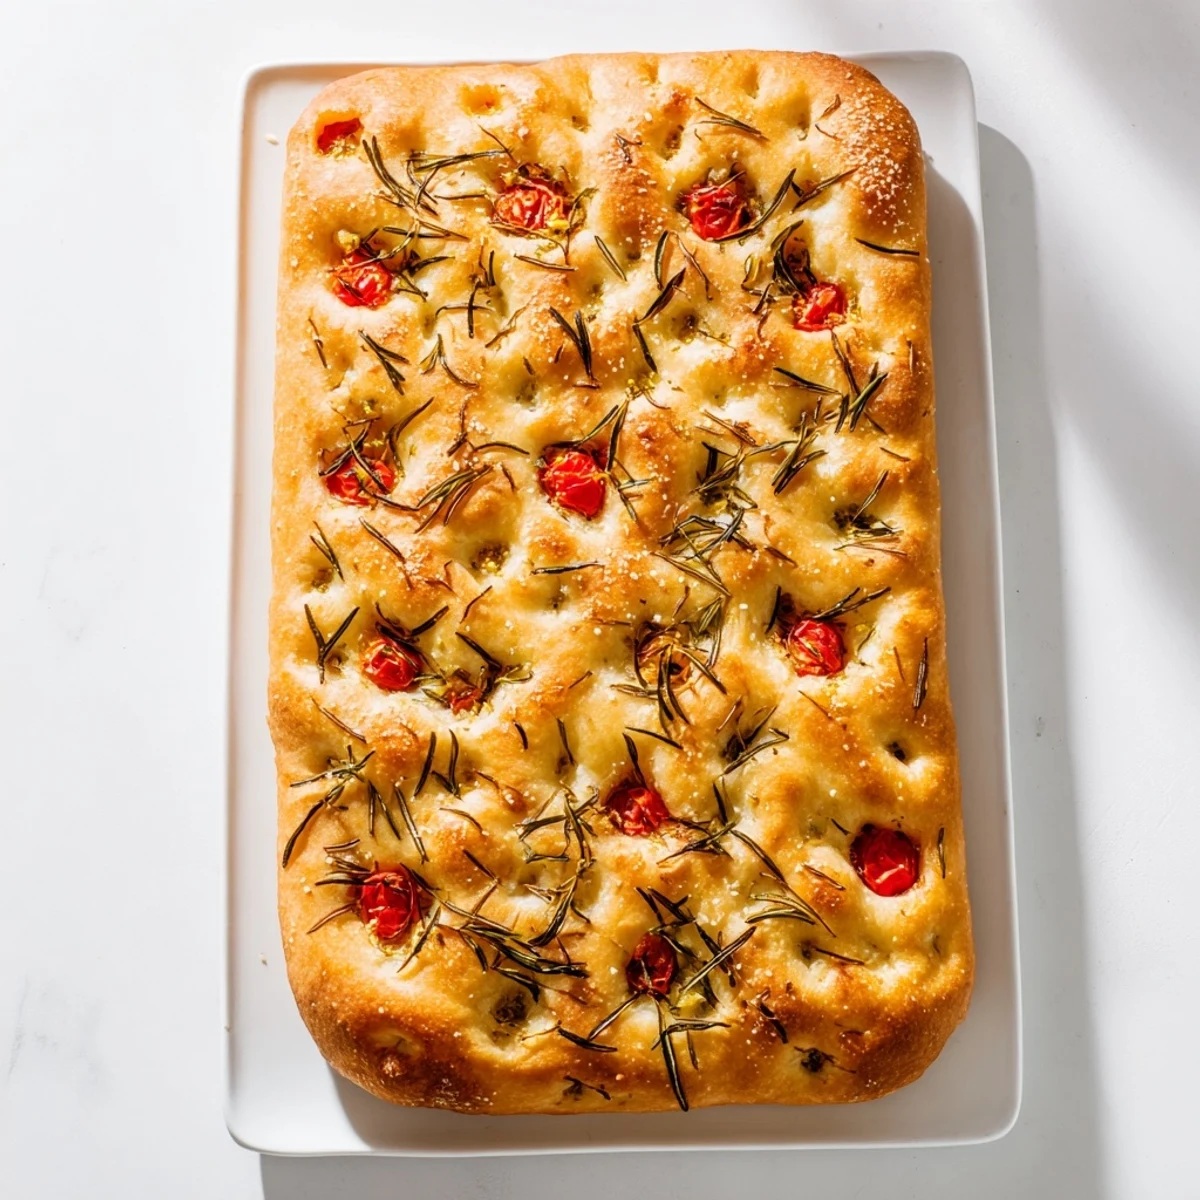
 Create bakery-worthy Italian focaccia with a crispy golden crust and irresistibly soft interior. This traditional flatbread gets its signature dimpled surface and rich flavor from generous olive oil, flaky sea salt, and fragrant fresh rosemary. The dough requires just 20 minutes of active prep time, with two rising periods developing that perfect airy texture and chew. Serve warm alongside soups and salads, use as a sandwich base, or enjoy plain as an appetizer.
The sound of dough stretching and popping under my fingers is something I never get tired of, especially when making focaccia on a slow Sunday afternoon. My apartment fills with the smell of olive oil and rosemary long before the bread even goes into the oven. It is the kind of baking that asks for patience but gives back tenfold. I stumbled into focaccia after a rainy trip to Liguria, where every bakery window displayed golden slabs studded with olives and glistening with oil.
I once brought a tray of this to a friends potluck dinner, still warm from the oven, and watched six adults abandon the main course to tear off piece after piece with their bare hands. Nobody touched the utensils. That is the truest compliment a loaf of bread can receive.
Ingredients
- Bread flour (500 g): Higher protein than all purpose flour, which gives focaccia its characteristic chew and those gorgeous air pockets throughout the crumb.
- Salt (10 g): Do not skimp here, salt strengthens the gluten network and balances the richness of the olive oil beautifully.
- Active dry yeast (7 g): One standard packet, and always check the expiration date because tired yeast means flat bread.
- Lukewarm water (325 ml): Think baby bath temperature, around 38 degrees Celsius, because water that is too hot will kill the yeast instantly.
- Extra virgin olive oil (50 ml plus 2 tbsp for topping): This is not the place for a timid drizzle, use the good oil because it is the soul of focaccia.
- Sugar (1 tsp): Just enough to wake the yeast up and get it bubbling with enthusiasm.
- Fresh rosemary (1 tbsp chopped): Fresh makes a noticeable difference, though dried works in a pinch if you crumble it between your fingers first.
- Flaky sea salt (1 and a half tsp): The crunch of flaky salt on top is non negotiable, it melts into little pockets of briny joy.
- Olives or cherry tomatoes (optional, 10 to 12): Pressed into the dough before baking, they create little bursts of tangy flavor that make each slice exciting.
Instructions
- Wake up the yeast:
- Stir the yeast and sugar into the lukewarm water in a small bowl and let it sit undisturbed for about 10 minutes. You will know it is alive when the surface blooms with creamy foam and the kitchen starts to smell faintly of a bakery.
- Build the dough:
- Mound the flour and salt in a large bowl, carve a well in the center, and pour in the yeasty water along with 50 ml of olive oil. Mix with your hand or a wooden spoon until everything comes together into a messy, sticky mass that clings to your fingers.
- Knead with intention:
- Turn the dough onto a lightly floured counter and work it for 8 to 10 minutes, pushing it away with the heel of your palm and folding it back. It will transform from shaggy and tacky to smooth, springy, and almost silky under your hands.
- Let it rise:
- Coat a clean bowl with a film of olive oil, tuck the dough inside, and drape a damp kitchen towel over the top. Leave it in a warm, draft free corner for about 1 hour until it has swollen to roughly double its original size.
- Shape and dimple:
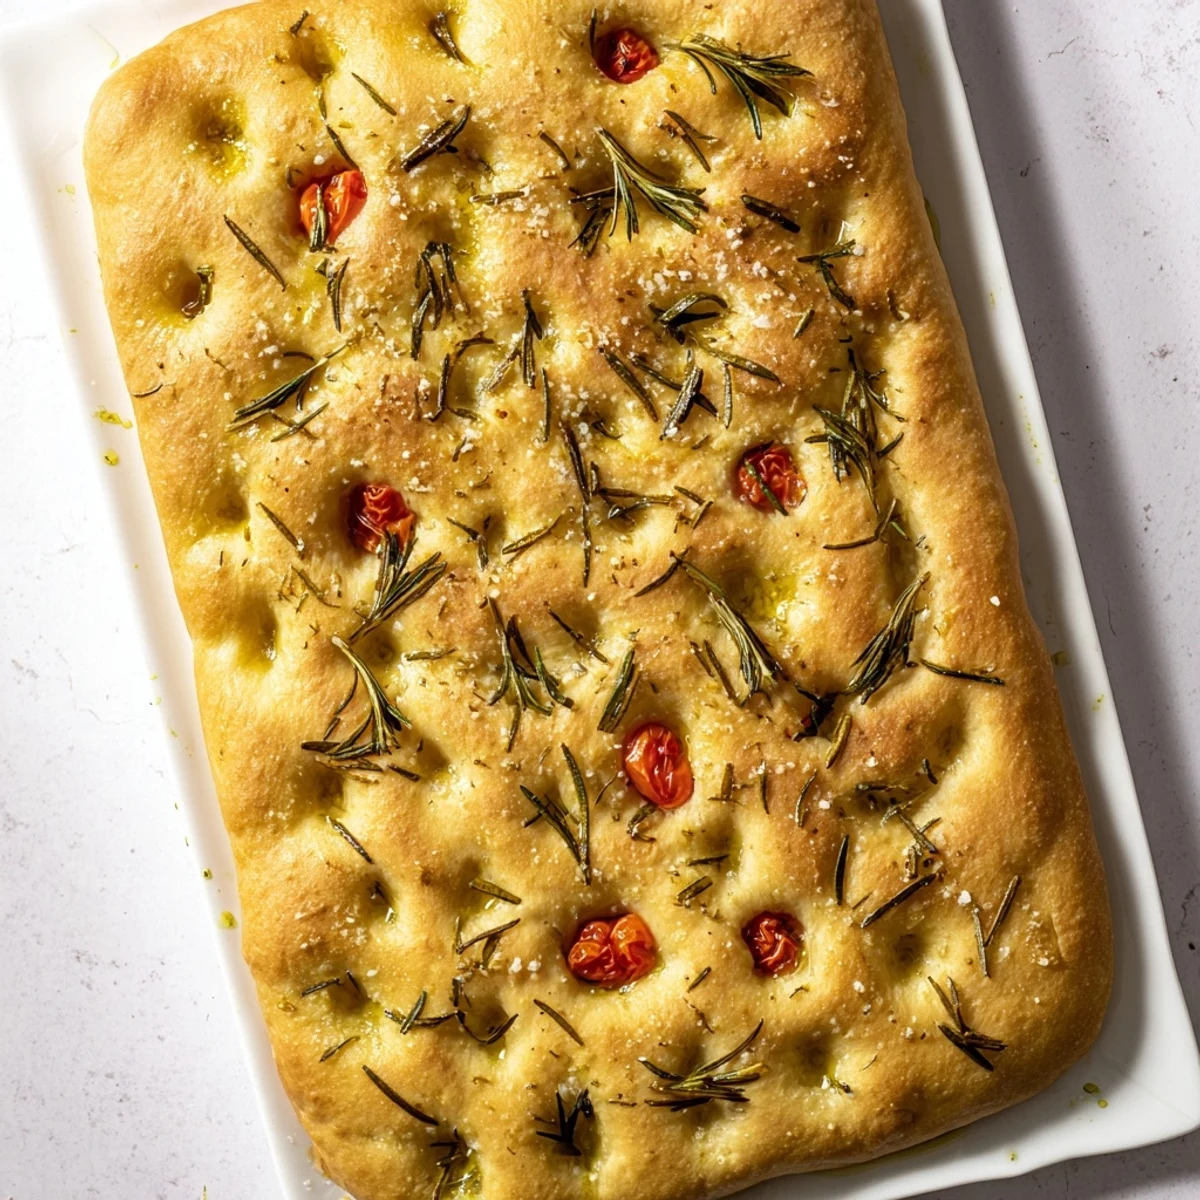
- Punch the dough down gently, transfer it to an oiled baking tray, and stretch it out with your palms. Press your oiled fingertips deep into the surface to create those signature dimples that catch pools of oil and salt.
- Dress the top:
- Brush the entire surface generously with the remaining olive oil, then scatter the rosemary, flaky sea salt, and any olives or tomatoes you are using. Let the topped dough rest for 20 to 30 minutes until it looks puffy and alive again.
- Bake until golden:
- Slide the tray into an oven preheated to 220 degrees Celsius and bake for 20 to 25 minutes. The focaccia is ready when the edges are deeply golden and the center has a slight bounce when tapped.
- Cool just slightly:
- Resist the urge to cut immediately and let it rest for about 5 minutes so the crumb settles. Slice into rough squares or tear off pieces by hand, which honestly tastes better every single time.
 Pin this
 There is a particular kind of happiness that comes from pulling a tray of golden focaccia from the oven while your family hovers nearby, waiting for permission to dive in. It transforms an ordinary evening into something that feels like a celebration for no reason at all.
Swaps and Additions That Work
Thinly sliced red onions pressed into the dough before baking turn sweet and jammy in the oven, creating little pockets of caramelized flavor. Sun dried tomatoes, roughly chopped and scattered on top, add a concentrated tang that pairs especially well with a glass of white wine. You can also swap the rosemary for thyme, oregano, or a mix of whatever herbs look lively at the market that morning.
What to Serve Alongside It
Focaccia shines as a standalone appetizer, but it also makes an extraordinary sandwich base when split horizontally and filled with prosciutto, fresh mozzarella, and arugula. A bowl of minestrone or a simple tomato soup becomes a complete meal with a warm slab of focaccia on the side. For a lighter approach, serve it with a plate of good olive oil, aged balsamic vinegar, and a few flaked almonds for dipping.
Keeping It Fresh
This bread is best eaten the day it is baked, while the crust still crackles and the interior stays soft and yielding. If you have leftovers, wrap them tightly in foil and reheat in a 180 degree Celsius oven for about 5 minutes to bring back some of that original texture. Freezing works well too if you slice it first and separate the pieces with parchment paper.
- A quick sprinkle of water on the surface before reheating helps revive the crust beautifully.
- Never store focaccia in the refrigerator because it will dry out and become unpleasantly tough.
- Trust your instincts with the dough and remember that even imperfect focaccia is still incredibly delicious.
 Pin this
 Every time I make focaccia, I am reminded that bread does not need to be complicated to be extraordinary. Just flour, water, oil, salt, yeast, and a little patience can create something that brings everyone to the kitchen.
Recipe FAQs
- → What makes focaccia different from regular bread?
-
Focaccia is an Italian flatbread baked in a sheet pan rather than a loaf. The dough contains more olive oil, creating a tender crumb and crispy exterior. Traditional dimpling creates pockets for oil and seasonings to penetrate deeply.
- → Can I let the dough rise longer than specified?
-
Yes, you can refrigerate the dough after the first rise for up to 24 hours. This slow fermentation develops deeper flavor. Bring to room temperature before shaping and baking.
- → What toppings work well on focaccia?
-
Classic toppings include rosemary and sea salt, but you can add caramelized onions, sun-dried tomatoes, olives, cherry tomatoes, fresh garlic, or grated Parmesan. Keep toppings light to avoid weighing down the dough.
- → Why is my focaccia dense instead of airy?
-
Dense focaccia usually results from under-proofing or over-kneading. Ensure the dough doubles in size during both rises. Avoid adding too much flour when kneading—the dough should remain somewhat sticky.
- → How should I store leftover focaccia?
-
Wrap tightly in plastic or store in an airtight container at room temperature for up to 2 days. For longer storage, freeze slices in freezer bags and reheat in a 350°F oven for 5-10 minutes.
