 Pin this
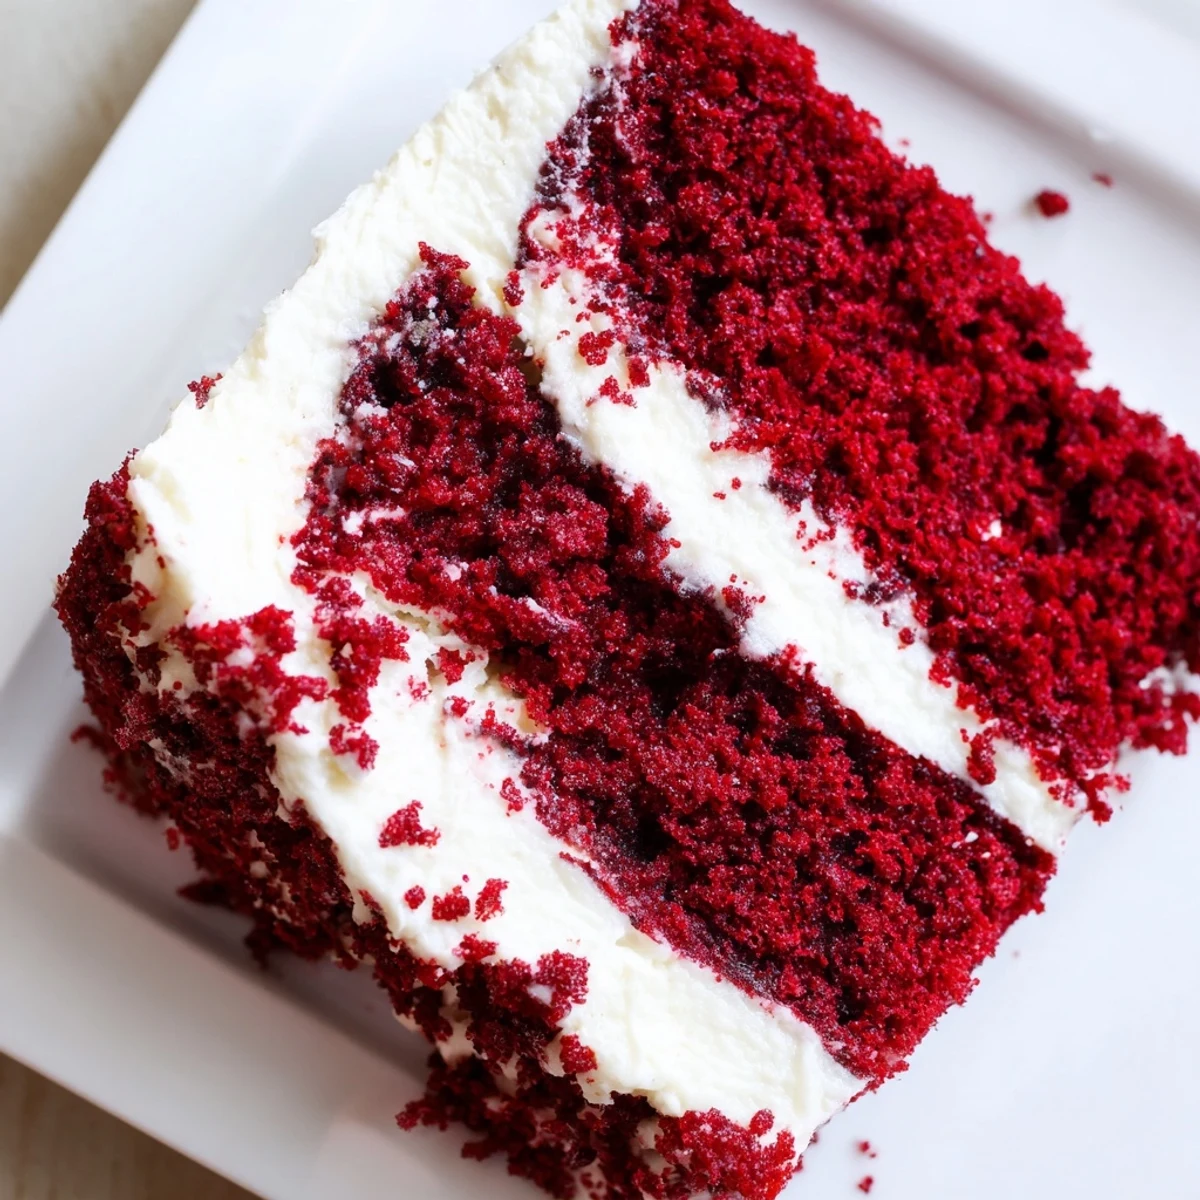
 This stunning red velvet cake delivers the perfect balance of subtle cocoa and tangy cream cheese frosting. The buttermilk and oil create an incredibly moist crumb that stays fresh for days.
Ready in about an hour, this American classic yields 12 generous servings. The vibrant red color and snowy white frosting make it an eye-catching centerpiece for birthdays, Valentine's Day, holidays, or any special gathering.
The straightforward technique involves simply whisking wet ingredients, folding in dry ingredients, and baking. While the cakes cool, whip up the tangy cream cheese frosting that perfectly complements the delicate chocolate notes.
My grandmother kept the red velvet recipe in a faded index card box, stained with drops of food coloring from years of birthday celebrations. I remember standing on a stool at her kitchen counter, mesmerized by how the batter turned that impossibly vibrant shade of red. When I asked why it was called velvet, she told me to wait and taste the texture. Now I understand completely.
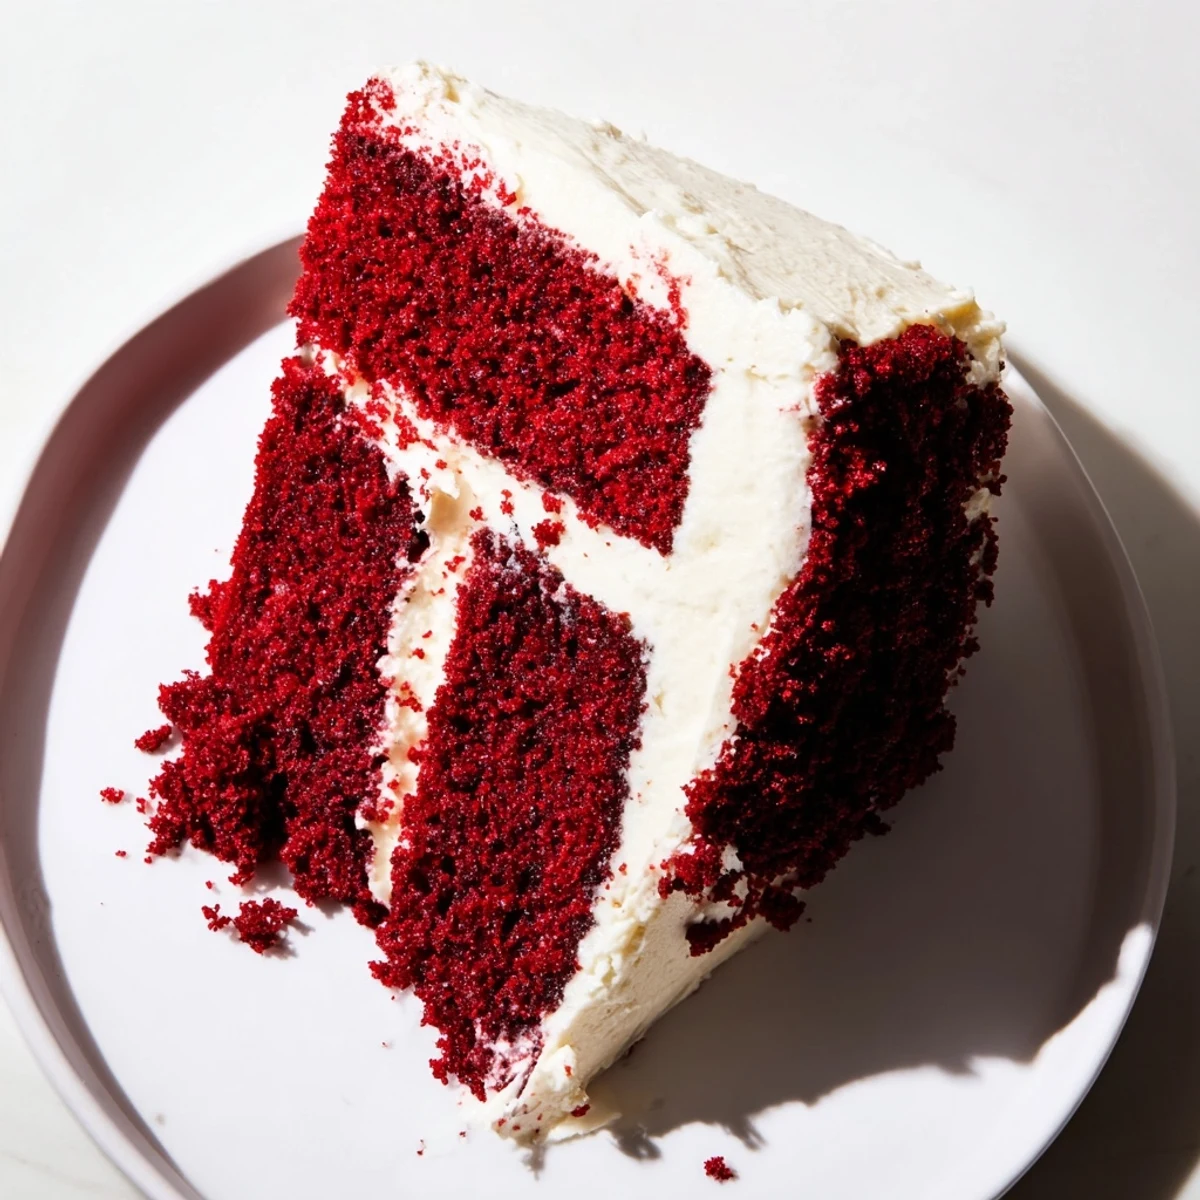
I made this cake for my daughters fifth birthday, and I watched her eyes light up when she saw that dramatic red slice against the white plate. The best part was seeing her lick the frosting off her fingers first, exactly like I used to do at my grandmothers house.
Ingredients
- 2 1/2 cups all-purpose flour: The structure that holds everything together, so measure precisely
- 1 1/2 cups granulated sugar: Sweetness that also contributes to that moist texture
- 1 teaspoon baking soda: The real leavening power behind the rise
- 1 teaspoon fine salt: Enhances all the other flavors without making it taste salty
- 1 tablespoon unsweetened cocoa powder: Just enough for that subtle chocolate whisper
- 1 1/2 cups vegetable oil: Creates the incredible moistness that lasts for days
- 1 cup buttermilk: The secret ingredient for tenderness and a slight tang
- 2 large eggs: Room temperature eggs incorporate better into the batter
- 2 tablespoons red food coloring: The classic vibrant hue that makes it unmistakably red velvet
- 1 teaspoon vanilla extract: Pure extract makes a noticeable difference here
- 1 teaspoon white vinegar: Reacts with buttermilk for extra tenderness
- 8 oz cream cheese: Full fat and softened completely makes the silkiest frosting
- 1/2 cup unsalted butter: Also softened to room temperature for smooth mixing
- 4 cups powdered sugar: Sifted to prevent any lumps in your frosting
Instructions
- Prepare your cake pans:
- Preheat oven to 350°F and grease two 9-inch round pans thoroughly, then dust with flour for easy release later.
- Mix the dry ingredients:
- Sift together flour, sugar, baking soda, salt, and cocoa powder in a medium bowl to aerate and combine evenly.
- Whisk the wet ingredients:
- In a large bowl, whisk oil, buttermilk, eggs, food coloring, vanilla, and vinegar until the mixture is uniform and smooth.
- Combine batter:
- Gradually add dry ingredients to wet, folding gently just until no flour streaks remain and the batter is silky smooth.
- Bake the layers:
- Divide batter evenly between pans and bake 28 to 30 minutes until a toothpick comes out clean from the center.
- Cool completely:
- Let cakes rest in pans 10 minutes, then turn onto a wire rack until completely cool to the touch before frosting.
- Make the frosting:
- Beat cream cheese and butter until smooth, then gradually add sifted powdered sugar, vanilla, and salt until fluffy.
- Frost the cake:
- Spread frosting between layers and over the top and sides, then chill 30 minutes for the cleanest slices.
 Pin this
 My sister asked for this cake at her wedding instead of a traditional tiered cake, saying it tasted like home. Seeing the guests reactions to that first bite of red velvet with cream cheese frosting reminded me why some classics never fade.
Making It Ahead
The cake layers freeze beautifully wrapped in plastic and foil for up to a month. Thaw overnight in the refrigerator before frosting for the freshest taste.
Getting The Right Color
Natural cocoa powder keeps the flavor subtle while gel food coloring produces the most vibrant red without thinning your batter. Liquid coloring works but may require slightly more than the recipe calls for.
Serving And Storing
This cake actually tastes better on day two as the flavors meld and the moisture distributes throughout. Keep it refrigerated due to the cream cheese frosting, but bring slices to room temperature 20 minutes before serving.
- Use a hot knife dipped in warm water for the smoothest frosting surfaces
- Add a pinch of almond extract to complement the cream cheese frosting
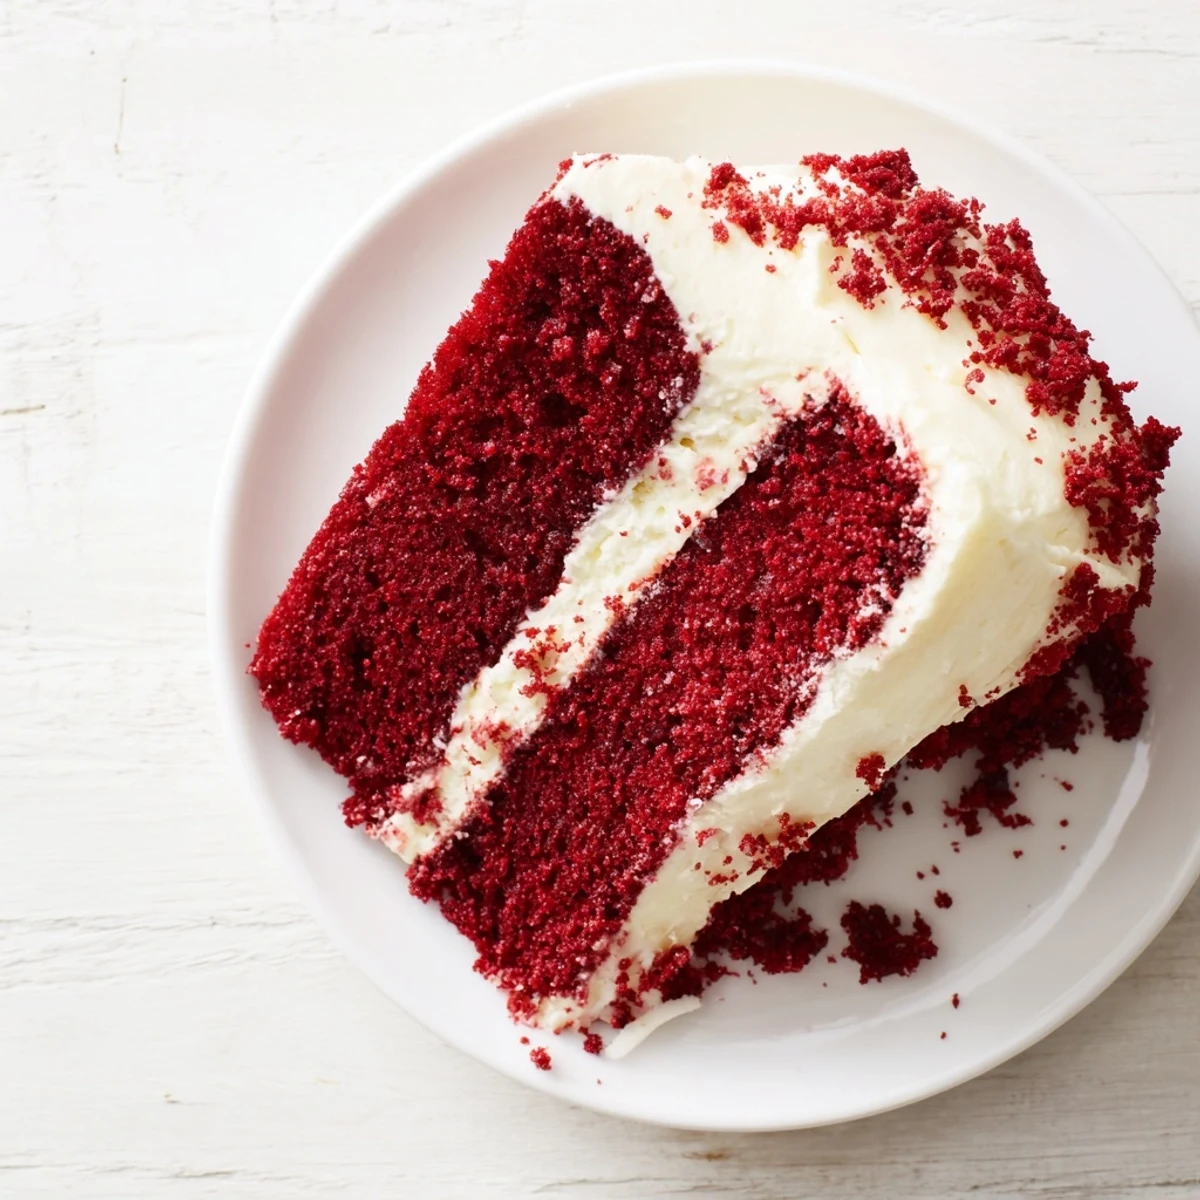
- Sprinkle the top with red velvet cake crumbs for a bakery style finish
 Pin this
 Every time I pull a red velvet cake from the oven, I feel that same warmth I felt in my grandmothers kitchen, watching something simple transform into something magical.
Recipe FAQs
- → What makes red velvet different from chocolate cake?
-
Red velvet cake has a much more subtle cocoa flavor than traditional chocolate cake. The distinct tangy flavor comes from buttermilk and vinegar, while the oil-based batter creates an exceptionally moist, tender crumb. The reaction between natural cocoa powder and acidic ingredients also helps develop its signature reddish hue.
- → Can I make red velvet cake ahead of time?
-
Yes! The unfrosted cake layers can be wrapped tightly in plastic and stored at room temperature for up to 2 days or frozen for up to 3 months. The frosted cake keeps well in the refrigerator for 3-4 days. Bring to room temperature before serving for the best texture and flavor.
- → Why is my red velvet cake dry?
-
Overbaking is the most common cause of dryness. Check your cake at 25 minutes and remove when a toothpick comes out with just a few moist crumbs. Also measure flour accurately—too much flour absorbs moisture. Using room-temperature ingredients helps them incorporate evenly for consistent texture.
- → What can I use instead of red food coloring?
-
For natural coloring, use beet juice or pureed cooked beets, though the color will be more muted than artificial coloring. Some bakers use a combination of beet powder and a small amount of natural red food dye. Keep in mind that natural options may produce a more burgundy or brownish-red hue.
- → How do I get smooth cream cheese frosting?
-
Start with completely softened cream cheese and butter—leave them at room temperature for at least 2-3 hours. Beat them together until completely smooth before adding powdered sugar. Sift the powdered sugar first to prevent lumps. Whip the frosting for 3-4 minutes until light and fluffy for the easiest spreading consistency.
- → Can I make cupcakes instead of a layer cake?
-
Absolutely! This batter makes about 24-30 standard cupcakes. Fill liners two-thirds full and bake at 350°F for 18-22 minutes. Cupcakes cool faster than cake layers, usually within 15-20 minutes. The frosting quantity is perfect for generously topping all the cupcakes.
