 Pin this
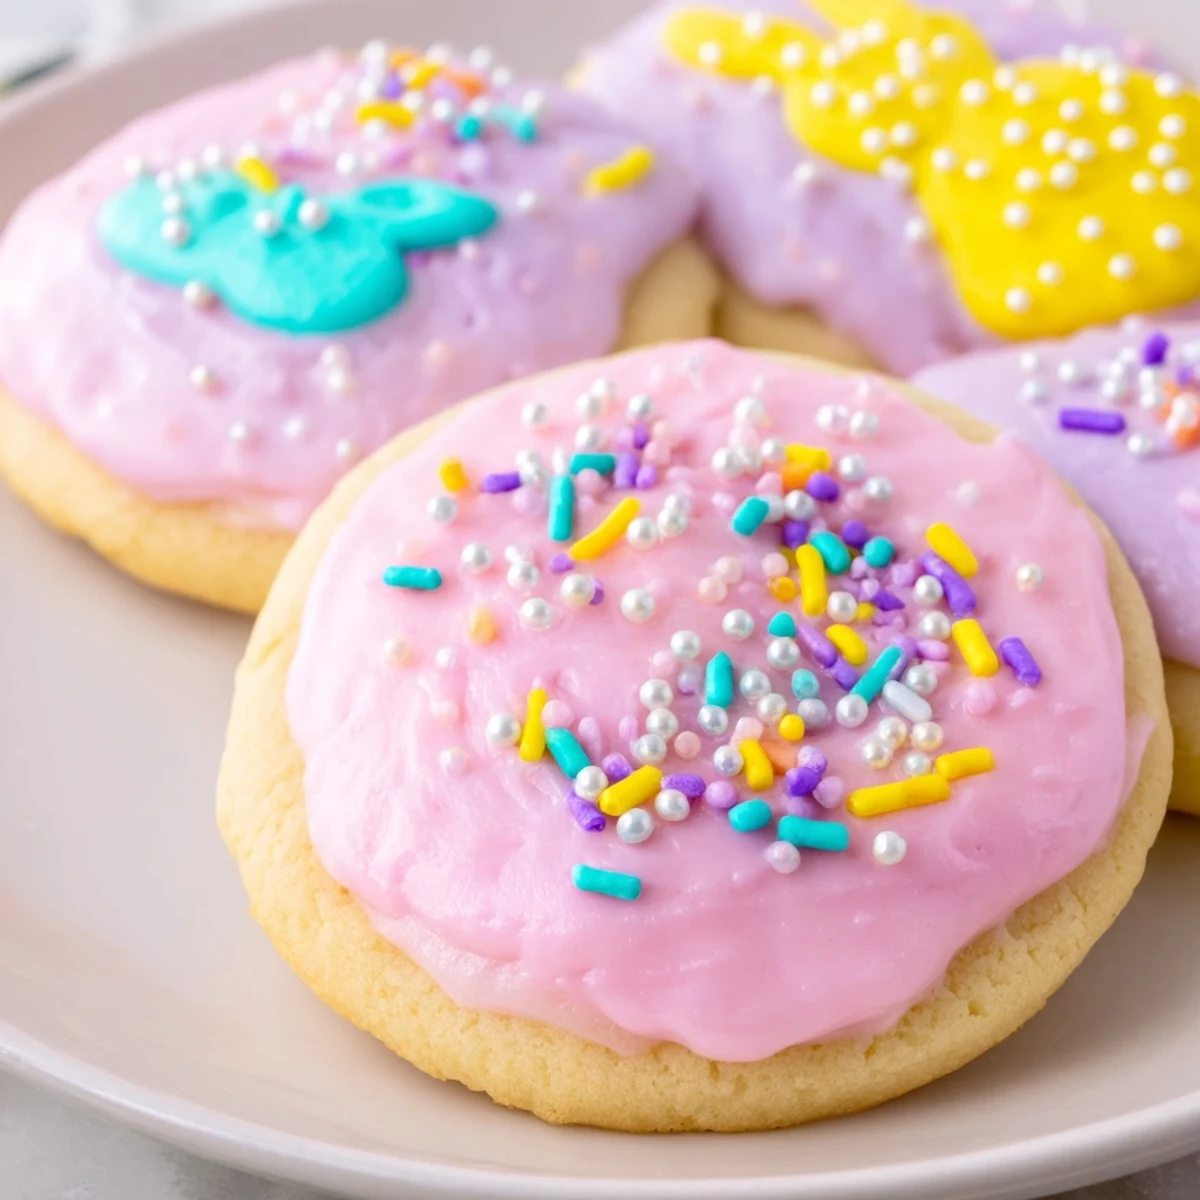
 Create these delightful buttery sugar cookies for your Easter celebration. The dough combines flour, butter, sugar, and vanilla for a classic soft texture. After chilling, roll and cut into festive spring shapes using Easter-themed cutters. Bake until edges are just set, then decorate with homemade royal icing in pastel colors topped with sprinkles. These cookies are perfect for family decorating activities and keep well for up to a week in an airtight container.
My kitchen became a rainbow of pastel chaos last spring when my niece convinced me we needed to make enough Easter cookies for the entire neighborhood. She was six and had very specific opinions about which bunnies needed pink ears and which chicks required orange beaks. That afternoon taught me that the best part of holiday baking isn't the perfect decorations but the flour-dusted laughter and sticky fingers everywhere.
I brought a batch to my book club meeting right before Easter weekend and watched these buttery treats disappear faster than we could discuss our novel. One friend admitted she hid two in her purse to enjoy later when her kids were not looking. Now they request them every year and nobody judges anyone for sneaking seconds.
Ingredients
- All-purpose flour: The structure that holds everything together and gives these cookies their classic sugar cookie texture
- Baking powder: Just enough lift to make them tender without losing their crisp edges
- Salt: A tiny pinch that balances the sweetness and makes all the flavors pop
- Unsalted butter: Softened to room temperature so it creams perfectly into the sugar for that melt in your mouth texture
- Granulated sugar: Sweetens the dough while creating crisp edges when baked
- Large egg: Binds the dough and adds richness for a cookie that is not too crumbly
- Pure vanilla extract: The warm familiar flavor that makes these taste like home
- Powdered sugar: Creates a smooth glossy royal icing that hardens beautifully for stacking and storing
- Milk or water: Adjust this to get your icing exactly the right consistency for flooding or piping
- Light corn syrup: The secret ingredient that keeps your icing shiny and helps it set properly
- Vanilla or almond extract: Almond gives a lovely sophistication while vanilla keeps it classic
- Food coloring: Gel or liquid work but gel gives those vibrant Easter colors without thinning the icing
- Sprinkles and decorations: Let your creativity run wild with pastels shimmer pearls and edible glitter
Instructions
- Whisk the dry ingredients together:
- In a medium bowl combine the flour baking powder and salt until they are evenly distributed and no lumps remain
- Cream the butter and sugar:
- Beat the butter and sugar in a large bowl for 2 to 3 minutes until fluffy pale and noticeably increased in volume
- Add the egg and vanilla:
- Mix in the egg and vanilla extract until everything is fully combined and the mixture looks smooth and glossy
- Combine wet and dry ingredients:
- Gradually add the flour mixture mixing only until just combined to avoid tough cookies
- Chill the dough:
- Divide dough in half flatten into disks wrap tightly and refrigerate for at least 30 minutes to prevent spreading
- Prepare for baking:
- Preheat your oven to 350 degrees F and line baking sheets with parchment paper for easy cleanup
- Roll and cut:
- Roll the chilled dough to a quarter inch thickness on a floured surface and cut into Easter shapes
- Bake to perfection:
- Place cookies one inch apart on prepared sheets and bake for 8 to 10 minutes until edges are set but not browned
- Cool completely:
- Let cookies rest on the baking sheet for 5 minutes before moving them to a wire rack to cool fully
- Prepare royal icing:
- Stir powdered sugar milk corn syrup and vanilla until smooth adding more liquid as needed for your desired consistency
- Decorate your cookies:
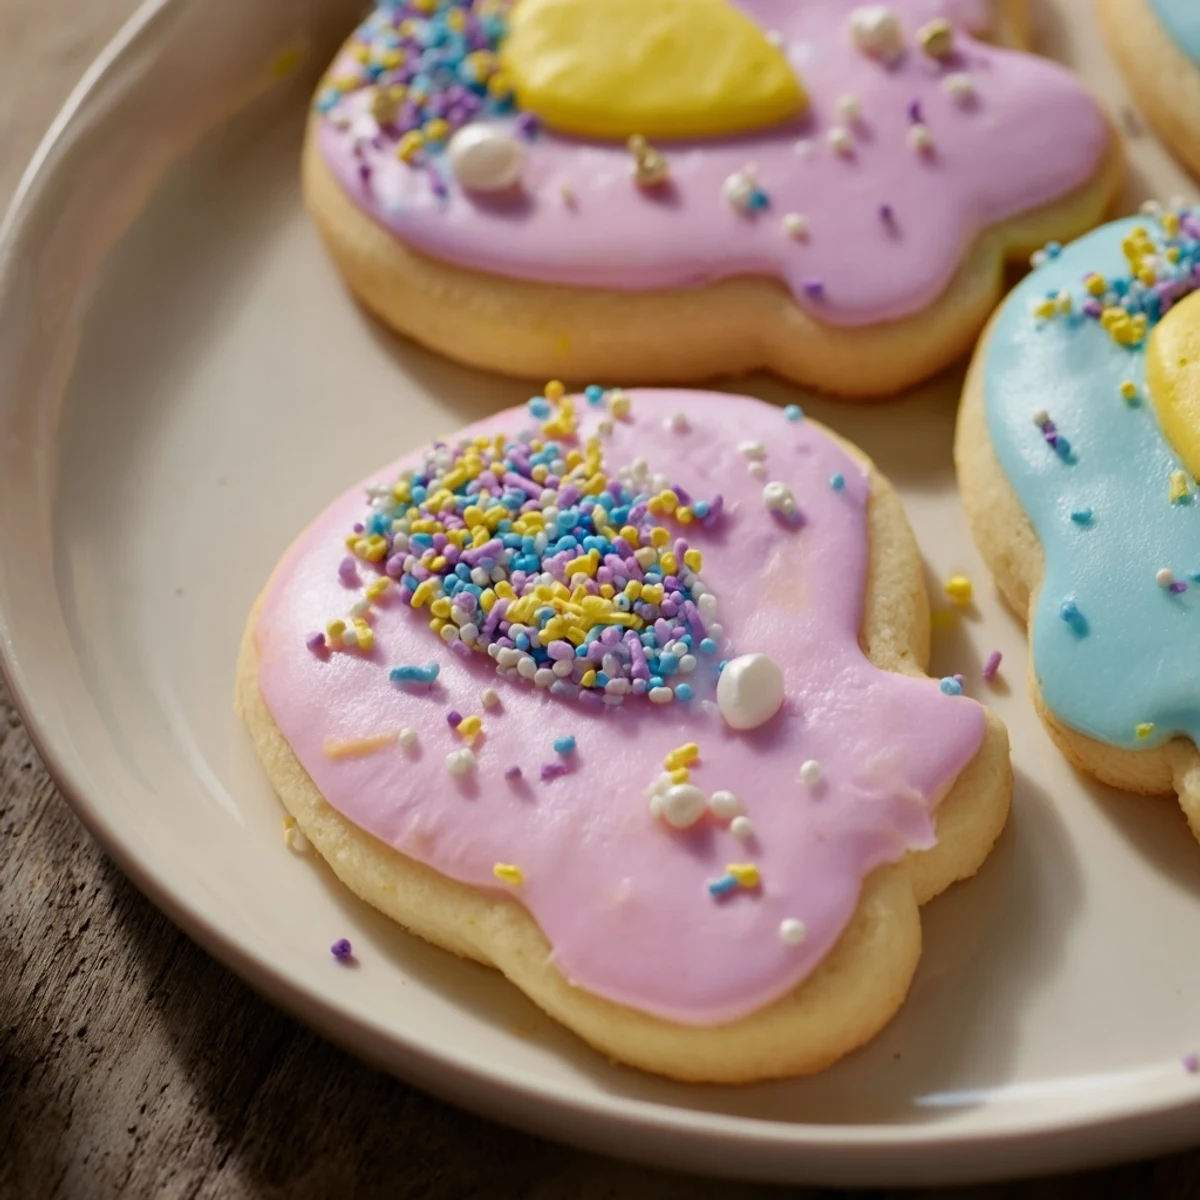
- Tint icing with pastel colors apply to cooled cookies and add sprinkles before the icing sets
 Pin this
 These cookies have become the centerpiece of our Easter brunch table year after year. There is something magical about watching kids and adults alike get lost in decorating their own creations with such serious concentration and joy.
Making Perfect Cookie Shapes
Dip your cookie cutters in flour between each cut to prevent the dough from sticking and losing those crisp edges. If the dough becomes too soft while working simply pop it back in the refrigerator for 10 minutes to firm up again. This simple trick makes all the difference in maintaining intricate Easter shapes like bunnies and detailed eggs.
Decorating Like a Pro
Use squeeze bottles or piping bags for more control when applying icing and outline each cookie first before filling in the center. Let this border set for a few minutes then thin your remaining icing with a few drops of water to flood the inside. Work quickly because royal icing starts forming a skin within minutes and becomes difficult to spread smoothly.
Storage and Make Ahead Tips
The dough can be wrapped tightly and frozen for up to three months then thawed overnight in the refrigerator when the baking mood strikes. Once decorated let the icing dry completely uncovered for at least six hours or overnight before stacking. Undecorated baked cookies stay fresh in an airtight container for up to a week at room temperature.
- Freeze undecorated cookies between layers of wax paper for quick emergency treats
- Separate different icing colors into small bowls with tight lids to prevent drying
- Make extra icing because thinner layers dry faster and look more professional
 Pin this
 May your Easter be filled with colorful cookies happy memories and the warmth of sharing something homemade with the people you love most.
Recipe FAQs
- → How long should I chill the cookie dough?
-
Chill the dough for at least 30 minutes wrapped in plastic. This prevents spreading during baking and makes rolling easier.
- → Can I make these cookies ahead of time?
-
Yes, undecorated cookies store well in an airtight container for up to 1 week. You can also freeze the dough for up to 3 months.
- → What consistency should the royal icing be?
-
Adjust with milk or water until you reach a thick but pipeable consistency. It should hold its shape when piped but still spread slightly for smooth coverage.
- → How do I know when the cookies are done baking?
-
Bake for 8-10 minutes at 350°F. The cookies are done when edges are set but not browned. They will firm up as they cool.
- → Can I use different decorations?
-
Absolutely! Use assorted sprinkles, edible glitter, sanding sugar, or fondant decorations. Add them before the icing sets for best adhesion.
