 Pin this
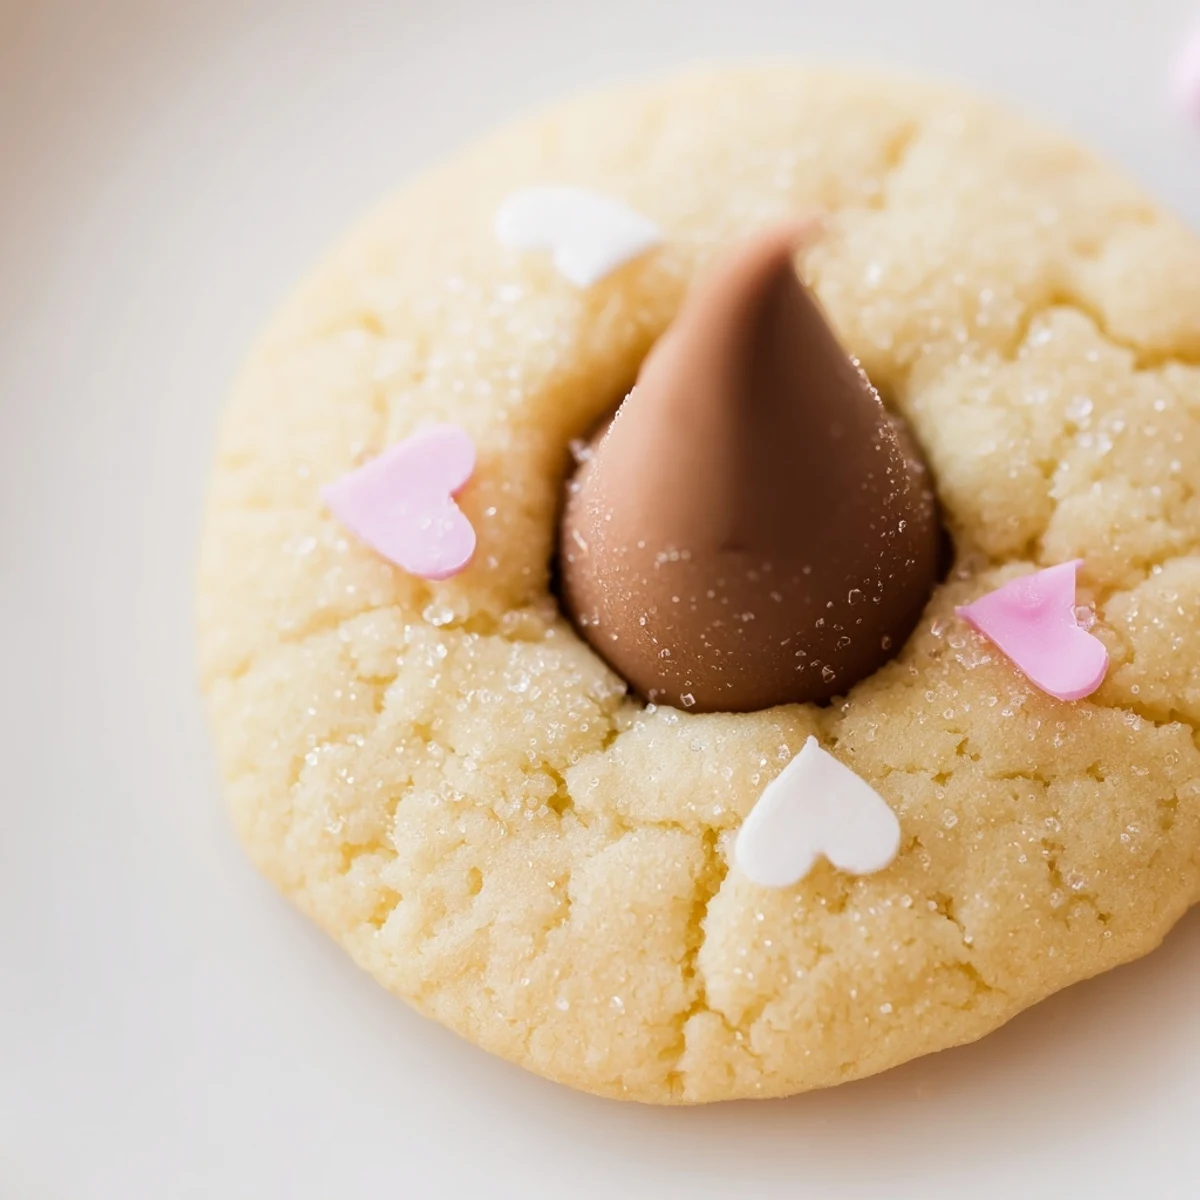
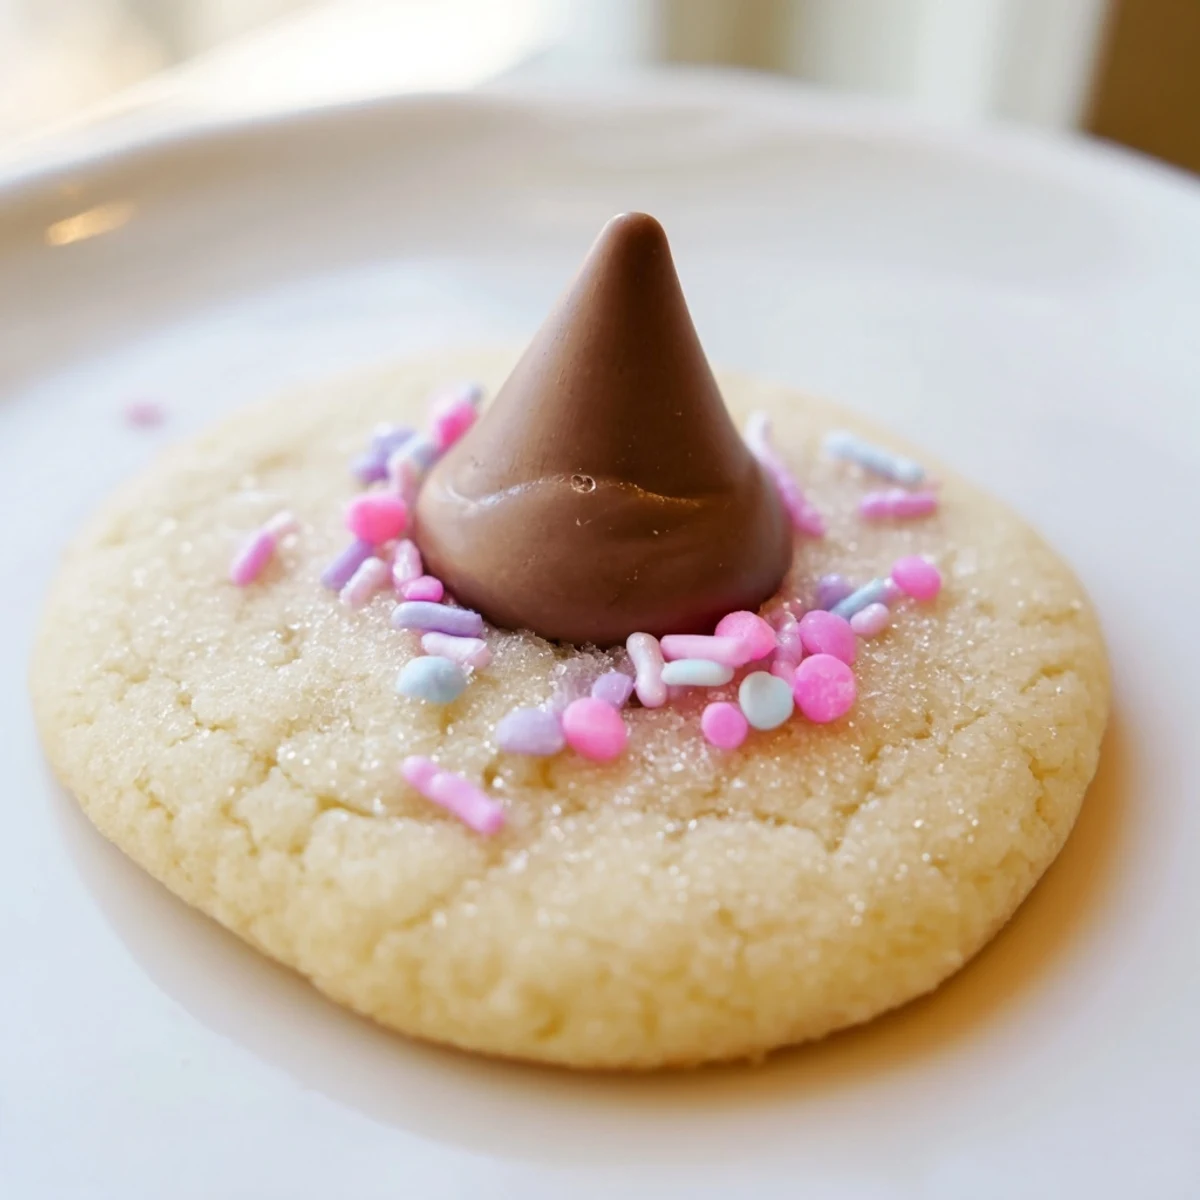
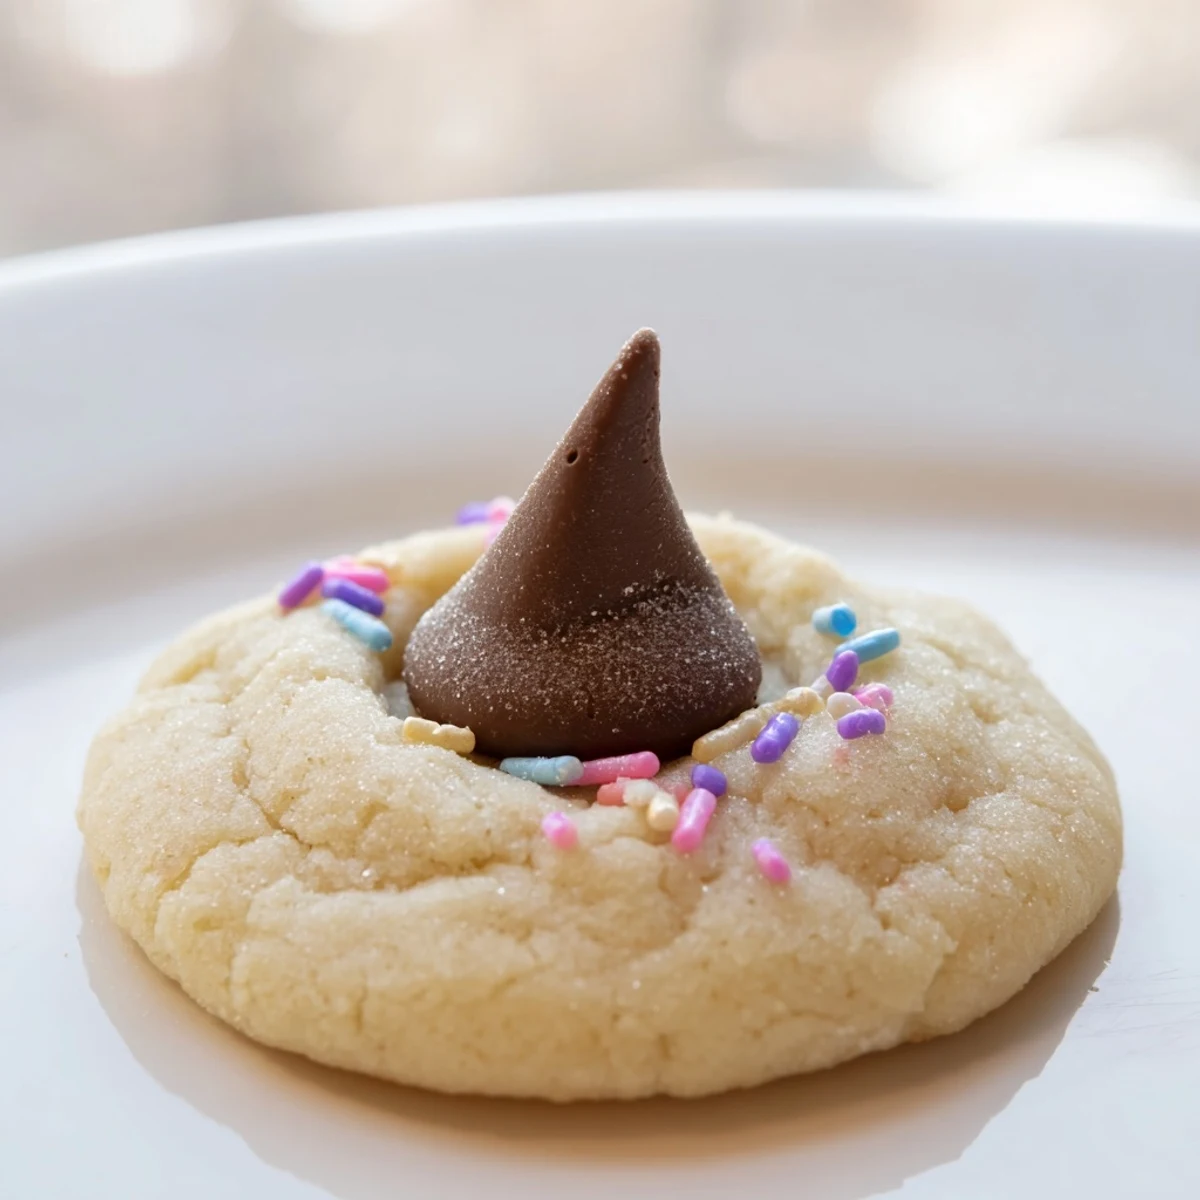
 These delightful Easter blossom cookies feature a soft, buttery base that bakes up tender and golden. Fresh from the oven, press a chocolate kiss into the center of each warm cookie—the chocolate melts slightly creating a decadent centerpiece. Roll the dough balls in pastel sprinkles or colored sugar before baking for that festive spring appearance. The entire process takes just 30 minutes from start to finish, making these ideal for last-minute holiday baking or weekend treats with family.
The kitchen still smelled like vanilla and anticipation when my sister caught me pressing the chocolate kisses into warm cookies. She laughed because I was doing it too fast, burning my fingertips, but those little bursts of pain felt worth it for the way the chocolate started melting into the soft buttery centers.
My neighbor brought these to our first apartment Easter gathering, and I ate three before dinner even started. She told me the secret was pressing the chocolate in immediately after baking, and twelve years later, I still think about her standing in my tiny kitchen, showing me exactly how to time it.
Ingredients
- 1 cup (225 g) unsalted butter, at room temperature: Cold butter creates stubborn dough, so leave it out for at least an hour
- 1 cup (200 g) granulated sugar: Cream this thoroughly with the butter for those melt-in-your-mouth centers
- 1 large egg: Room temperature eggs blend better, no cold surprises in your dough
- 2 teaspoons pure vanilla extract: Do not skimp here, this is the soul of the cookie
- 2 cups (250 g) all-purpose flour: Spoon and level instead of scooping directly, overpacked flour makes dry cookies
- 1/4 teaspoon salt: Just enough to make the butter flavor sing
- 1/2 teaspoon baking powder: Gives them that gentle lift without spreading too thin
- 36 chocolate blossom kisses: Unwrap them before you start baking, trust me on this timing
- Pastel sprinkles or colored sanding sugar: Roll the dough balls gently, the sprinkles stick best to slightly tacky dough
Instructions
- Get your oven ready:
- Preheat to 350°F (175°C) and line your baking sheets with parchment paper, this saves so much cleanup later
- Make the magic happen:
- Cream the butter and sugar in a large bowl until the mixture looks pale and fluffy, about 3 minutes of honest work
- Add the personality:
- Beat in the egg and vanilla until everything speaks the same language, completely combined
- Whisk the dry team:
- In a separate bowl, combine the flour, salt, and baking powder so they are ready to join the party
- Bring it all together:
- Gradually add the dry ingredients to your butter mixture, mixing just until you cannot see flour anymore
- Shape your cookies:
- Scoop tablespoon-sized balls, roll them smooth, then coat each one in pastel sprinkles for that Easter celebration look
- Give them room:
- Place the dough balls 2 inches apart on your prepared baking sheets, they need space to breathe
- Bake until perfect:
- Bake for 8 to 10 minutes, watching for edges that look set while centers still feel soft and promising
- The most important moment:
- Immediately press a chocolate blossom kiss into the center of each warm cookie, the chocolate should melt just enough to hold
- Patience pays off:
- Let them cool on the tray for 5 minutes, then move them to a wire rack to finish their journey
 Pin this
 Last spring, my five-year-old niece helped me roll the dough balls in sprinkles. More ended up on the floor and in her hair than on the cookies, but those were the most beautiful batch I have ever made.
Making Them Your Own
White chocolate kisses turn these into something completely different, and dark chocolate lovers should definitely try the special dark variety. Caramel-filled kisses create this incredible gooey center that people cannot quite identify but keep eating anyway.
Storage Wisdom
These cookies actually get better after a day in an airtight container, the flavors meld together beautifully. If you manage to have any left after three days, they will still taste fresh, though the chocolate might not look quite as perfect.
Baking Success Secrets
The dough can be made ahead and refrigerated for up to two days, just let it soften for 15 minutes before shaping. Cold dough makes cracking cookies, while room temperature dough spreads into lovely smooth rounds.
- Rotate your baking sheets halfway through if your oven has hot spots
- Double the recipe for Easter gatherings, these disappear faster than you expect
- Keep the kisses unwrapped and ready before you start baking
 Pin this
 These cookies have become my go-to for spring potlucks because they look impressive but are actually so simple to make. Sometimes the most joyful moments in the kitchen are the ones shared over a plate of colorful, chocolate-topped cookies.
Recipe FAQs
- → Can I make the dough ahead of time?
-
Yes, you can refrigerate the dough for up to 2 days before baking. Let it come to room temperature for about 15 minutes before rolling into balls and baking.
- → What other chocolates work well for the centers?
-
Try white chocolate kisses, caramel-filled chocolates, or even mini peanut butter cups. Dark chocolate kisses add a rich contrast to the buttery dough.
- → Why press the chocolate in after baking?
-
Adding the chocolate kiss while cookies are still warm helps it adhere securely and melt slightly into the center. If added before baking, the chocolate may burn or lose its shape.
- → How should I store these cookies?
-
Keep in an airtight container at room temperature for up to 1 week. Place parchment paper between layers to prevent the chocolate from smudging. They also freeze well for up to 3 months.
- → Can I freeze the dough?
-
Absolutely! Scoop the dough balls and freeze on a baking sheet, then transfer to a freezer bag. Bake from frozen, adding 1-2 minutes to the baking time. Roll in sprinkles before freezing.
- → What if I don't have sprinkles?
-
Coarse sugar, nonpareils, or even crushed candy canes work beautifully. You can also skip the coating entirely—the chocolate center makes these plenty festive on their own.
