 Pin this
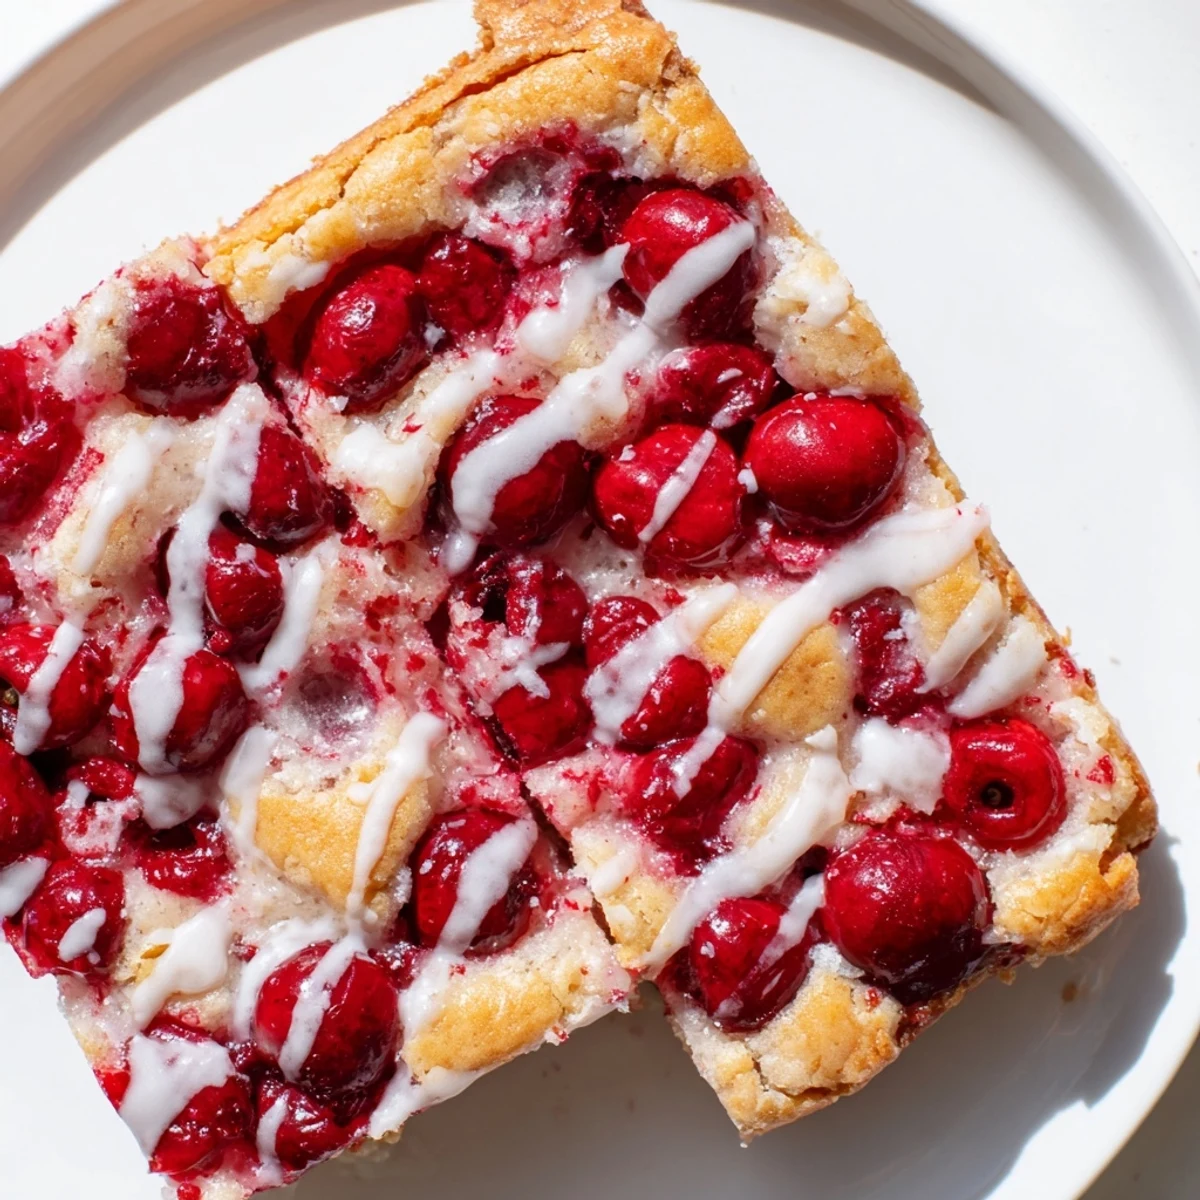
 These tender cherry bars feature a buttery shortbread-like dough base layered with sweet cherry pie filling, then crowned with dollops of remaining dough and finished with a vanilla glaze. The entire treat bakes in just 35 minutes and yields 16 generous servings.
The dough comes together quickly by creaming softened butter with sugar, then adding eggs and vanilla. Most of this mixture forms the bottom crust, while the remainder gets scattered over the cherry filling to create that classic crumbled topping appearance. After baking until golden, a simple powdered sugar glaze gets drizzled over the cooled bars for the perfect finishing touch.
My kitchen still smells like the first time I baked these cherry pie bars. I was running late for a neighborhood potluck and needed something impressive but quick. These bars have since become my go-to dessert because they look like I spent hours but actually come together in minutes.
Last summer my daughter requested these for her birthday instead of cake. All her friends kept asking where I bought them and couldnt believe they were homemade. Now theyre the first thing requested for every gathering.
Ingredients
- Unsalted butter: Use truly softened butter for the creamiest dough texture
- Granulated sugar: Creates that perfect tender crumb we want in the crust
- Large eggs: Room temperature eggs incorporate more smoothly into the batter
- Vanilla and almond extract: The almond extract is optional but adds that classic cherry bakery flavor
- All-purpose flour: Provides structure while keeping the bars tender
- Salt: Balances the sweetness and enhances all the flavors
- Cherry pie filling: One can is all you need for that perfect fruit layer
- Powdered sugar: Creates the sweet drizzle that makes these look professional
- Milk: Adjust the amount to get your preferred glaze consistency
Instructions
- Preheat your oven:
- Get it to 350°F and grease a 9x13-inch pan or line it with parchment paper for easy removal.
- Cream the butter and sugar:
- Beat them together until the mixture is light and fluffy, which creates that tender texture.
- Add the eggs and extracts:
- Mix in the eggs one at a time, then add the vanilla and almond extracts until fully incorporated.
- Combine dry ingredients:
- Whisk together the flour and salt in a separate bowl, then gradually add to the wet mixture.
- Layer the dough:
- Press about two-thirds of the dough into the bottom of your prepared pan in an even layer.
- Add the cherry filling:
- Spoon the cherry pie filling evenly over the dough base, spreading it to the edges.
- Top with remaining dough:
- Drop small spoonfuls of the remaining dough over the cherries, leaving gaps for them to show through.
- Bake until golden:
- Bake for 30 to 35 minutes until the top is lightly golden and the edges are set.
- Cool completely:
- Let the bars cool fully on a wire rack before adding the glaze.
- Make the glaze:
- Whisk together the powdered sugar, milk, and vanilla until smooth and drizzle over the cooled bars.
- Slice and serve:
- Wait for the glaze to set before cutting into squares and serving.
 Pin this
 My grandmother always said the best desserts are the ones that make people ask for seconds before they have even finished their first serving. These cherry pie bars do exactly that every single time.
Making These Your Own
I have discovered that swapping the almond extract for extra vanilla changes the whole flavor profile. Blueberry pie filling works beautifully here too, especially in summer when you want something lighter and more refreshing.
Storage Secrets
These bars actually taste better on the second day, which makes them perfect for making ahead. Store them in an airtight container at room temperature for up to three days, or freeze the unglazed bars for up to two months.
Serving Suggestions
A warm bar with a scoop of vanilla ice cream creates that perfect hot and cold contrast everyone loves. They are also incredible alongside a cup of coffee in the morning, though I may or may not speak from experience on that one.
- Sprinkle a little sea salt over the glaze for a salted caramel effect
- Add a handful of chopped pecans to the topping dough for extra crunch
- These bars make excellent gifts, layered in parchment paper in a pretty box
 Pin this
 There is something so satisfying about a dessert that looks impressive but comes from humble ingredients. I hope these cherry pie bars become a staple in your kitchen like they have in mine.
Recipe FAQs
- → Can I use fresh cherries instead of canned filling?
-
Yes, though you'll need to cook fresh cherries with sugar and cornstarch to create a thickened filling similar to canned pie filling. This adds about 15-20 minutes to your prep time.
- → How should I store these bars?
-
Store in an airtight container at room temperature for up to 3 days, or refrigerate for up to a week. The bars can also be frozen for up to 3 months—wrap individual pieces in plastic wrap and place in a freezer bag.
- → Can I make these without a mixer?
-
Absolutely. You can cream the butter and sugar by hand with a sturdy wooden spoon, though it will take a bit more elbow grease. Just ensure the butter is very soft before starting.
- → What other fruit fillings work well?
-
Blueberry, apple, strawberry, or peach pie filling all work beautifully. You can also combine multiple flavors for a mixed fruit twist.
- → Why do I need to cool completely before glazing?
-
Warm bars will cause the glaze to melt and run off rather than set properly. Allowing them to cool completely ensures the glaze stays in place and creates that lovely drizzled appearance.
- → Can I make these ahead for a party?
-
Yes! These bars actually taste better the next day as flavors meld. Make them up to 24 hours in advance, store covered at room temperature, and glaze shortly before serving.
