 Pin this
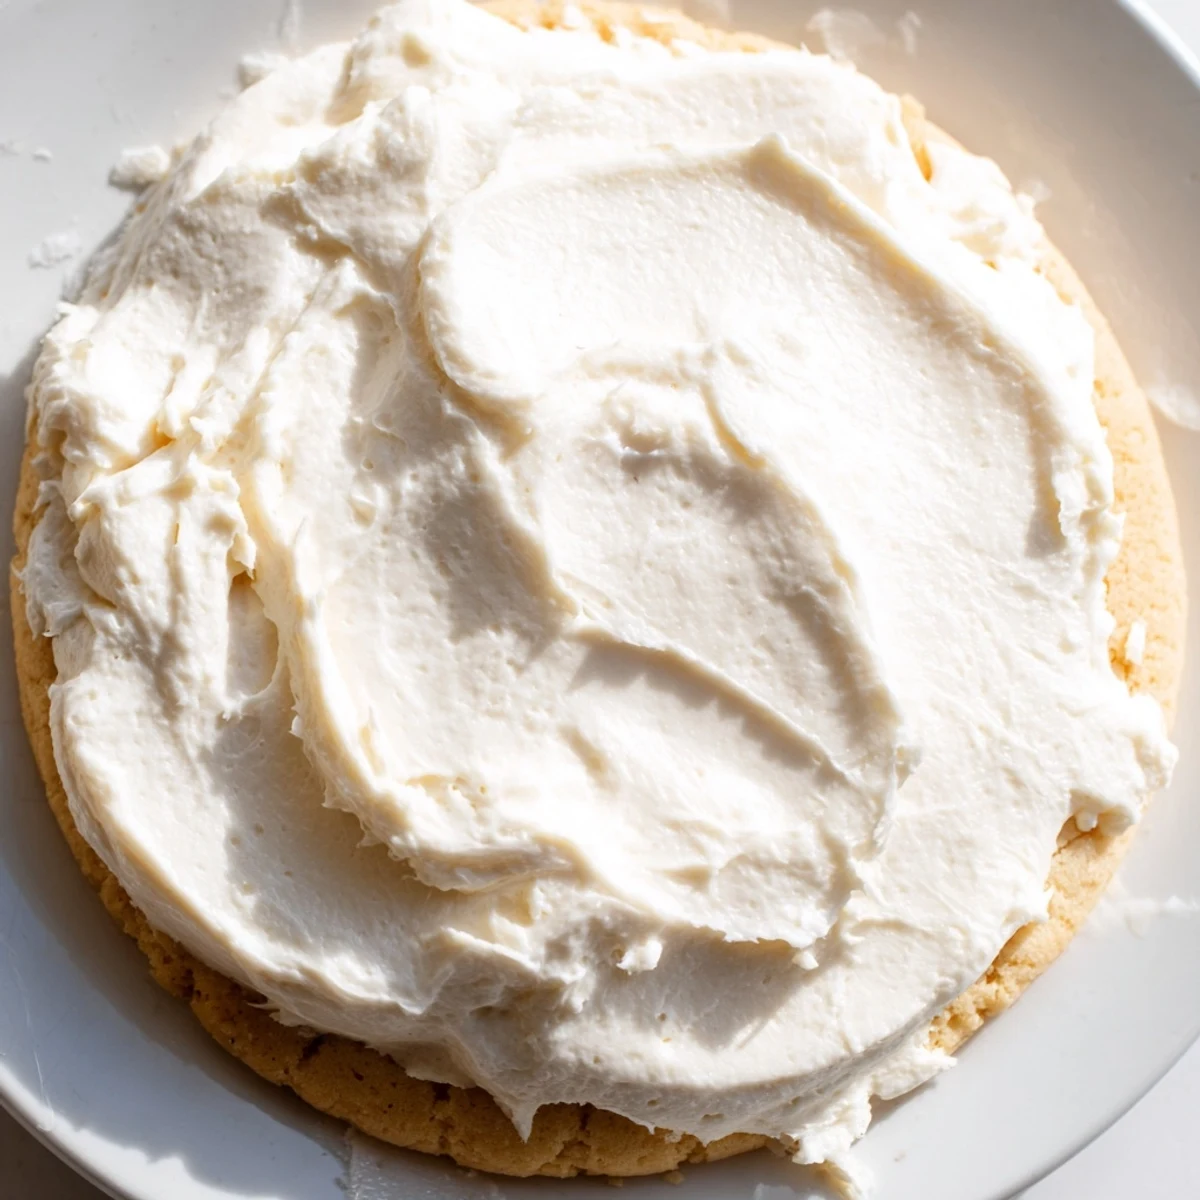
 Whip up this silky vanilla buttercream in just 10 minutes for perfectly frosted sugar cookies. The creamy texture spreads easily and forms a slight crust that holds its shape beautifully for decorating.
Adjust the consistency with milk or powdered sugar to achieve your ideal thickness—from smooth spreading to detailed piping. The rich vanilla flavor complements any cookie without overwhelming the sweetness.
This versatile topping works wonderfully on cupcakes and brownies too. Store leftovers in the refrigerator for up to a week and re-whip before using for fresh, fluffy results every time.
The kitchen smelled like pure comfort when I first whipped up this vanilla frosting. I had a last-minute cookie decorating emergency and no time to run to the store, so I threw together what I had on hand. To my surprise, it turned out better than anything I had bought. Now it is my go-to for every sugar cookie occasion.
Last December, my niece and I spent an entire afternoon decorating snowflake-shaped cookies with this frosting. We made a complete mess of the kitchen, powdered sugar dusted every surface like fresh snowfall. Those cookies disappeared faster than any batch I have ever made.
Ingredients
- Unsalted butter: Softening it properly prevents grainy frosting and makes everything blend smoothly
- Powdered sugar: Sifting first eliminates lumps that could ruin the silky texture
- Whole milk: Adjust this to control how thin or thick your frosting becomes
- Pure vanilla extract: The real stuff makes all the difference in flavor
- Pinch of salt: This tiny addition balances the sweetness and rounds out the vanilla
Instructions
- Cream the butter:
- Beat softened butter on medium speed until it looks smooth and glossy, about one minute
- Add the sugar gradually:
- Pour in powdered sugar slowly while mixing on low to prevent a sugar cloud from exploding all over your kitchen
- Make it fluffy:
- Pour in milk, vanilla, and salt then beat on medium-high for two to three minutes until the frosting turns light and airy
- Adjust your consistency:
- Add more milk one teaspoon at a time for thinner frosting or more sugar for a stiffer texture that holds detailed piping work
- Frost your cookies:
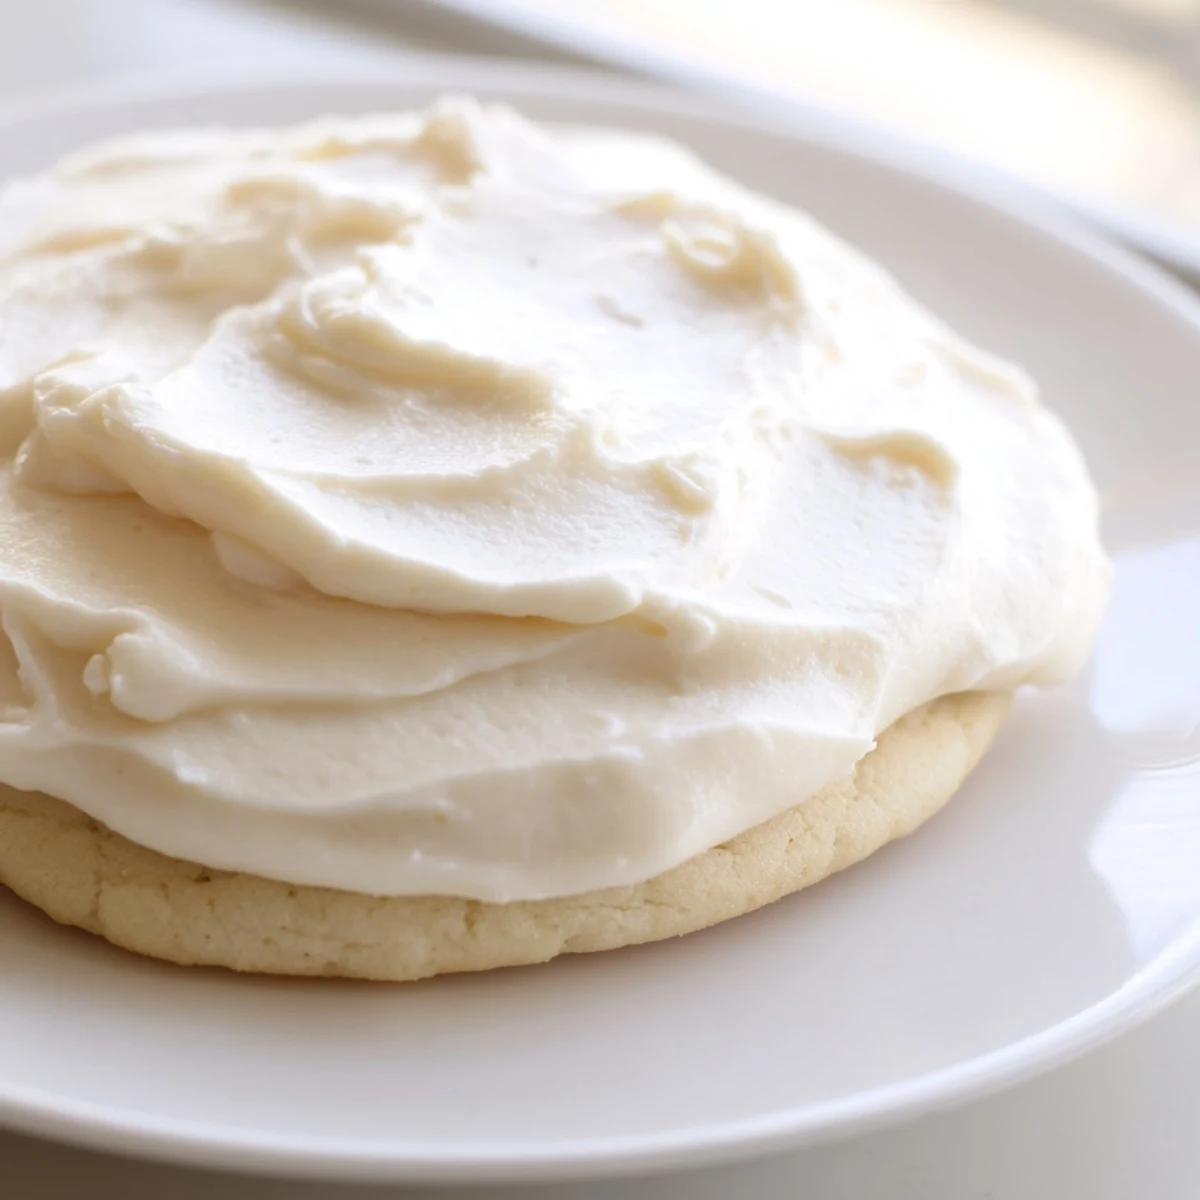
- Spread or pipe onto completely cooled cookies and let them sit for an hour or two to develop that perfect slightly crunchy top layer
 Pin this
 My friend Sarah called me in a panic before her daughter is birthday party, needing frosting for three dozen cookies. I walked her through this recipe over the phone, and she texted me later saying it saved the day. Now she refuses to use anything else.
Making Different Colors
I learned to divide the frosting into small bowls before adding gel coloring. Start with a tiny drop on the end of a toothpick because a little goes an incredibly long way. The colors deepen as they sit, so wait a few minutes before adding more.
Storage Solutions
Extra frosting keeps surprisingly well in an airtight container for up to a week in the refrigerator. When you are ready to use it again, let it come to room temperature and give it a quick whip to restore that fluffy texture. I often make a double batch just to have some on hand for emergency cupcake situations.
Getting Creative
Beyond sugar cookies, this frosting works beautifully on cupcakes, brownies, and even between cake layers. I have used almond extract instead of vanilla for a different twist, and once stirred in some melted chocolate for a fudge variation. The basic formula is forgiving and adapts well to whatever you are craving.
- Add sprinkles immediately after frosting so they stick before the crust forms
- Practice piping on a plate first if you are trying new designs
- Clean your piping tips between color changes to keep the frosting looking pristine
 Pin this
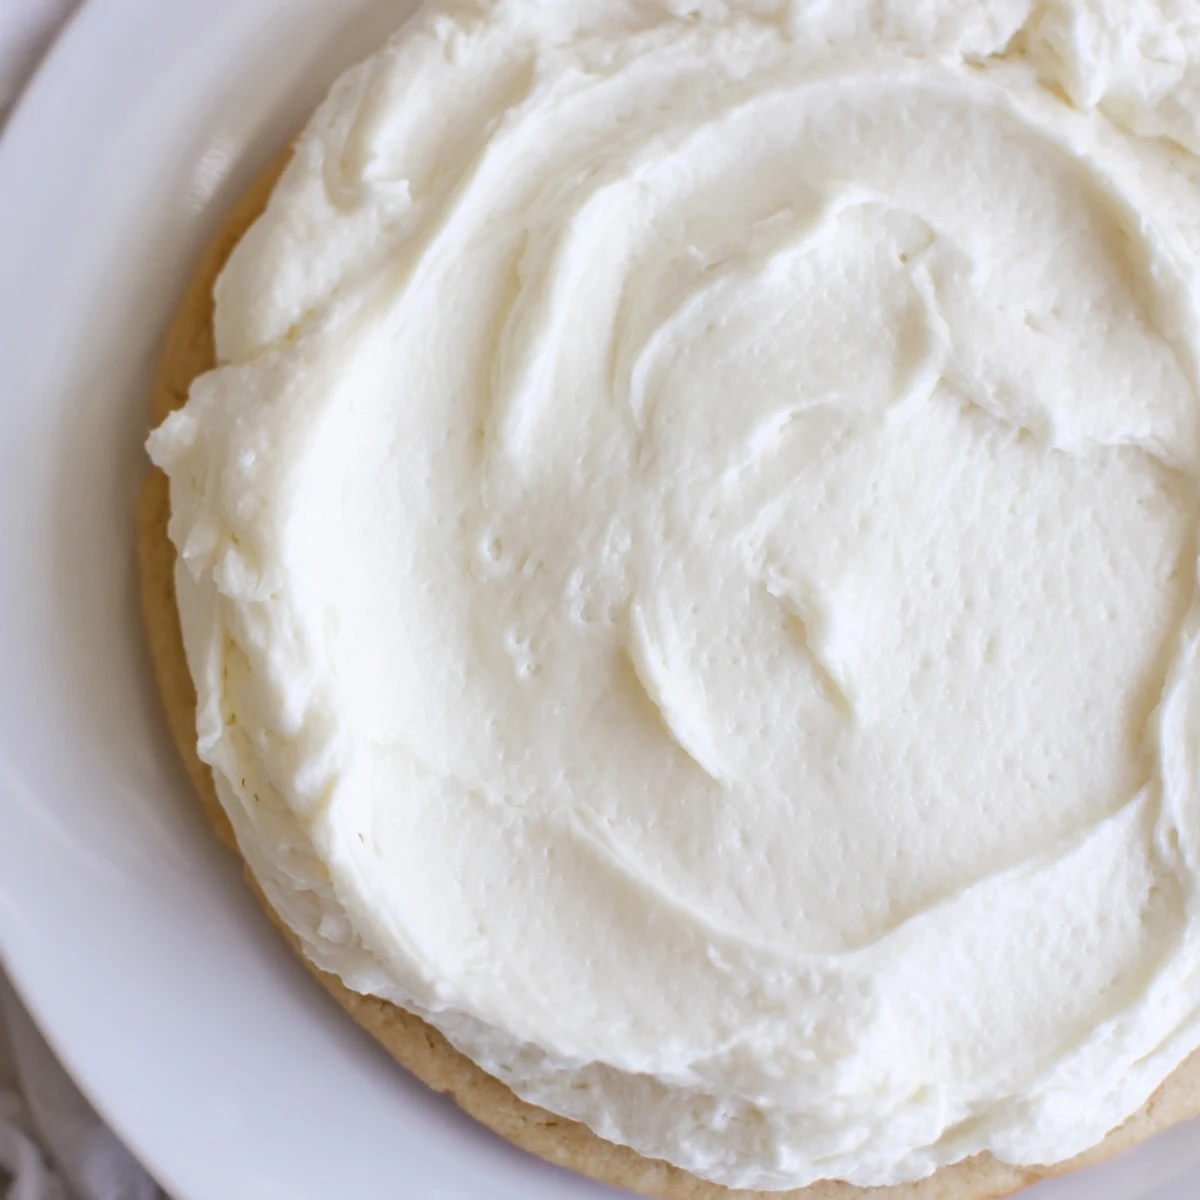
 There is something so satisfying about a batch of beautifully frosted cookies waiting on the counter. I hope this recipe becomes as reliable for you as it has been for me.
Recipe FAQs
- → Can I make this frosting ahead of time?
-
Yes, prepare this buttercream up to one week in advance. Store in an airtight container in the refrigerator, then bring to room temperature and re-whip with an electric mixer until fluffy before using.
- → How do I achieve the right consistency?
-
Start with the base recipe, then adjust as needed. Add milk one teaspoon at a time for thinner frosting perfect for spreading. Incorporate more powdered sugar for a stiffer texture ideal for piping detailed decorations.
- → Can I substitute the butter?
-
Unsalted butter provides the best flavor and texture. Margarine works in a pinch but may affect consistency. For a dairy-free version, use vegan butter sticks rather than spreads—avoid tub varieties as they contain too much water.
- → Why did my frosting turn out too thin or thick?
-
Humidity, temperature, and measuring technique affect results. Always sift powdered sugar before measuring to prevent lumps. If too thin, gradually add more sifted sugar. If too thick, incorporate milk one teaspoon at a time until reaching desired consistency.
- → How do I color this frosting?
-
Add gel food coloring after step 3 for vibrant hues without altering texture. Start with a tiny drop—you can always add more. Liquid food coloring works but may require additional powdered sugar to maintain proper consistency.
- → Why does my frosting need to set?
-
Allowing decorated cookies to rest at room temperature for 1–2 hours creates a slight crust on the surface. This protective layer prevents smudging during stacking or transport while keeping the interior creamy and smooth.
