 Pin this
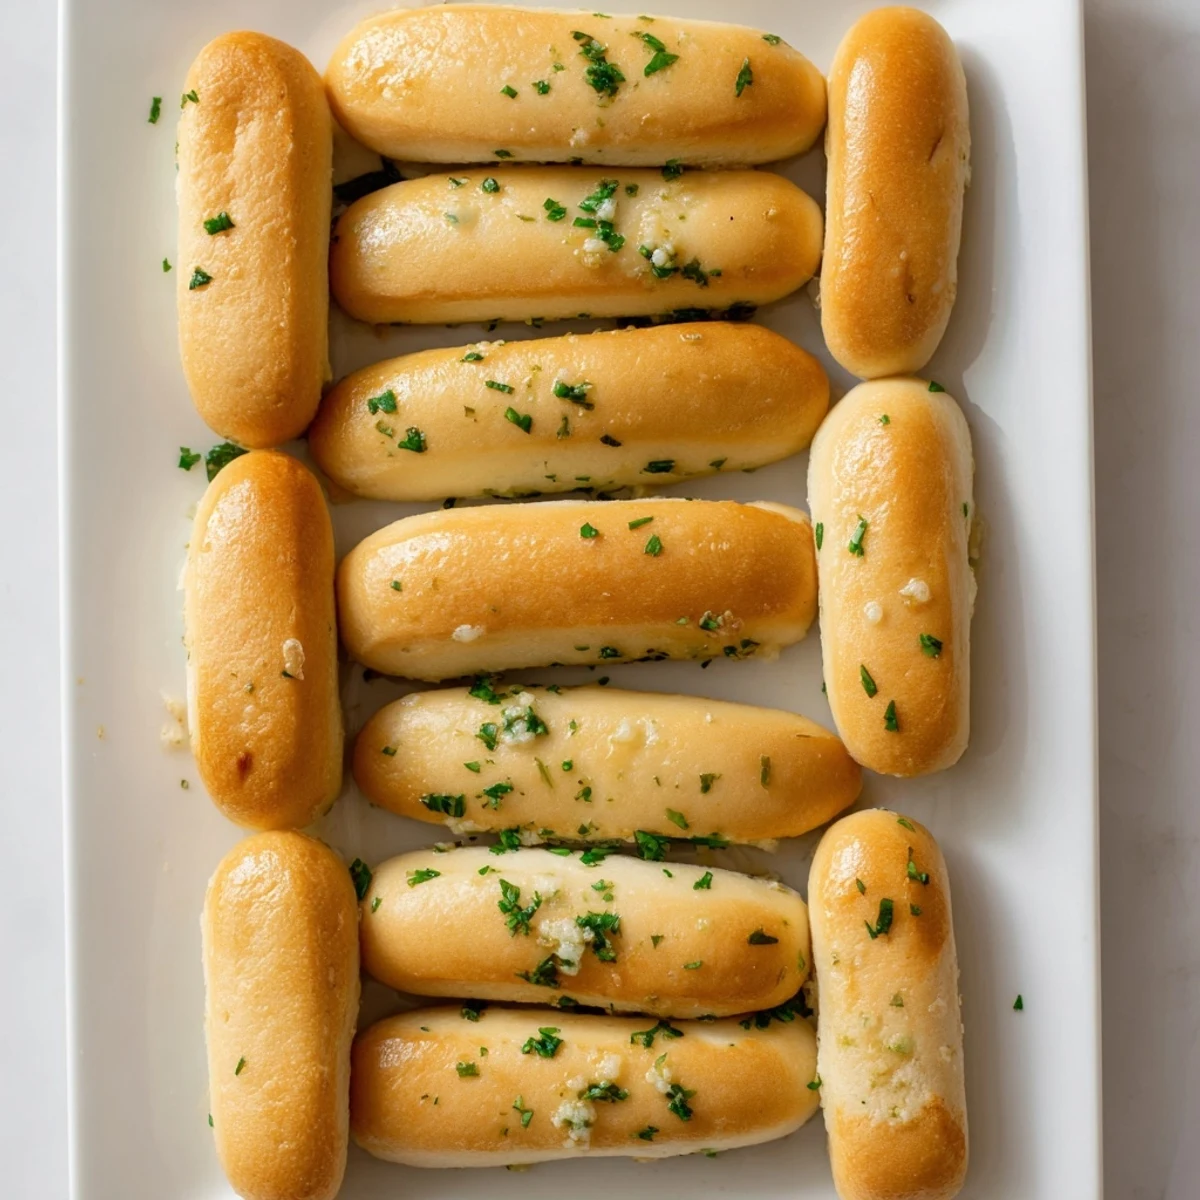
 These soft, fluffy breadsticks feature a buttery garlic and herb coating that makes them irresistibly delicious. The dough comes together with pantry staples and requires just one rise before shaping and baking.
Brush them generously with melted garlic butter straight from the oven for maximum flavor absorption. The result is golden, tender sticks with a fragrant, savory exterior that pairs beautifully with marinara for dipping.
Customize by adding grated Parmesan before baking or swapping parsley for basil and oregano. These versatile breadsticks complement everything from weeknight pasta to Sunday dinner spreads.
The smell of garlic butter hitting fresh baked bread is the kind of thing that makes everyone wander into the kitchen asking when dinner is ready. I started making these breadsticks years ago when I needed something to go with a big pot of minestrone and nothing in the freezer sounded good. They disappeared so fast that the soup almost became a side dish. Now they show up at nearly every gathering I host, usually before the main course even makes it to the table.
One winter evening my neighbor knocked on the door to return a borrowed casserole dish right as a tray of these came out of the oven. I sent her home with three breadsticks wrapped in a napkin, and she now texts me every couple of weeks hinting that it might be time for another batch.
Ingredients
- All-purpose flour (2 cups/250 g): Regular unbleached flour works perfectly here, no need for bread flour or anything fancy.
- Warm water (1 cup/120 ml): Should feel like a warm bath on your wrist, around 110 degrees Fahrenheit, because water that is too hot will kill the yeast.
- Instant yeast (1 1/2 tsp/5 g): Instant yeast skips the proofing step, though I always proof it anyway because watching it foam is my reassurance that everything is alive and well.
- Sugar (1 tsp/5 g): Just enough to wake up the yeast, you will not taste any sweetness in the final bread.
- Salt (3/4 tsp/4 g): Do not skip this, it matters more than you think for bread that actually tastes like something.
- Unsalted butter, softened (2 tbsp/28 g): Goes into the dough for tenderness and a subtle richness throughout.
- Unsalted butter, melted (3 tbsp/42 g): This is for the garlic butter finish, and using unsalted lets you control the seasoning.
- Garlic, finely minced (2 cloves): Fresh garlic only, the jarred stuff tastes flat and tinny by comparison.
- Fresh parsley, finely chopped (1 tbsp): Optional in theory but it adds a bright pop of color and a freshness that balances all that butter.
Instructions
- Wake up the yeast:
- Pour the warm water into a large bowl, stir in the sugar and yeast, and let it sit somewhere draft free for about five minutes until the surface looks cloudy and bubbly.
- Build the dough:
- Add the flour, salt, and softened butter to the yeasty water, then mix with your hands or a wooden spoon until a shaggy dough comes together.
- Knead until proud:
- Turn the dough onto a lightly floured counter and knead for seven to eight minutes, pushing with the heel of your hand and folding it back over itself until the dough feels smooth and springs back when poked.
- First rise:
- Place the dough in a lightly greased bowl, cover it with a kitchen towel, and leave it in a warm spot for about an hour until it has puffed up to roughly double its size.
- Shape the breadsticks:
- Punch the dough down gently, divide it into twelve even pieces, and roll each one into a rope about seven or eight inches long, placing them on a parchment lined baking sheet as you go.
- Second rise:
- Cover the shaped breadsticks loosely with the towel again and let them puff up for twenty to thirty minutes while you preheat the oven to 400 degrees Fahrenheit.
- Bake:
- Slide the tray into the oven and bake for twelve to fifteen minutes, watching for that pale gold color on top and slightly darker edges.
- Garlic butter finish:
- While the breadsticks bake, stir together the melted butter, minced garlic, salt, and parsley, then brush the mixture generously over every breadstick the second they leave the oven so it melts right in.
 Pin this
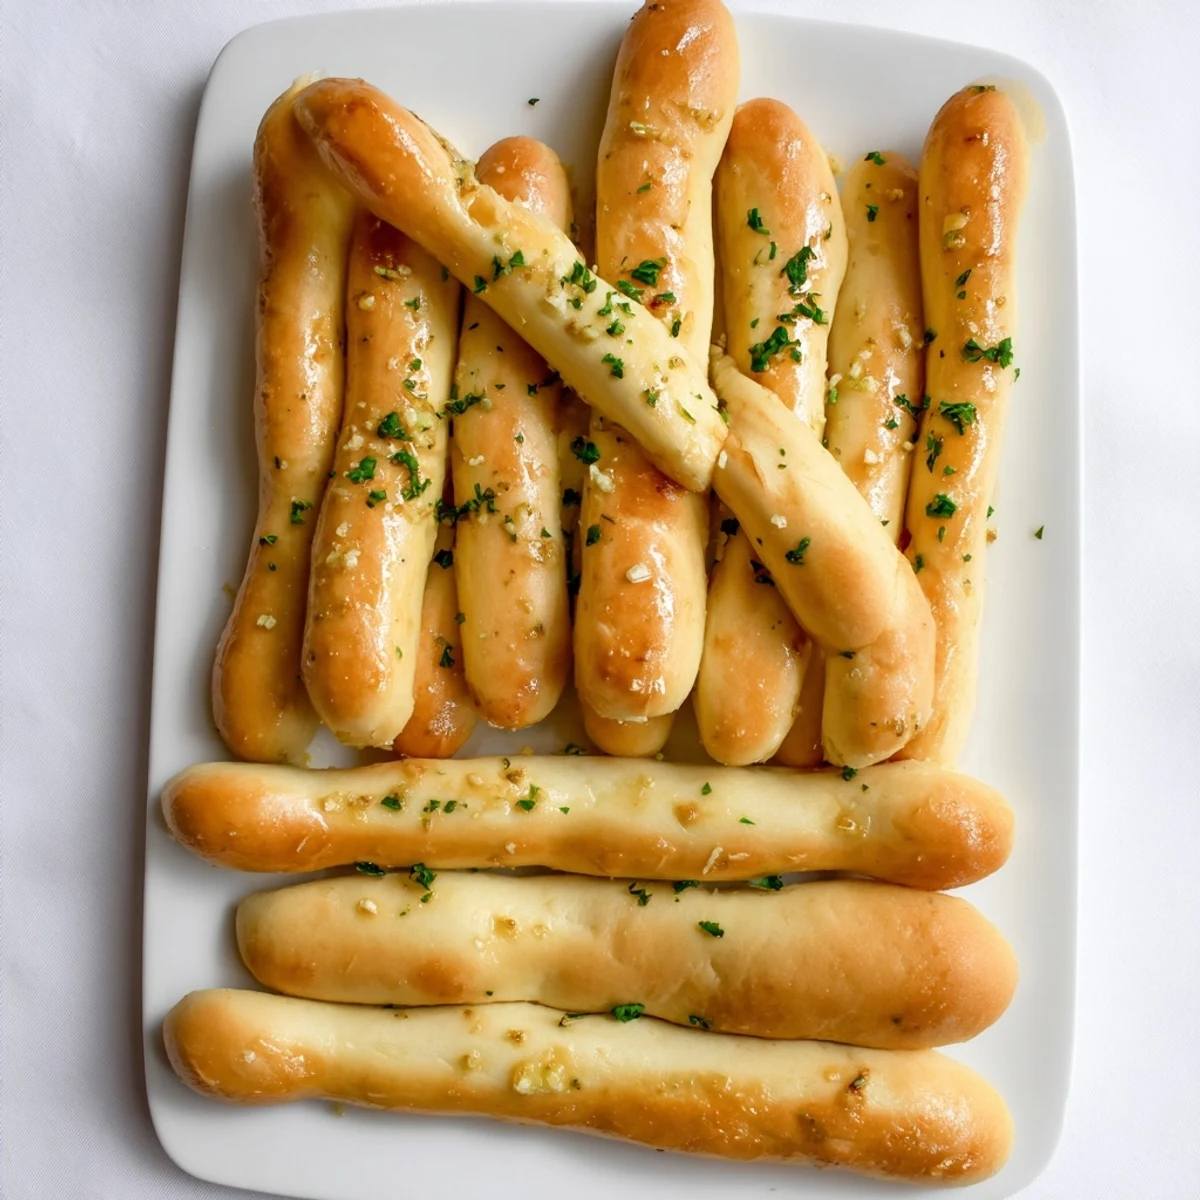
 There is something about a basket of warm breadsticks that turns a regular weeknight dinner into an event worth sitting down for. I have watched people skip the actual meal and just stand over the tray, eating them plain.
Getting the Dough Right Every Time
The trick to dough that is easy to work with is not adding too much flour during kneading. It should feel tacky but not stick to your hands, like a post it note clinging briefly then letting go.
Making Them Your Own
Sprinkle grated Parmesan over the breadsticks just before baking if you want a cheesy, golden crust that cracks nicely when you pull them apart. Swapping the parsley for oregano or basil changes the personality entirely and pairs especially well if you are serving them alongside anything with red sauce.
Serving and Storing
These are at their absolute best within the first hour out of the oven, when the crust is still slightly crisp and the center stays soft and pillowy. If you have leftovers, wrap them in foil and reheat in a 350 degree oven for five minutes to bring back some of that fresh baked texture.
- A bowl of warm marinara on the side turns these into a snack people will hover around all evening.
- You can freeze the shaped, unbaked breadsticks on a tray, then transfer to a bag for up to a month and bake straight from frozen with a few extra minutes.
- Always make the full batch even if you think it is too much, because they will disappear faster than you expect.
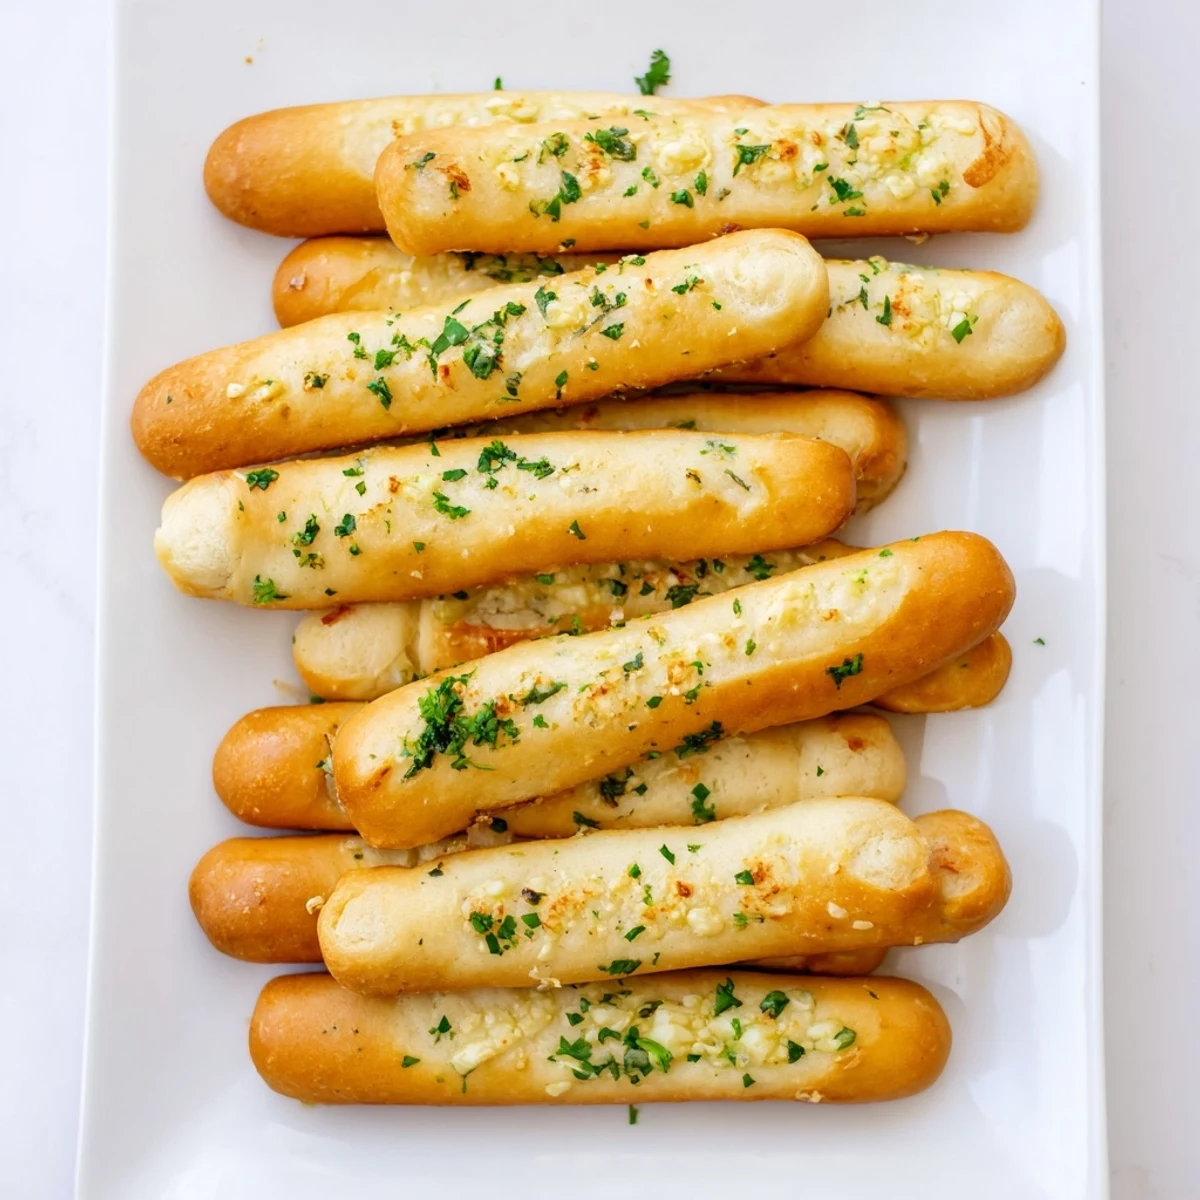 Pin this
 Keep these in your back pocket for any night that needs a little something extra, and do not be surprised when they become the thing everyone asks for before they even ask what the main course is. Good bread has a way of stealing the show.
Recipe FAQs
- → Why do my breadsticks turn out dense?
-
Dense breadsticks usually result from under-kneading or insufficient rising time. Knead the dough until it feels smooth and elastic, about 7–8 minutes by hand. Let it double in size during the first rise, and give the shaped sticks 20–30 minutes to puff up before baking.
- → Can I make these ahead of time?
-
Yes! Prepare the dough through the first rise, then refrigerate overnight. Let it come to room temperature for 30 minutes before shaping and baking. You can also bake fully, cool completely, and freeze for up to 3 months. Reheat in a 350°F oven for 5–7 minutes.
- → What's the best way to store leftover breadsticks?
-
Store cooled breadsticks in an airtight container or zip-top bag at room temperature for up to 2 days. For longer storage, freeze them. To refresh, wrap in foil and warm in a 375°F oven for about 5 minutes until heated through.
- → Can I use dried herbs instead of fresh parsley?
-
Absolutely. Substitute 1 teaspoon dried parsley, basil, or oregano for the fresh herbs. Dried herbs are more concentrated, so use about one-third the amount. Add them to the melted butter along with the garlic for even distribution.
- → How do I know when the yeast is activated?
-
After combining warm water, sugar, and yeast, let it sit for 5 minutes. The mixture should become foamy or frothy on top, indicating the yeast is alive and active. If no foam appears, your yeast may be expired or the water was too hot or cold.
- → Can I make these without a stand mixer?
-
Definitely. The dough kneads easily by hand on a lightly floured surface. Use the heels of your hands to push the dough away, fold it back toward you, and rotate. Continue for 7–8 minutes until smooth, elastic, and no longer sticky.
