
 Pin this
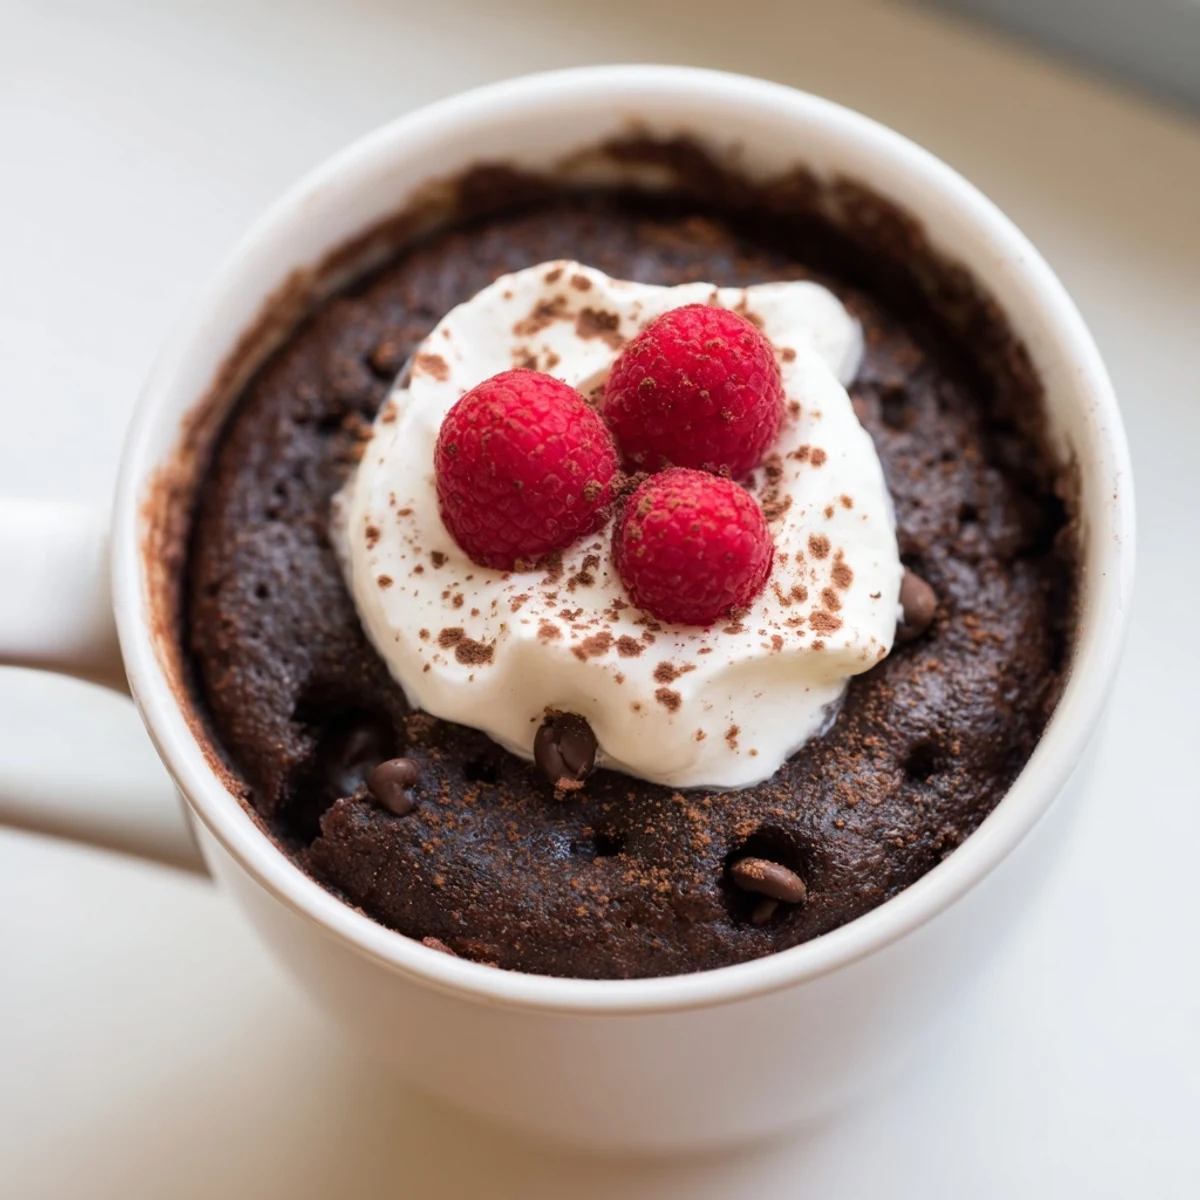
 This gluten free chocolate mug cake is the ultimate quick-fix dessert for anyone craving something rich and chocolaty without the gluten. Simply whisk together gluten-free flour, cocoa powder, sugar, and a leavening agent directly in a microwave-safe mug, then stir in milk, oil, and vanilla until smooth.
In under two minutes of microwaving, you'll have a warm, decadent single-serving cake with a tender crumb. Fold in chocolate chips for extra indulgence, or keep it simple and top with whipped cream or fresh berries.
It's vegetarian-friendly, easily adapted for dairy-free diets, and requires no special equipment beyond a mug and a microwave.
The clock read 11:47 at night and my chocolate craving had crossed from polite suggestion into full blown demand. I had no interest in turning on the oven, waiting for butter to soften, or washing a single bowl. What I wanted was something warm, intensely chocolatey, and ready before my resolve could talk me out of it. That is how this mug cake became my most repeated late night ritual.
I made this for my neighbor Clara during a winter power outage when the only working appliance was her ancient microwave. She took one bite in the dim light of a flashlight and declared it better than any bakery cake she had ever paid for.
Ingredients
- Gluten free all purpose flour blend (3 tablespoons): This provides the structure without any gritty aftertaste, and I have found that blends containing xanthan gum give the most reliable crumb.
- Unsweetened cocoa powder (2 tablespoons): Use a good quality one because there are so few ingredients and the chocolate flavor depends entirely on it.
- Granulated sugar (3 tablespoons): It sweetens the batter and also helps the top develop a slightly crackly edge during microwaving.
- Baking powder (1/4 teaspoon): Just enough lift to keep the cake from becoming a dense puck, and please check that it is certified gluten free.
- Salt (pinch): A small pinch wakes up every layer of chocolate flavor in a way you will notice if you forget it.
- Milk, dairy or non dairy (3 tablespoons): Any milk works here, and I usually grab whatever is in the fridge including oat or almond.
- Neutral oil (2 tablespoons): Oil keeps the cake moist even after it cools, which butter tends not to do in a microwave setting.
- Pure vanilla extract (1/4 teaspoon): It rounds out the chocolate and adds a warmth that makes the cake taste homemade rather than rushed.
- Chocolate chips (1 tablespoon, optional): Fold them in for pockets of melted chocolate, or press one into the center before microwaving for a molten surprise.
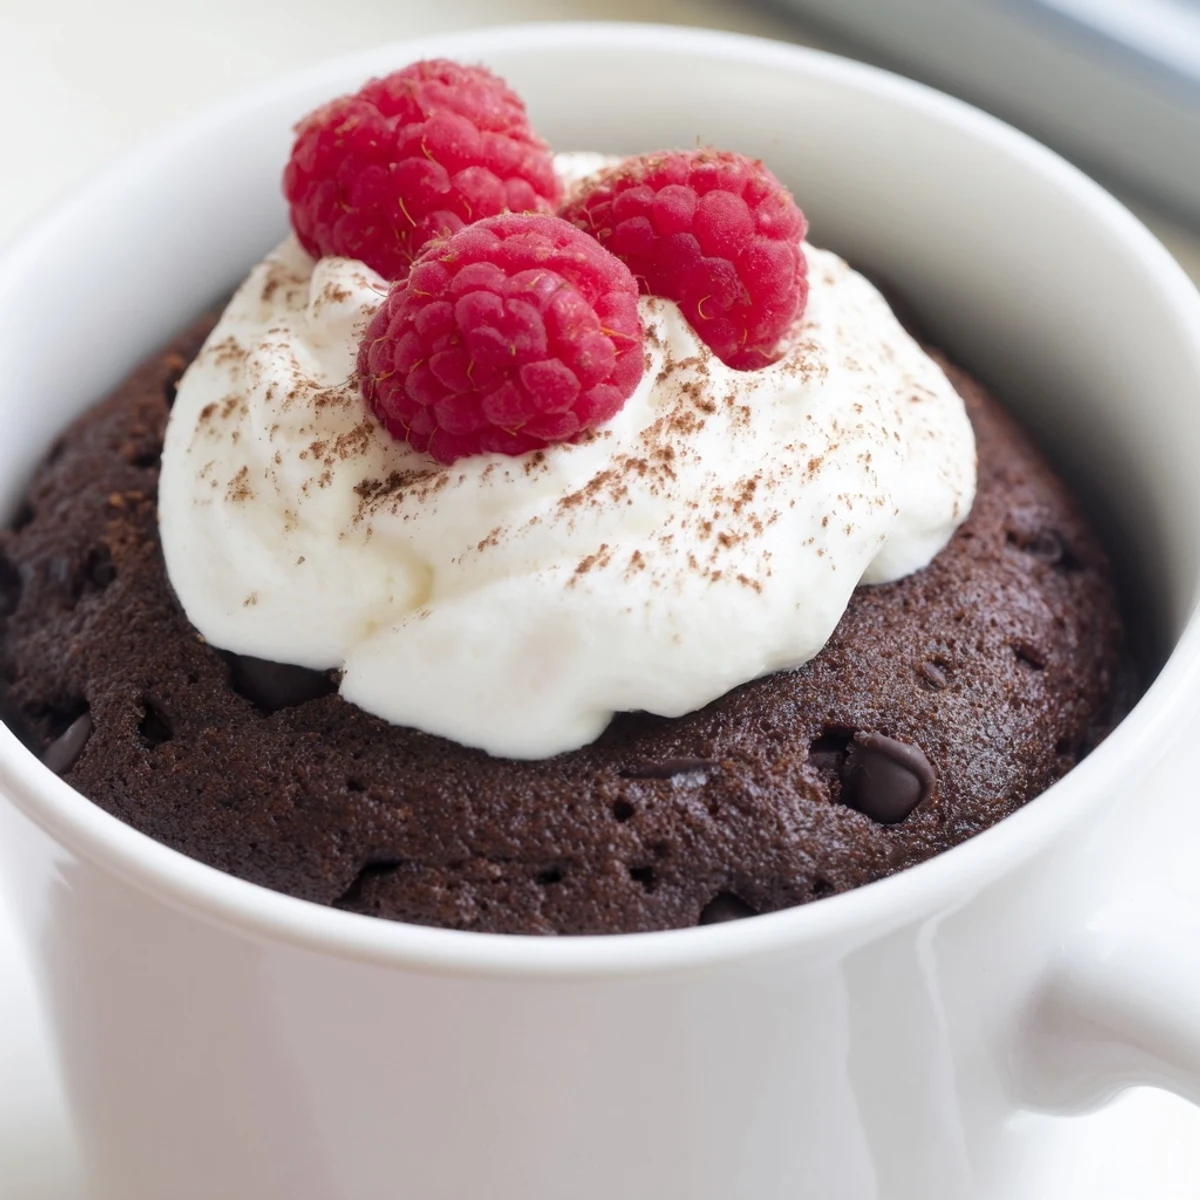
- Whipped cream or berries (for serving, optional): A spoonful of cold cream against the warm cake creates the best temperature contrast.
Instructions
- Build the dry foundation:
- In a microwave safe mug of at least 12 ounces, whisk together the gluten free flour, cocoa powder, sugar, baking powder, and salt until no lumps remain and the color is uniform.
- Bring in the wet ingredients:
- Pour in the milk, oil, and vanilla extract, then stir thoroughly with a spoon or small whisk until you have a smooth batter with no dry pockets hiding at the bottom.
- Add the chocolate chips:
- Gently fold them into the batter if you are using them, distributing them evenly so every bite has a melted chocolate pocket.
- Let the microwave work its magic:
- Microwave on high for 1 minute 30 seconds to 2 minutes, watching through the door as the cake rises dramatically, and stop when the center looks set and springs back lightly when touched.
- Rest briefly and finish:
- Let the cake cool for 1 to 2 minutes in the mug, then top with whipped cream or berries if desired and eat directly from the mug while it is still warm.
 Pin this
 One rainy Tuesday I packed a pre measured zip bag of the dry ingredients for a road trip and mixed the cake in a hotel coffee mug while my partner laughed at my dedication.
Serving Ideas That Go Beyond the Basics
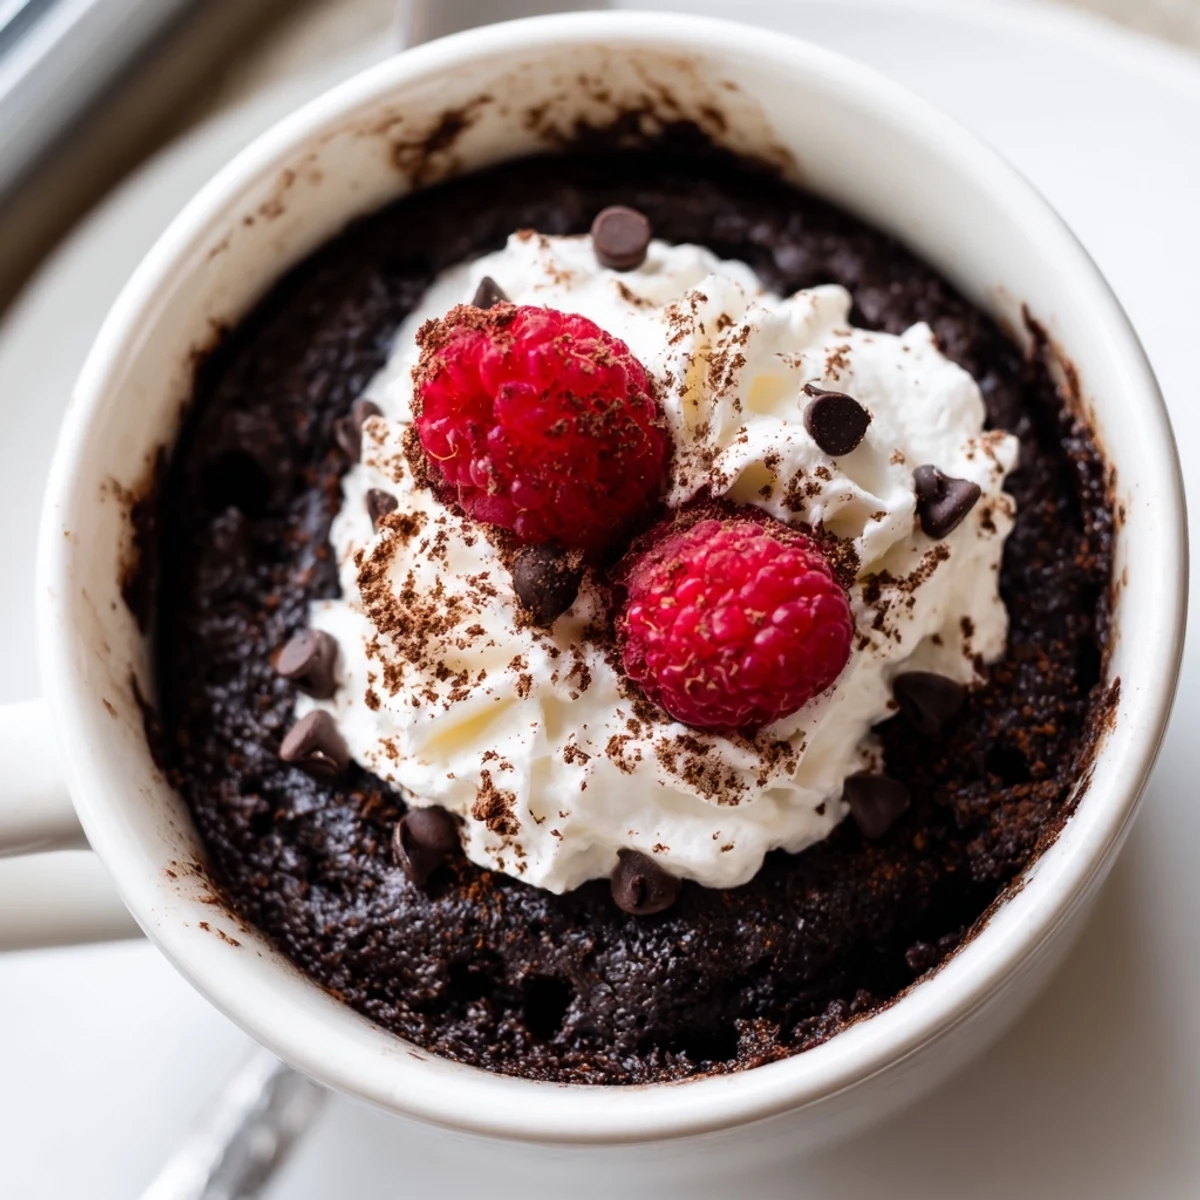
A smear of peanut butter on top turns this into something resembling a warm reese cup, and a handful of raspberries adds a tartness that cuts through the richness beautifully.
Making It Dairy Free Is Simple
Swap the milk for oat or almond milk and use dairy free chocolate chips, and you will not notice any difference in the final texture or flavor at all.
What to Watch for When You Are New to Mug Cakes
The batter will look slightly thinner than you expect, and that is exactly right, so resist the urge to add more flour. Trust the process and the microwave will set everything perfectly.
- If your cake develops a small dip in the center, that is completely normal and actually holds toppings beautifully.
- Letting the cake rest the full two minutes improves the texture noticeably because it finishes cooking from residual heat.
- Never reuse a mug that still has cake stuck to the bottom without washing it first, as leftover bits will burn in the next round.
 Pin this
 Some nights the best thing you can do for yourself is make something warm and sweet in under ten minutes and eat it standing at the counter. This little mug cake was made exactly for those nights.
Recipe FAQs
- → Can I make this mug cake dairy free?
-
Absolutely. Simply swap the milk for your preferred plant-based alternative such as almond, soy, or oat milk, and use dairy-free chocolate chips. The texture and flavor remain wonderfully rich and satisfying.
- → Why did my mug cake turn out rubbery?
-
A rubbery texture usually means the cake was overcooked. Microwaves vary in power, so start with 1 minute 30 seconds and check for doneness. The cake should be just set and spring back lightly when touched.
- → Which gluten-free flour blend works best?
-
Use a gluten-free all-purpose flour blend that already contains xanthan gum for the best texture. Avoid single-flour substitutes like coconut or almond flour, as they behave very differently and will alter the results.
- → Can I prepare the dry mix ahead of time?
-
Yes, you can pre-measure and combine the dry ingredients in a small airtight container or zip-top bag. When you're ready, just add them to a mug, stir in the wet ingredients, and microwave. This makes an excellent quick dessert option for busy days.
- → How do I know when the mug cake is fully cooked?
-
Gently press the top of the cake — it should feel set and spring back slightly without leaving an indent. The edges will look firm while the center may appear just slightly moist but not wet. Always let it rest for 1-2 minutes after microwaving, as it continues to set during that time.
- → What size mug should I use?
-
Use a microwave-safe mug that holds at least 12 ounces to prevent overflow. A standard coffee mug typically works well. Avoid small espresso-style cups, as the batter will rise during cooking and needs room to expand.