
 Pin this
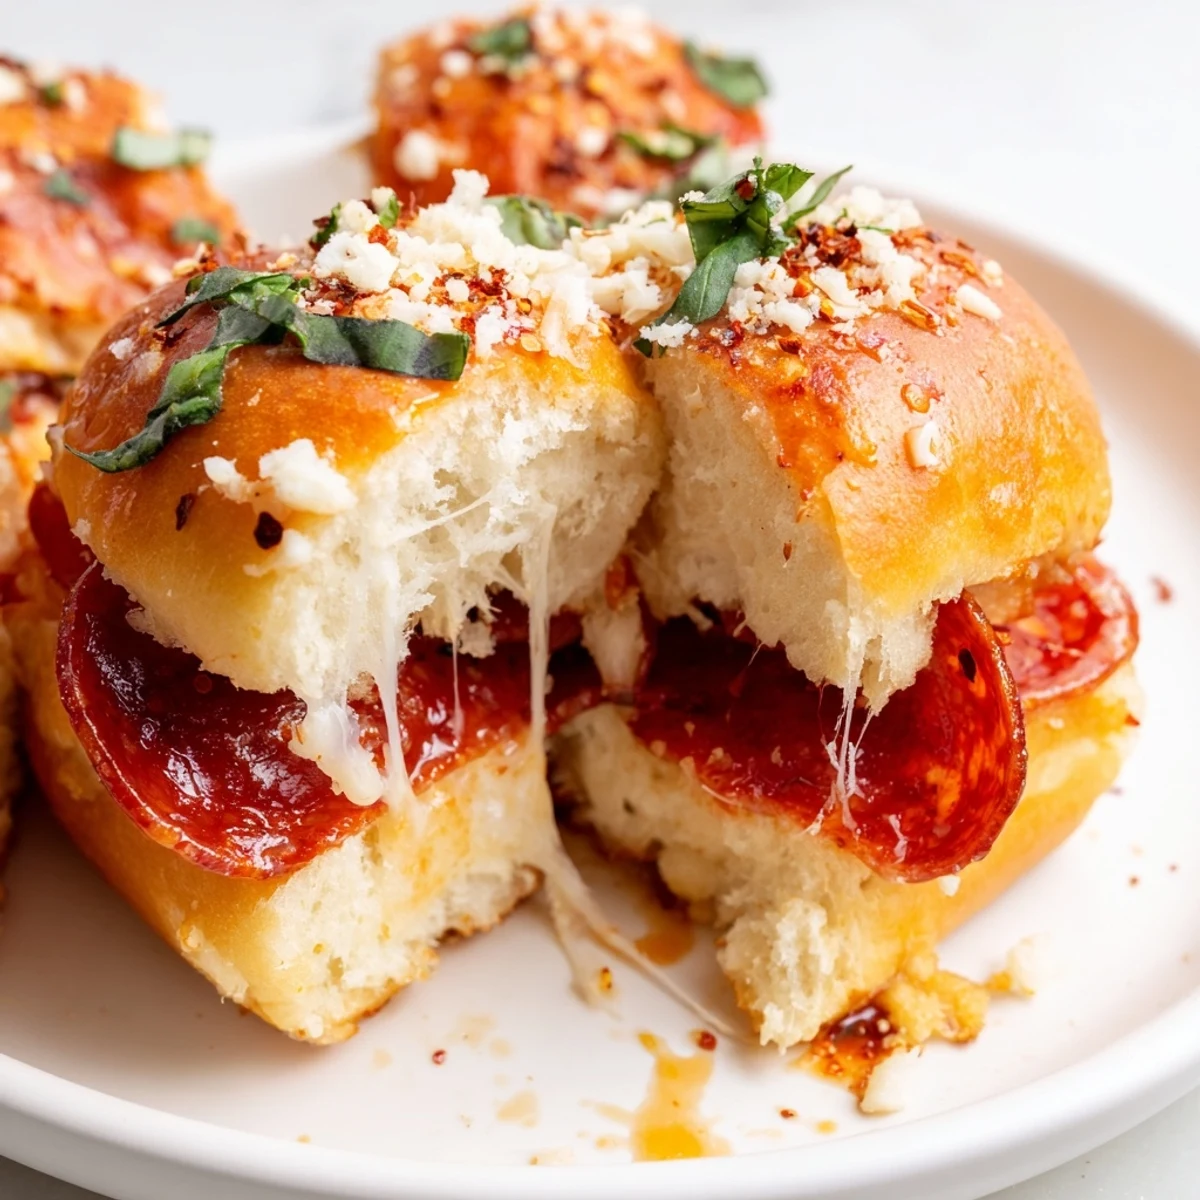
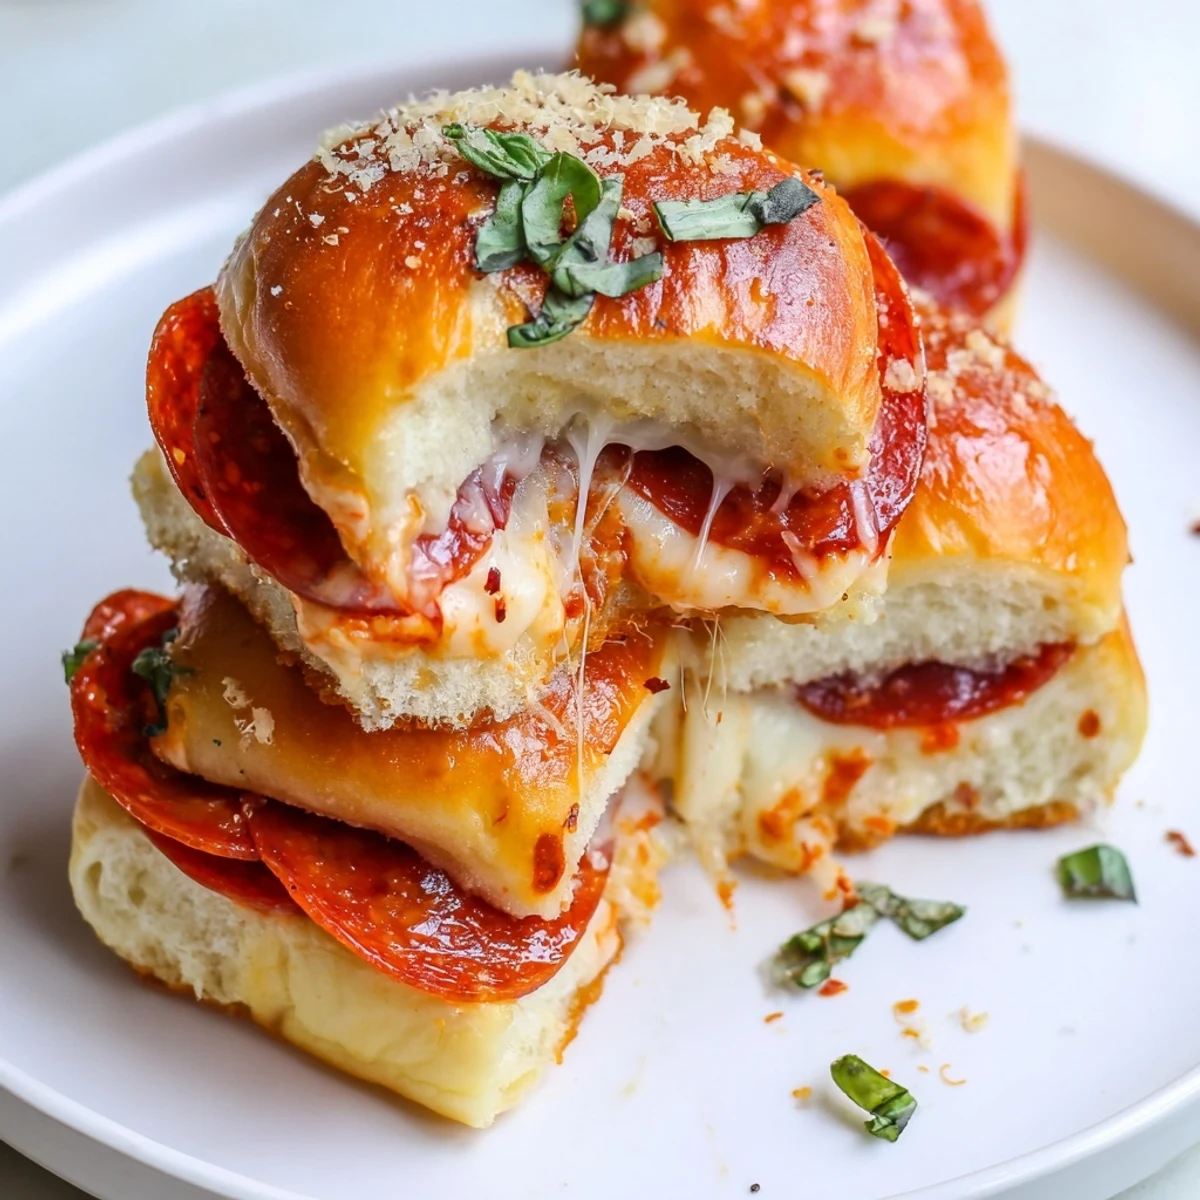
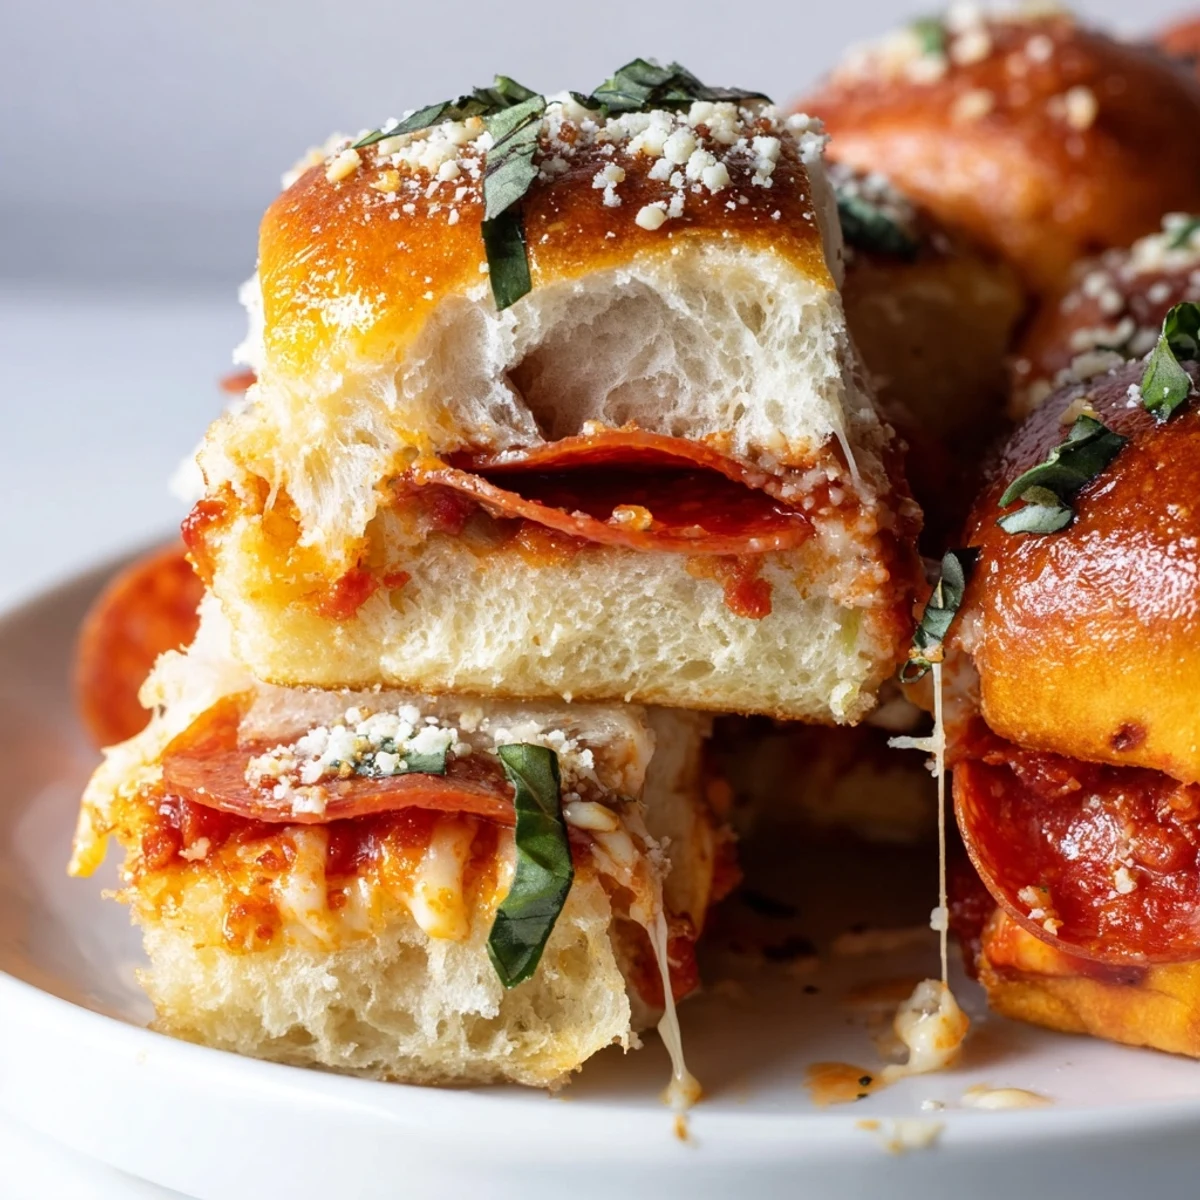
 These hot honey pepperoni sliders bring all the best flavors of pizza into a handheld, crowd-pleasing format. Soft slider buns are layered with tangy pizza sauce, plenty of shredded mozzarella, and savory pepperoni slices, then brushed with a glossy honey-hot sauce butter before baking.
The result is a tray of warm, gooey, golden-topped sliders with just the right balance of sweet heat and cheesy richness. They come together in about 35 minutes and are guaranteed to disappear fast at any party or weeknight dinner.
The smell of melted butter and honey caramelizing on slider rolls is enough to make anyone wander into the kitchen asking what is for dinner. I threw these together on a rainy Saturday when friends showed up unannounced and I had nothing planned except a bag of rolls and some pepperoni in the fridge. That night they disappeared in under ten minutes and someone actually clapped. It has been my go to crowd pleaser ever since.
I made a double batch for a Super Bowl party once and watched grown adults hover near the baking dish waiting for the next tray to come out of the oven. My friend Dave stood guard and told people they were almost ready just so nobody would leave the room.
Ingredients
- 12 slider buns or Hawaiian rolls (unsliced): Keeping them attached is the trick that holds everything together, and Hawaiian rolls add a subtle sweetness that pairs beautifully with the spicy honey drizzle.
- 2 cups shredded mozzarella cheese: Use whole milk mozzarella if you can find it because the melt is stretchier and more satisfying.
- 1/4 cup grated Parmesan cheese: This goes on top and creates a salty golden crust that makes the sliders irresistible.
- 36 slices pepperoni: Layer them generously because they shrink slightly as they bake and nobody ever complained about too much pepperoni.
- 1 cup pizza sauce: Any jarred sauce works but a thicker one prevents the bottoms from getting soggy.
- 2 tbsp unsalted butter (melted): The base of the glaze that gets brushed on top and soaks into the rolls just enough.
- 1 tbsp honey: This is where the magic happens, balancing the heat and making everything stick together beautifully.
- 1 tsp hot sauce (sriracha or hot chili oil): Adjust to your tolerance but even cautious eaters appreciate the gentle warmth it adds.
- 1 tsp dried Italian herbs: A simple mix of oregano and basil makes the tops taste like a real pizzeria.
- 1/2 tsp garlic powder: Blends into the butter glaze and adds depth without raw garlic harshness.
- Pinch of red pepper flakes (optional): Scatter these on top if you want a visual hint of heat that delivers.
- Fresh basil leaves (optional): Torn over the top right before serving for a fresh pop that cuts through the richness.
Instructions
- Get your oven ready:
- Preheat to 375F and grease a 9x13 inch baking dish with butter or cooking spray so nothing sticks.
- Slice the rolls wisely:
- Using a serrated bread knife, slice the entire block of rolls horizontally in one confident motion so you get a clean top slab and bottom slab that stay connected.
- Build the foundation:
- Place the bottom slab in your dish and spread pizza sauce evenly edge to edge, then scatter half the mozzarella over it while it is still cold so it melts slowly.
- Layer on the pepperoni:
- Arrange pepperoni slices in overlapping circles across the cheese, covering every inch because bare spots mean sad bites.
- Add the second cheese layer:
- Pile the remaining mozzarella over the pepperoni and watch how it begins to nestle down into the gaps between the slices.
- Cover and cap:
- Gently place the top slab of buns over the filling and press down lightly so everything makes friends with each other.
- Make the honey butter glaze:
- Stir together the melted butter, honey, hot sauce, garlic powder, and Italian herbs in a small bowl until it looks like liquid gold and smells incredible.
- Brush with generosity:
- Using a pastry brush, paint every roll top with the glaze, making sure to get the sides too so no roll feels left out.
- Finish the tops:
- Sprinkle Parmesan and red pepper flakes over everything, letting some fall into the crevices between rolls for crispy bits.
- Bake covered then uncovered:
- Cover loosely with foil and bake 15 minutes, then remove the foil and bake 5 more minutes until the tops are golden and you can see cheese bubbling at the edges.
- Rest and serve:
- Let them sit for about 5 minutes so the cheese sets slightly, then scatter fresh basil over the top and slice along the roll seams with a sharp knife.
 Pin this
 The moment I watched my neighbor silently eat three sliders in a row without saying a word, I knew this recipe had earned a permanent spot in my rotation.
Picking the Right Rolls Makes All the Difference
Not all slider rolls are created equal and I learned this the hard way with a batch that fell apart into a soggy mess. Hawaiian rolls are my favorite because they hold up to the sauce and their slight sweetness plays off the spicy honey glaze. If you use sturdier brioche slider buns, press them down gently after assembling so the layers bond together during baking.
Making Them Your Own
The beauty of sliders is how easily they adapt to whatever you have on hand. Turkey pepperoni works great for a lighter version and plant based slices make it vegetarian friendly without losing the fun factor. You can also swap pizza sauce for pesto or add sliced jalapeños between the layers if your crowd likes it bold.
Serving and Storing Like a Pro
These are absolutely best served warm right out of the dish when the cheese is still gooey and the tops have that perfect crunch. If you need to make them ahead, assemble everything and keep them covered in the fridge, then glaze and bake when your guests arrive. Leftovers reheat surprisingly well in a 350F oven for about 8 minutes and taste almost as good as fresh ones.
- Always serve with extra warmed pizza sauce on the side for dipping because people will want it.
- Freeze assembled but unbaked sliders wrapped tightly for up to one month for an emergency party option.
- Never microwave leftovers unless you enjoy chewy rolls because the oven is the only path to redemption here.
 Pin this
 There is something about pulling a tray of golden bubbly sliders out of the oven that makes any ordinary evening feel like a celebration worth sharing.
Recipe FAQs
- → Can I make these sliders ahead of time?
-
Yes, you can assemble the sliders in the baking dish, cover tightly with foil, and refrigerate for up to 24 hours before baking. Add the honey butter glaze just before putting them in the oven, and you may need to add a few extra minutes to the baking time if they go in cold.
- → What type of rolls work best for sliders?
-
Hawaiian rolls and standard slider buns are both excellent choices. Hawaiian rolls add a subtle sweetness that pairs beautifully with the spicy honey glaze. Whatever you choose, make sure the rolls are soft and can pull apart easily after baking.
- → How do I make these less spicy for kids?
-
Simply reduce or omit the hot sauce and red pepper flakes in the honey butter mixture. The honey drizzle alone adds a lovely sweetness that kids enjoy, and you can keep the pepperoni mild by using a standard variety rather than a spicy one.
- → Can I freeze leftover sliders?
-
Cooled sliders can be individually wrapped in foil and frozen for up to 2 months. Reheat them in a 350°F oven wrapped in foil for about 15 minutes, or until heated through and the cheese is melted again.
- → What dips pair well with these sliders?
-
Extra warm pizza sauce is a natural pairing. They also work great with marinara sauce, garlic butter, or even a cool ranch dip to balance the sweet heat from the honey glaze.
- → How do I keep the bottoms from getting soggy?
-
Don't over-saturate the buns with pizza sauce — a thin, even layer is plenty. Baking uncovered for the last 5 minutes also helps crisp up the tops and bottoms. Letting them rest for a few minutes after baking allows the juices to settle before slicing.