 Pin this
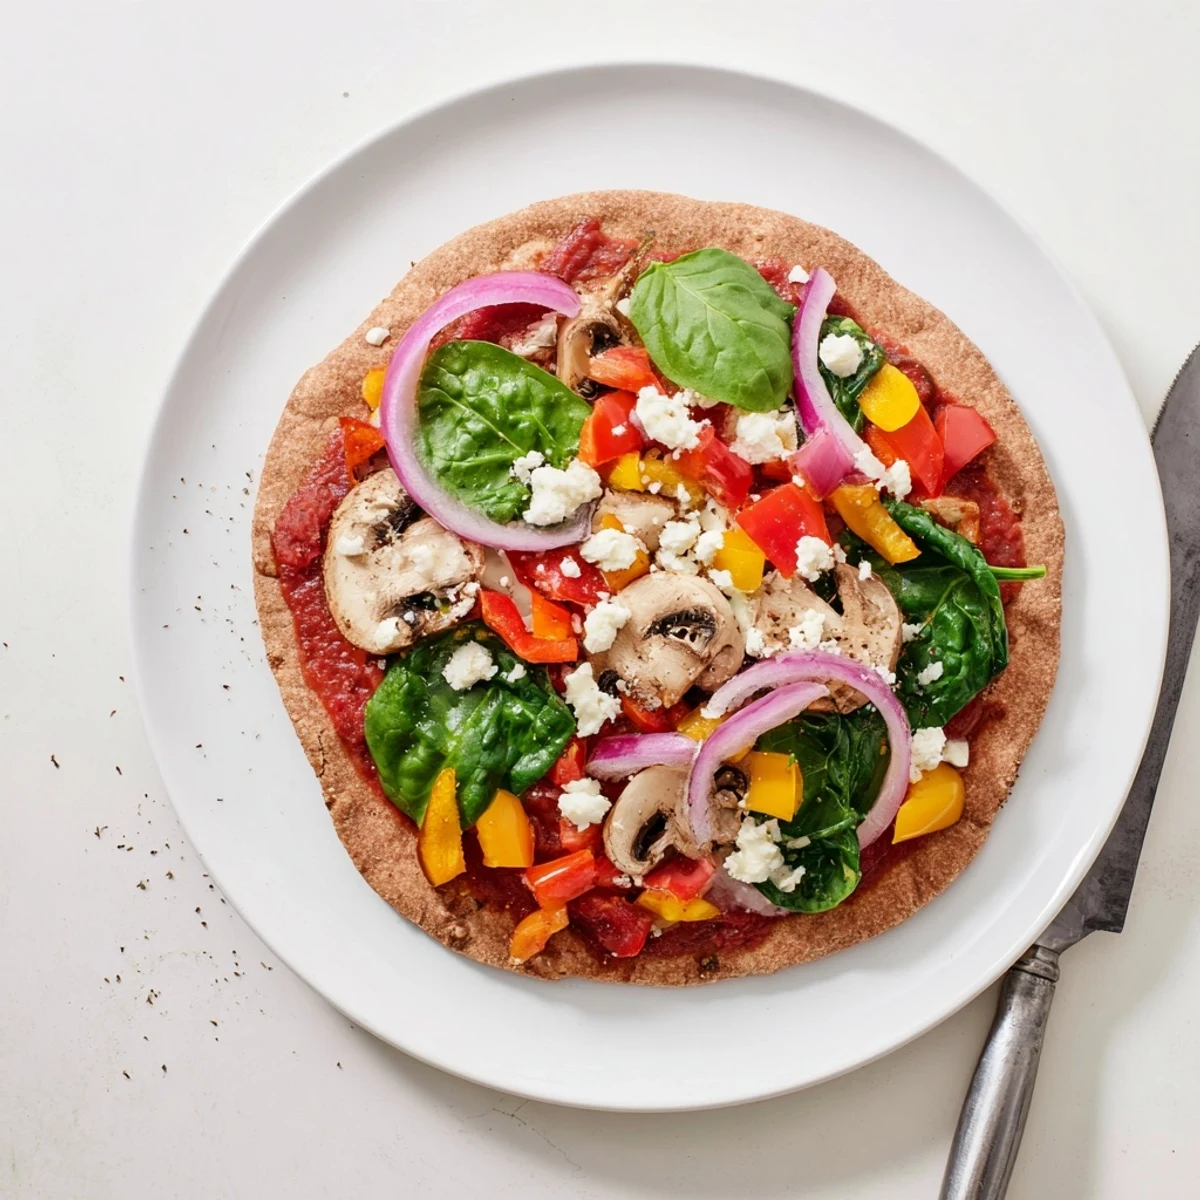
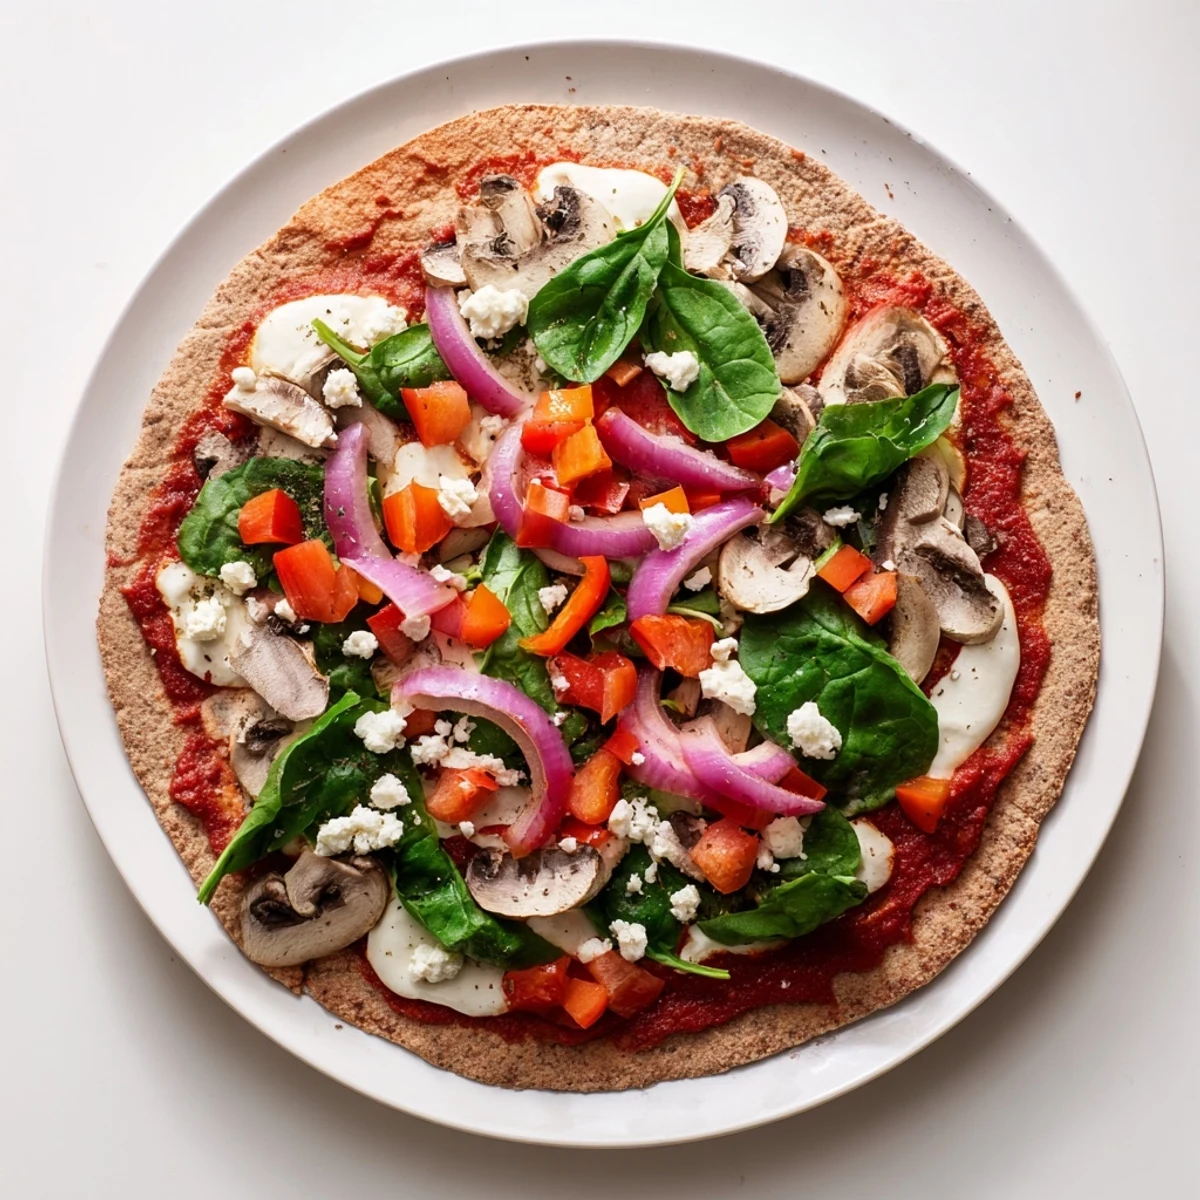
 Transform whole wheat pitas into crispy, personalized pizzas loaded with Mediterranean vegetables and just enough cheese to satisfy. The entire dish comes together in 22 minutes, making it perfect for busy weeknights when you want something wholesome without spending hours in the kitchen.
The whole grain base provides fiber while the colorful vegetable array delivers vitamins and antioxidants. Part-skim mozzarella keeps things lighter, and the herb-infused tomato sauce adds authentic Mediterranean flavor without excess sodium.
Top with fresh basil just before serving for a bright, aromatic finish. Each serving delivers 14 grams of protein and fits perfectly into a low-cholesterol lifestyle.
The oven had just beeped its preheat signal when my neighbor knocked on the door holding a bag of garden peppers she could not finish. That serendipitous timing birthed what is now the most requested weeknight meal in our apartment, a pita pizza so simple it almost feels like cheating. Twenty minutes later we were cross legged on the kitchen floor burning our fingers on crispy cheese and laughing at how fancy something so effortless could taste.
My roommate used to order takeout pizza every Friday until she watched me assemble these two pitas in under five minutes. She stared at the tray going into the oven and said that does not count as cooking. Twelve minutes later she was asking for the recipe and has not ordered delivery pizza since.
Ingredients
- Whole wheat pita breads (2): The foundation of everything, so pick ones that feel thick enough to hold toppings but not so puffy they dominate each bite.
- No salt added tomato sauce (4 tbsp): Regular pizza sauce often hides surprising amounts of sodium, so the unsalted version lets you control every layer of flavor.
- Dried oregano (1 tsp): Rub it between your palms directly over the bowl to wake up the oils before mixing.
- Garlic powder (1/2 tsp): Fresh garlic burns too quickly at this oven temperature, but powder distributes evenly and never lets you down.
- Diced bell pepper (1/2 cup, any color): Crunchy sweetness that holds its texture beautifully under high heat.
- Diced seeded tomatoes (1/2 cup): Seeding prevents the dreaded soggy middle that ruins quick pizzas.
- Thinly sliced red onion (1/4 cup): Paper thin slices mellow in the oven and become sweet without overpowering.
- Sliced mushrooms (1/4 cup): They shrink dramatically, so do not be shy with the initial amount.
- Baby spinach leaves (1/4 cup): Tucked under the cheese they wilt perfectly and add a quiet earthy note.
- Shredded part skim mozzarella (1/3 cup): Just enough to bind everything together without creating a heavy cheese blanket.
- Crumbled feta cheese (2 tbsp, optional): A small handful adds a tangy salty punch that elevates the whole pizza.
- Fresh basil leaves: Torn on after baking so their perfume hits you the moment you pick up a slice.
- Freshly ground black pepper: The finishing crackle that makes every topping sing a little louder.
Instructions
- Preheat and prepare:
- Crank your oven to 220 degrees Celsius or 425 degrees Fahrenheit and line a baking tray with parchment paper so nothing sticks when the cheese bubbles over.
- Season the sauce:
- Stir tomato sauce, oregano, and garlic powder together in a small bowl, then taste it because this is your chance to adjust before it locks into the crust.
- Build the base:
- Lay the pita breads flat on the tray and spread the sauce evenly, stopping about half an inch from the edge so it crisps instead of burning.
- Pile on the vegetables:
- Scatter bell pepper, tomatoes, red onion, mushrooms, and spinach across both pitas, pressing gently so everything makes contact with the sauce.
- Cheese it up:
- Sprinkle mozzarella first to create a melting blanket, then dot the feta over top if you are using it, distributing both cheeses as evenly as your patience allows.
- Bake until golden:
- Slide the tray onto the middle rack and bake for 10 to 12 minutes, watching for the cheese to bubble and the pita edges to turn a deep golden brown.
- Finish and serve:
- Pull them out, scatter torn basil leaves across the hot surface, crack black pepper generously over everything, slice into wedges, and eat immediately while the cheese still stretches.
 Pin this
 The best meals are the ones that sneak into your routine without announcement and quietly become indispensable. This pita pizza earned its permanent spot on my fridge door not through grandeur but through sheer reliability on the nights when cooking felt like too much.
Making It Your Own
The vegetables listed here are suggestions, not commandments. I have thrown on leftover roasted zucchini, caramelized onions from the weekend, even a handful of arugula pulled straight from the bag. The pita is a canvas and your refrigerator is the palette, so use what needs using before it spoils.
Feeding Kids With This Recipe
Set out small bowls of every topping and let children build their own pita pizzas. My youngest cousin arranged hers into a smiley face with olive eyes and a bell pepper grin, ate every bite, and then asked to make another one. Ownership over the assembly makes picky eaters surprisingly adventurous.
Storage and Reheating
These are best eaten immediately, but leftovers can be saved in an airtight container in the refrigerator for up to two days. Reheating works best in a dry skillet over medium heat for a few minutes per side, which restores the crispness the microwave will destroy.
- Never reheat in the microwave unless you enjoy chewing on soggy cardboard.
- If meal prepping, keep the sauce and toppings stored separately from the pita until the day you plan to bake.
- A quick flash under the broiler for one minute at the end of reheating brings back that fresh baked cheese pull.
 Pin this
 Keep a stash of whole wheat pitas in your freezer and you are never more than twenty minutes away from something warm, satisfying, and genuinely good for you. That is the kind of kitchen math worth remembering.
Recipe FAQs
- → Can I make these ahead of time?
-
Prepare the vegetable toppings and sauce mixture in advance, storing them separately in the refrigerator. Assemble and bake just before eating for best texture and flavor. The pitas taste freshest when baked immediately.
- → What other vegetables work well?
-
Try diced zucchini, artichoke hearts, olives, roasted eggplant, or fresh arugula after baking. Almost any vegetable that complements Mediterranean flavors will work beautifully.
- → How do I store leftovers?
-
Refrigerate in an airtight container for up to 2 days. Reheat in a 180°C (350°F) oven for 5-7 minutes to restore crispness. The microwave works but may soften the crust.
- → Can I freeze assembled pitas?
-
Yes, assemble through step 5, then freeze individually wrapped. Bake from frozen at 200°C (400°F) for 15-18 minutes. No need to thaw first.
- → Is this suitable for meal prep?
-
Absolutely. Prepare a batch on Sunday and portion into containers for lunches throughout the week. The flavors develop nicely and reheat well in a toaster oven or regular oven.
- → How can I reduce sodium further?
-
Use fresh tomatoes instead of canned sauce, omit the feta, and rely on herbs and vegetables for flavor. A squeeze of fresh lemon after baking adds brightness without salt.
