 Pin this
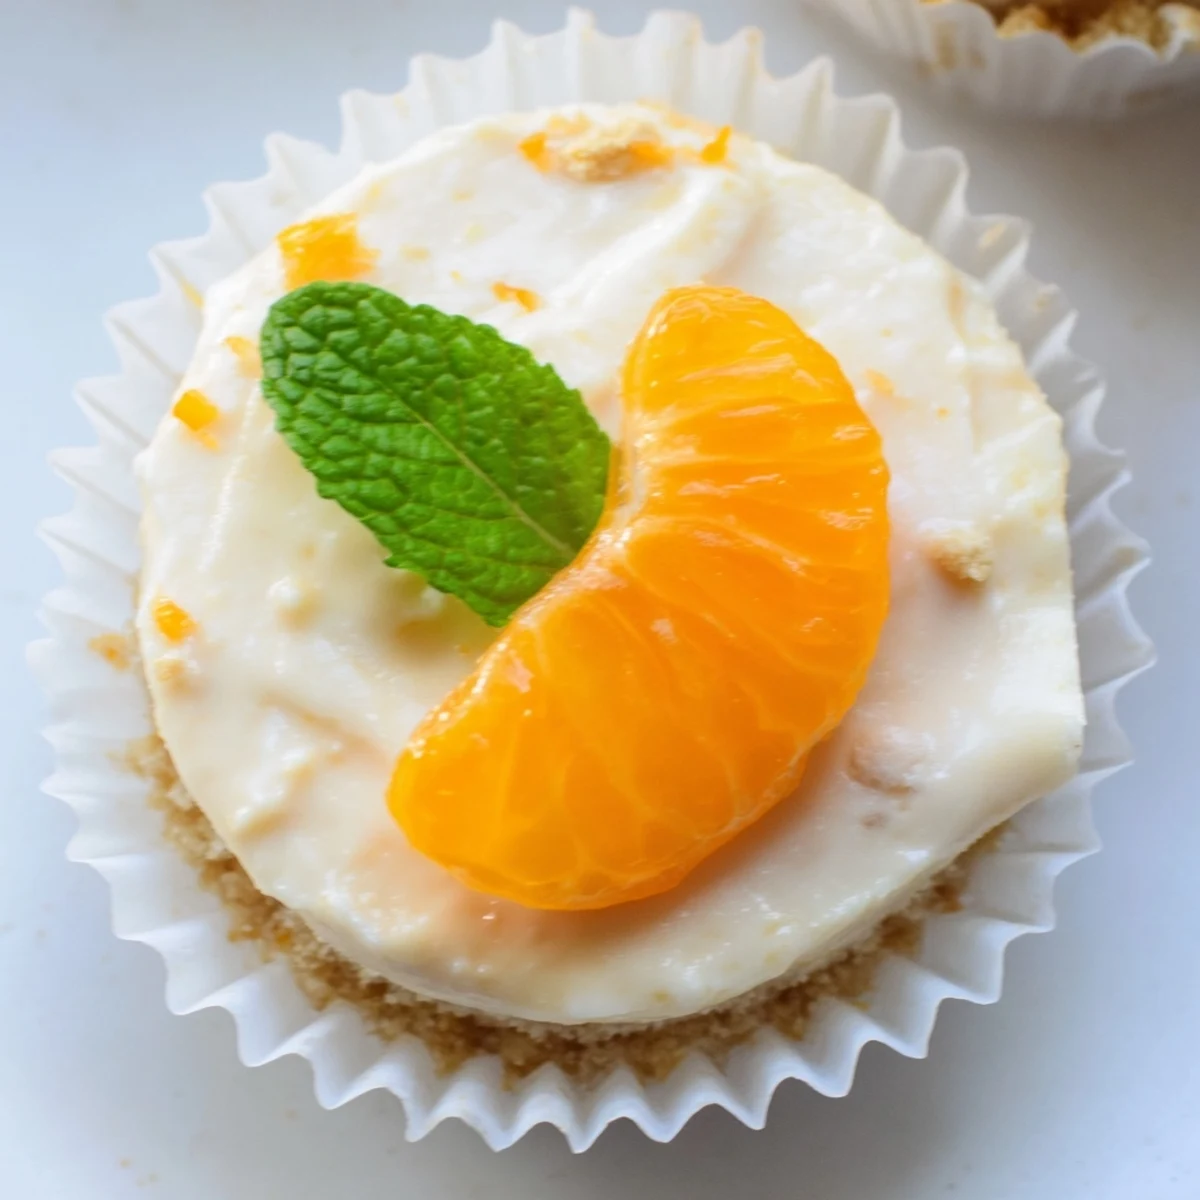
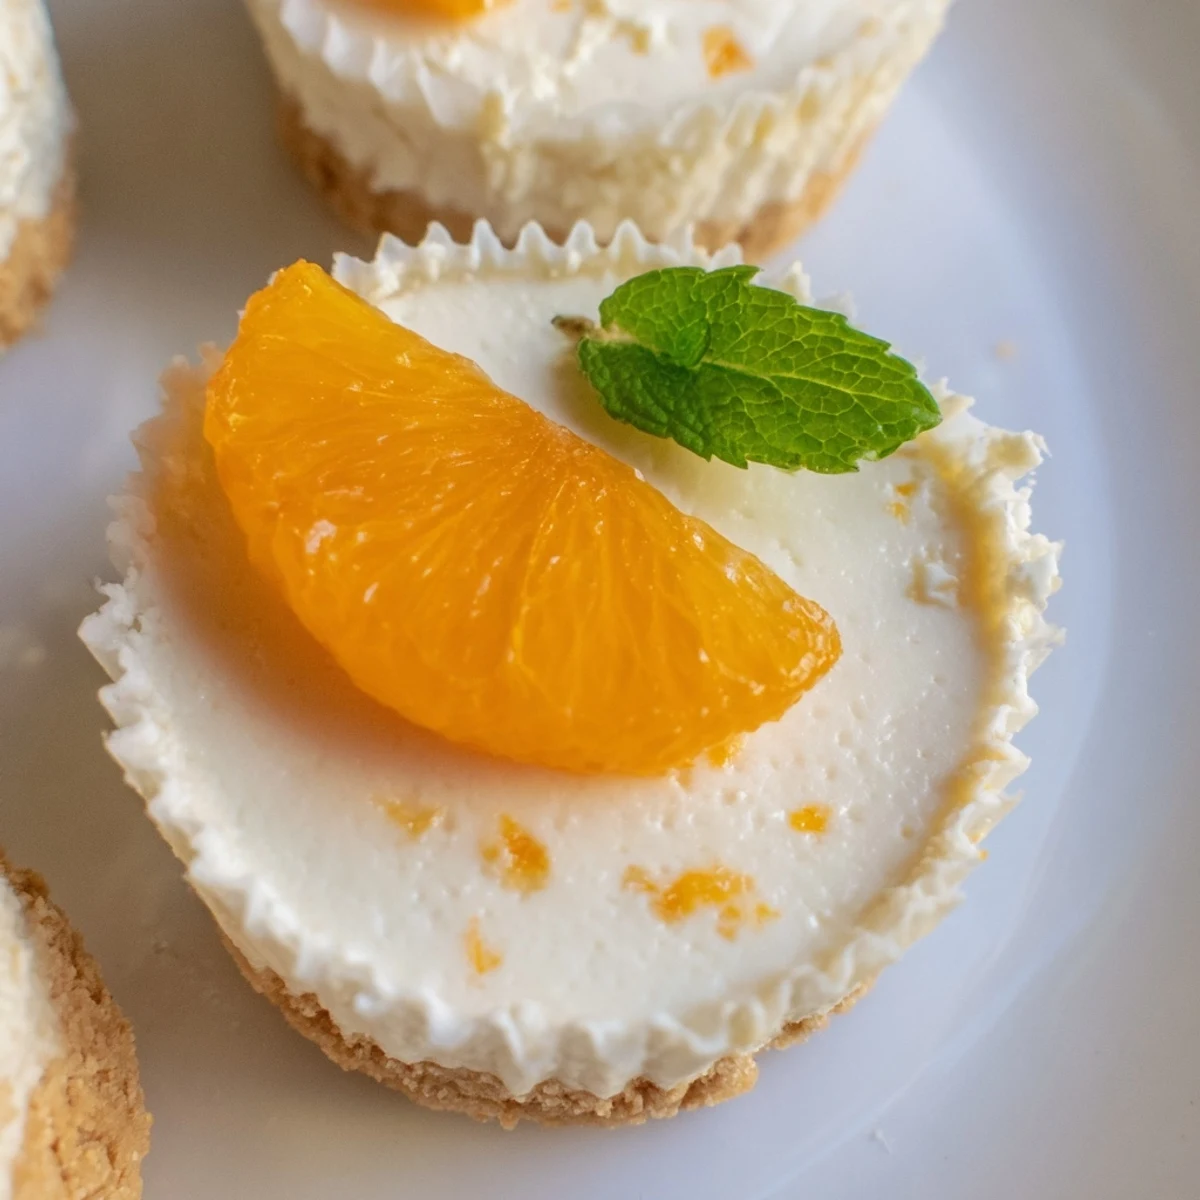
 These mini no bake orange cheesecakes combine a buttery digestive biscuit crust with a luscious cream cheese filling infused with fresh orange zest and juice.
Ready in just 25 minutes of prep time, they require no oven time at all—simply assemble, chill for a few hours, and serve.
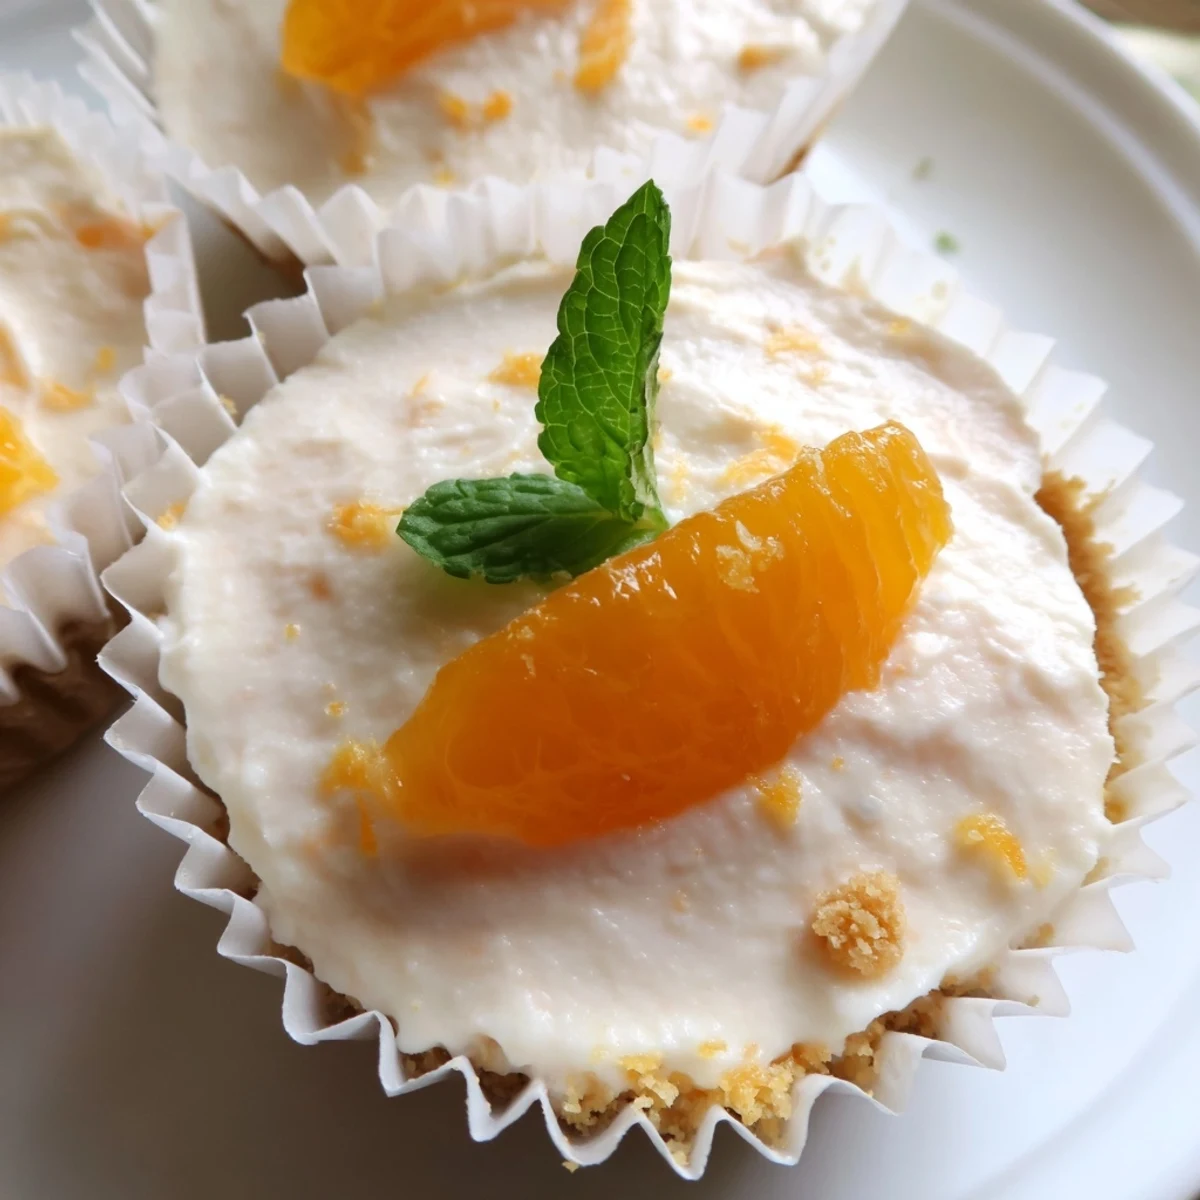
Topped with fresh orange segments and a hint of mint, they make an elegant yet effortless dessert for entertaining, warm-weather gatherings, or any time you crave a bright, citrusy treat.
The smell of orange zest hitting cream cheese is one of those small kitchen miracles that stops you mid task and makes you close your eyes for a second. These mini no bake orange cheesecakes came together one humid afternoon when the oven felt like an enemy and a handful of digestives in the pantry begged to be crushed into something wonderful. They are bright, delicate, and almost embarrassingly simple for how impressive they look. Six little cups of sunshine, no baking required.
I brought a tray of these to a friends rooftop gathering last summer and watched three self proclaimed non dessert people reach for seconds without a trace of guilt. Something about the citrus and the mini portion size makes everyone forget there is cream cheese involved.
Ingredients
- 120 g digestive biscuits or graham crackers: The backbone of the crust, and you want them ground finely so every bite holds together without crumbling into chaos.
- 55 g unsalted butter, melted: Binds the crumbs and adds a gentle richness that wont compete with the filling.
- 250 g cream cheese, room temperature: Cold cream cheese will leave you with lumps no amount of mixing can fix, so let it sit out for at least an hour.
- 60 g powdered sugar: Sweetens without graininess, dissolving seamlessly into the cheese.
- 120 ml heavy cream, cold: Whipped to stiff peaks, this is what gives the filling its cloud like texture and body.
- 2 tsp orange zest (from 1 large orange): The zest carries the aromatic oils and does the heavy lifting for flavor, so zest before you juice.
- 2 tbsp fresh orange juice: Adds a subtle tangy sweetness that rounds everything out.
- 1 tsp vanilla extract: A quiet background note that makes the orange taste more like itself.
- Orange segments, extra zest, and mint leaves (optional): For garnish, and honestly they make the whole tray look like it came from a bakery case.
Instructions
- Prep your molds:
- Line a standard muffin tin with paper liners or grab your silicone molds, whichever you have handy works perfectly.
- Build the crust:
- Pulse the biscuits in a food processor until you have fine, even crumbs, then pour in the melted butter and pulse again until everything looks like damp sand. Divide the mixture among the liners and press down firmly with the back of a spoon or a small glass to create a compact, even base.
- Chill the bases:
- Slide the tin into the fridge while you make the filling so the butter has time to firm up and hold everything together.
- Make the filling base:
- Beat the room temperature cream cheese and powdered sugar together in a medium bowl until completely smooth and creamy with no stubborn lumps hiding in the corners.
- Whip the cream:
- In a separate bowl, whisk the cold heavy cream until it holds stiff peaks, firm enough that you can lift the whisk and the cream stands tall without flopping.
- Bring it all together:
- Gently fold the whipped cream into the cream cheese mixture with a spatula, then add the orange zest, orange juice, and vanilla extract. Fold until the color is uniform and the mixture looks silky, being careful not to knock out the air you just whipped in.
- Fill and smooth:
- Spoon or pipe the filling over the chilled bases, filling each liner nearly to the top, then smooth the surface with the back of a spoon or a small offset spatula.
- Chill until set:
- Refrigerate for at least three hours, though overnight is even better, until the filling is firm to the touch and holds its shape when you peel away the liner.
- Garnish and serve:
- Top with orange segments, a scattering of fresh zest, and a few mint leaves if you are feeling fancy before serving.
 Pin this
 There is something quietly magical about pulling a tray of these from the fridge and watching the orange zest catch the light on top of each little cheesecake.
Making These Your Own
Swap the orange for lemon or lime zest and juice and you have an entirely different dessert on your hands with zero extra effort. A tablespoon of orange liqueur stirred into the filling alongside the juice is a move worth trying when you are serving adults who appreciate a little warmth in their sweets.
Storing and Prepping Ahead
These keep beautifully in the fridge for up to two days, covered loosely with plastic wrap, which makes them a dream for dinner party prep. The crust may soften slightly overnight but honestly that just makes them easier to eat.
Quick Answers and Final Thoughts
You do not need a food processor if you are willing to put biscuits in a ziplock bag and attack them with a rolling pin, which is honestly more satisfying on a stressful day. A hand mixer does the job just fine for the cream cheese and whipped cream. Silicone molds pop these out beautifully, but paper liners work great if that is what you have.
- For a gluten free version, simply swap in your favorite gluten free cookies for the base.
- Always double check ingredient labels if you are serving anyone with allergies, especially the biscuits.
- Remember that chilling time is part of the recipe, not a suggestion, so plan ahead.
 Pin this
 Keep a batch in the fridge during warm months and you will never be caught without something sweet and bright to offer unexpected guests. They are small, sunny, and endlessly forgiving, which is everything a dessert should be.
Recipe FAQs
- → Can I make these mini orange cheesecakes ahead of time?
-
Yes, these mini cheesecakes can be prepared up to 2 days in advance. Store them covered in the refrigerator until ready to serve. The flavors actually develop and improve after overnight chilling.
- → What can I use instead of digestive biscuits for the crust?
-
Graham crackers work as a direct substitute. For a gluten-free version, use your favorite gluten-free cookies. Vanilla wafers or shortbread biscuits also make delicious alternatives for the base.
- → How do I get the cleanest zest from the orange?
-
Use a microplane or fine zester and only grate the outermost orange layer of the peel. Avoid the white pith underneath, as it is bitter. Zest the orange before juicing it for easier handling.
- → Can I freeze these no bake cheesecakes?
-
Yes, they freeze well for up to 1 month. Wrap each mini cheesecake individually in plastic wrap, then place in an airtight container. Thaw overnight in the refrigerator before serving.
- → Why is my cheesecake filling runny?
-
The heavy cream must be whipped to stiff peaks before folding into the cream cheese mixture. Ensure the cream is very cold before whipping. Also, make sure the cream cheese is at room temperature so it blends smoothly without lumps that can affect texture.
- → How long do these need to chill before serving?
-
They require a minimum of 3 hours in the refrigerator to set properly. For the best texture and clean slicing, overnight chilling is recommended. Do not skip this step or the filling will be too soft.
