 Pin this
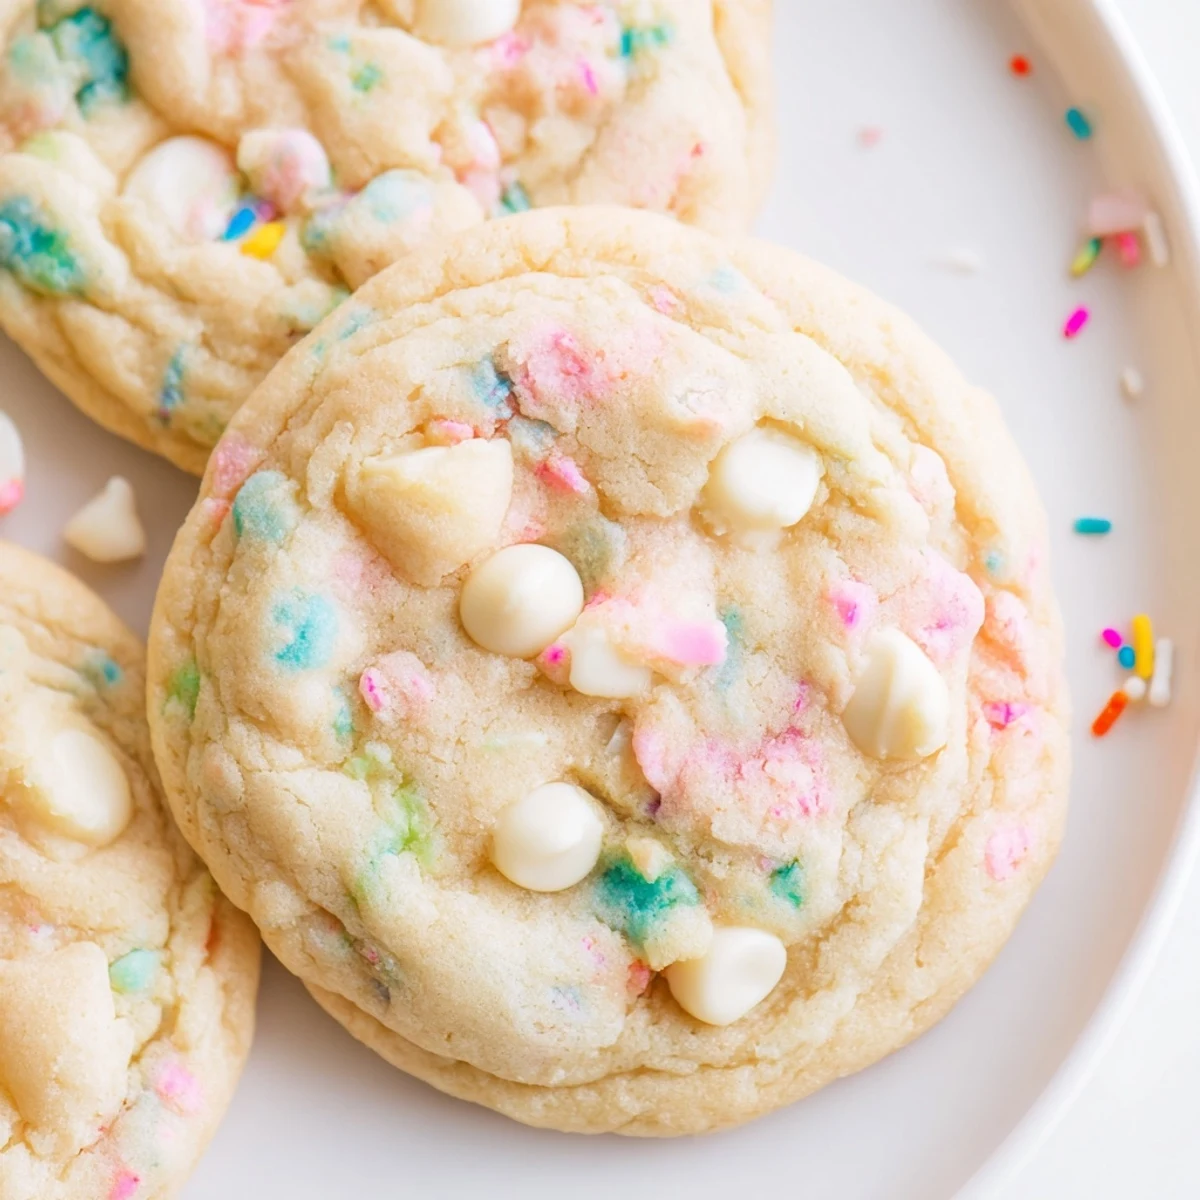
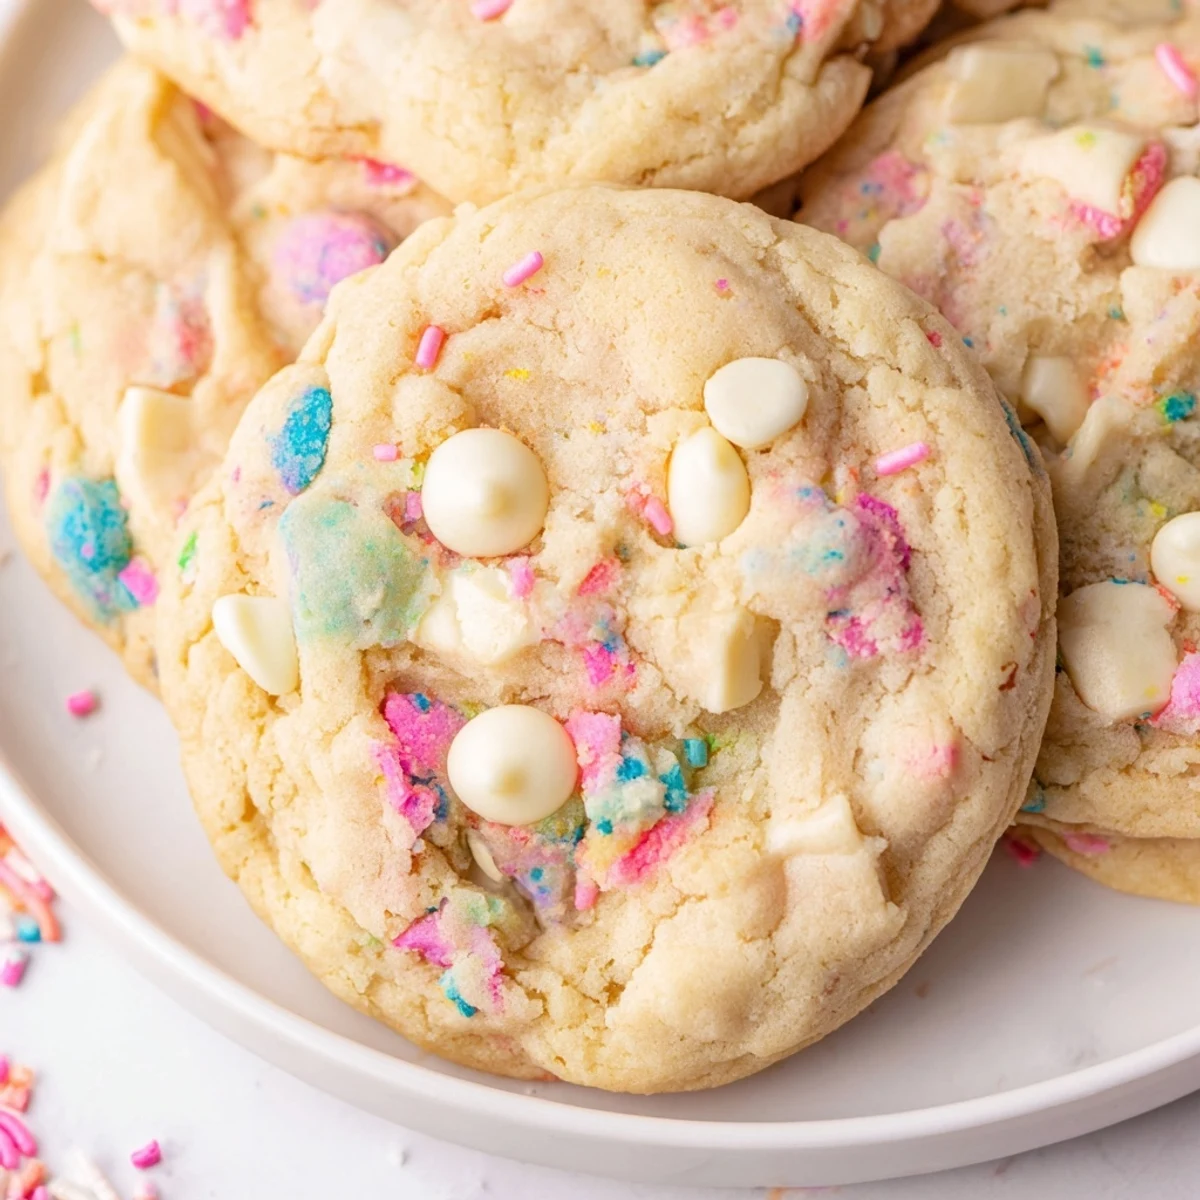
 These soft, buttery cookies feature a perfect balance of sweet white chocolate chips and playful pastel sprinkles. The dough comes together quickly with basic pantry ingredients, yielding 24 delicious treats. With just 15 minutes of prep and 12 minutes in the oven, you'll have bakery-style cookies that are soft in the center with lightly golden edges. Ideal for Easter, baby showers, birthdays, or anytime you want something cheerful and sweet.
The first time I made these pastel white chocolate cookies, my kitchen looked like a rainbow had exploded. I was baking for my niece's birthday, and pink, blue, and yellow sprinkles ended up everywhere—including in my hair. When she bit into that first warm cookie with its pockets of melted white chocolate, she declared them the best thing she'd ever tasted. Now they're my go-to celebration cookie, guaranteed to make any afternoon feel like a party.
Last spring, I brought a batch to a friend who was recovering from surgery. She told me later that eating one of these cookies was the first time she'd smiled all week. There's something about the combination of vanilla sweetness and those cheerful colors that just works its way into your mood. Now whenever someone needs a little pick-me-up, I find myself reaching for the sprinkles.
Ingredients
- All-purpose flour: The backbone that gives these cookies their perfect chewy structure
- Baking soda: Helps create those lovely risen edges while keeping centers tender
- Salt: Just enough to make the sweetness sing without being salty
- Unsalted butter: Softened to room temperature so it creams perfectly into the sugars
- Granulated sugar: Creates that slight crispiness on the outside edges
- Light brown sugar: Adds moisture and that deep caramel-like flavor we all love
- Eggs: Room temperature eggs incorporate better and help bind everything together
- Pure vanilla extract: Don't skimp here—the vanilla is what makes these taste bakery-quality
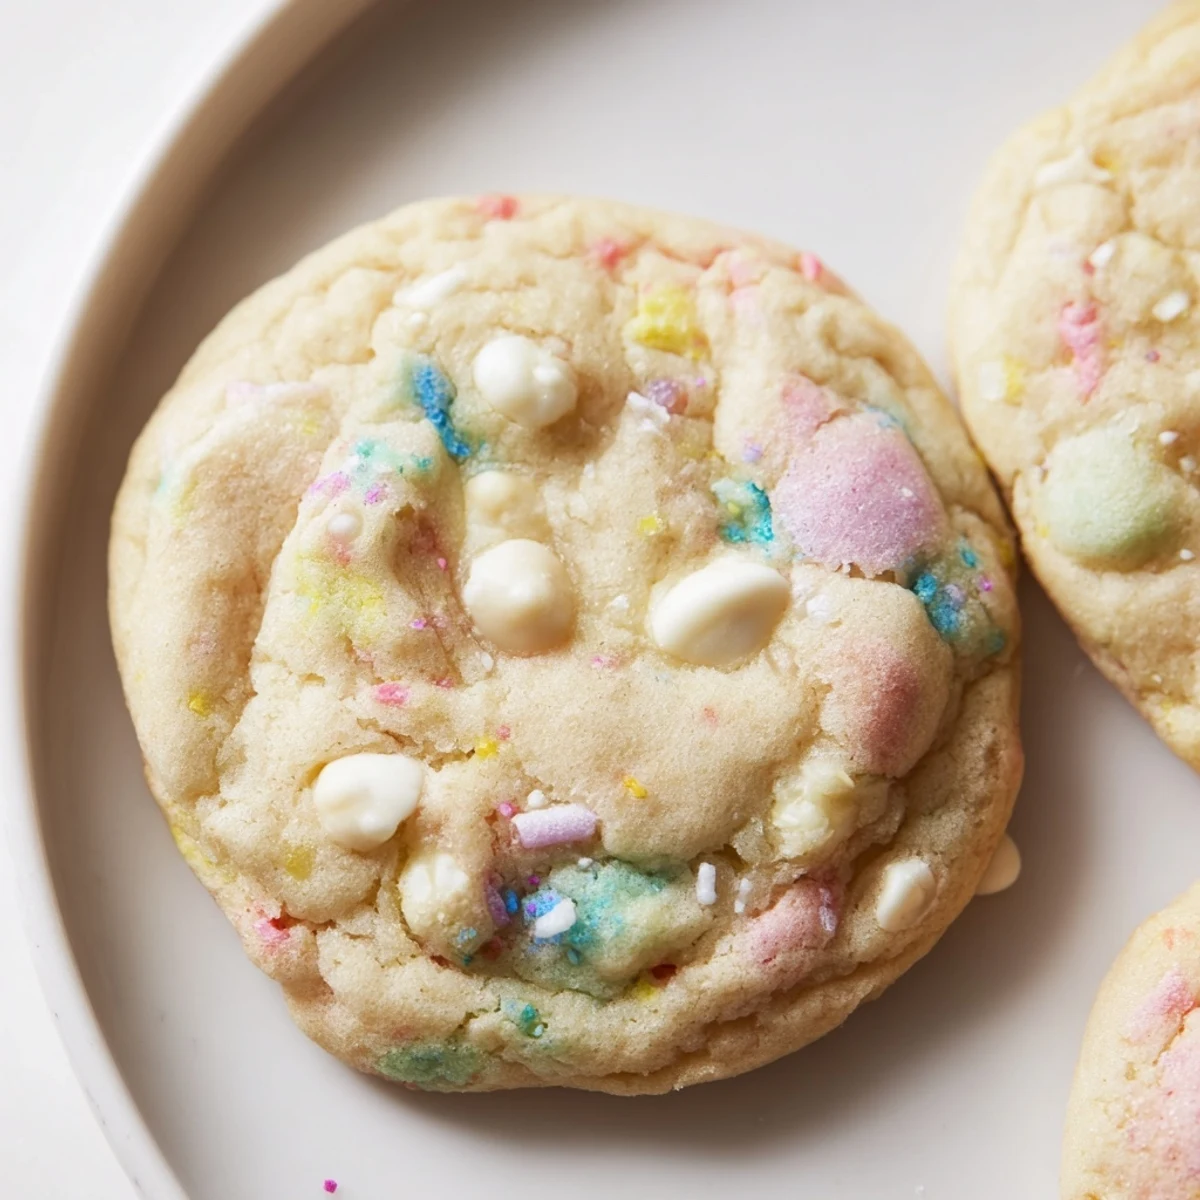
- White chocolate chips: The creamy counterpart to the sweet cookie base
- Pastel sprinkles: Use jimmies or nonpareils in whatever colors make you happy
Instructions
- Preheat your oven:
- Set to 350°F and line two baking sheets with parchment paper so nothing sticks
- Whisk the dry ingredients:
- Combine flour, baking soda, and salt in a medium bowl
- Cream the butter and sugars:
- Beat until light and fluffy, about 2 to 3 minutes—this step makes all the difference
- Add eggs and vanilla:
- Mix in eggs one at a time, then stir in the vanilla until everything smells incredible
- Combine everything:
- Gradually mix in the dry ingredients until just combined—don't overmix or they'll be tough
- Fold in the fun stuff:
- Gently fold in white chocolate chips and pastel sprinkles until distributed throughout
- Scoop and space:
- Drop rounded tablespoons onto prepared sheets, leaving 2 inches between each cookie
- Bake to perfection:
- Bake for 10 to 12 minutes until edges are golden but centers still look soft
- Cool completely:
- Let them rest on the pan for 5 minutes before moving to a wire rack
 Pin this
 My neighbor's daughter now requests these for every school event. Last week I found a drawing on my porch of a cookie with rainbow sprinkles and a thank-you note. It's funny how something as simple as butter, sugar, and a handful of colorful bits can become part of someone's childhood memories.
Making Them Your Own
I've discovered that these cookies are incredibly forgiving. One afternoon I ran out of pastel sprinkles and used chopped white chocolate with crushed candy canes for a winter version. The red and white swirls were stunning. Another time I mixed in freeze-dried strawberries for a pink-tinted cookie that tasted like strawberry milk. The base cookie dough is your canvas for whatever celebrations you have in mind.
The Storage Secret
After testing countless methods, I found that these cookies actually improve slightly after sitting overnight. The flavors deepen and the texture becomes more chewy. I keep them in a glass container with a piece of bread—yes, bread! The moisture from the bread keeps the cookies soft for days. Just change the bread every 24 hours. This trick turned my day-old cookies into freshly baked tasting treats.
Baking Like A Pro
The difference between good and great cookies often comes down to small details. Rotate your baking sheets halfway through baking, use a cookie scoop for uniform size, and always measure flour by spooning it into the measuring cup rather than scooping directly. These tiny adjustments took my cookies from homemade to professional bakery quality.
- Chill the dough for 30 minutes if you want thicker cookies
- Press extra sprinkles on top before baking for maximum visual impact
- Let the baking sheets cool between batches to prevent spreading
 Pin this
 May your kitchen always smell like butter and vanilla, and may there always be sprinkles somewhere unexpected.
Recipe FAQs
- → Why are my cookies flat?
-
Flat cookies usually happen when butter is too soft or dough isn't chilled. Use softened butter, not melted. If your kitchen is warm, refrigerate the dough for 15-30 minutes before baking to help them hold their shape.
- → Can I freeze the dough?
-
Yes! Scoop dough onto a baking sheet and freeze until firm, then transfer to a freezer bag. Bake from frozen, adding 1-2 extra minutes. Alternatively, freeze baked cookies for up to 3 months in an airtight container.
- → What sprinkles work best?
-
Use jimmies or nonpareils—avoid large confetti or shaped sprinkles that can melt. Pastel shades create a soft, elegant look, but you can match any holiday theme with seasonal colors.
- → How do I know when they're done?
-
Edges should be lightly golden while centers still look slightly soft. They'll continue cooking on the hot pan. Overbaking leads to crispy cookies—pull them out when just set for the perfect soft texture.
- → Can I use salted butter?
-
You can, but reduce the added salt to 1/4 teaspoon. Salted butter varies by brand, so start with less and adjust if needed. Unsalted butter gives you more control over the final flavor balance.
