 Pin this
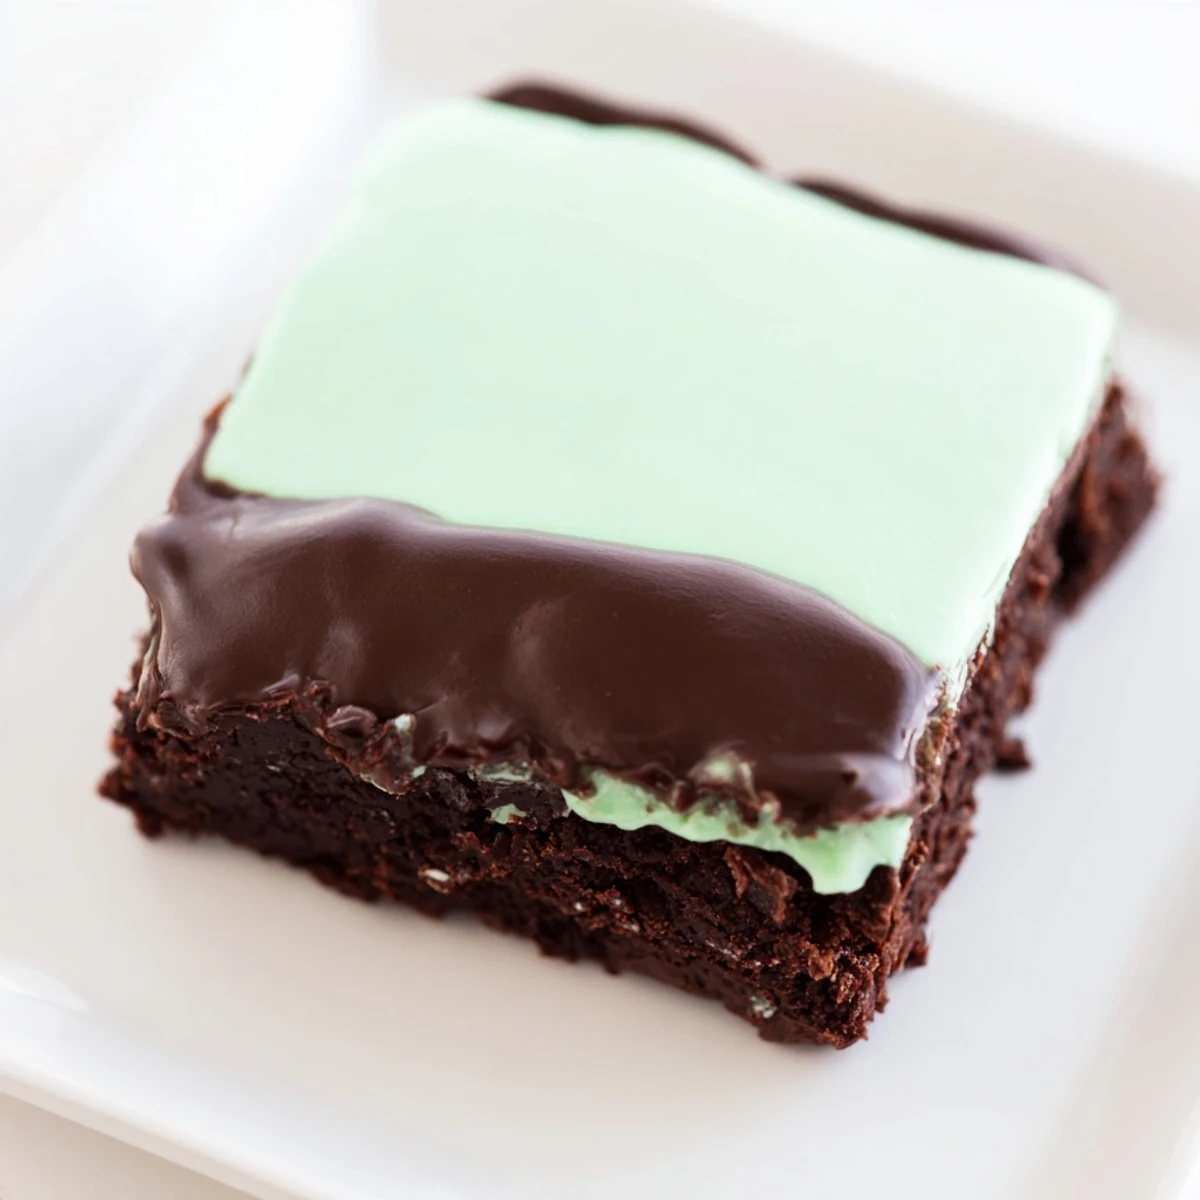
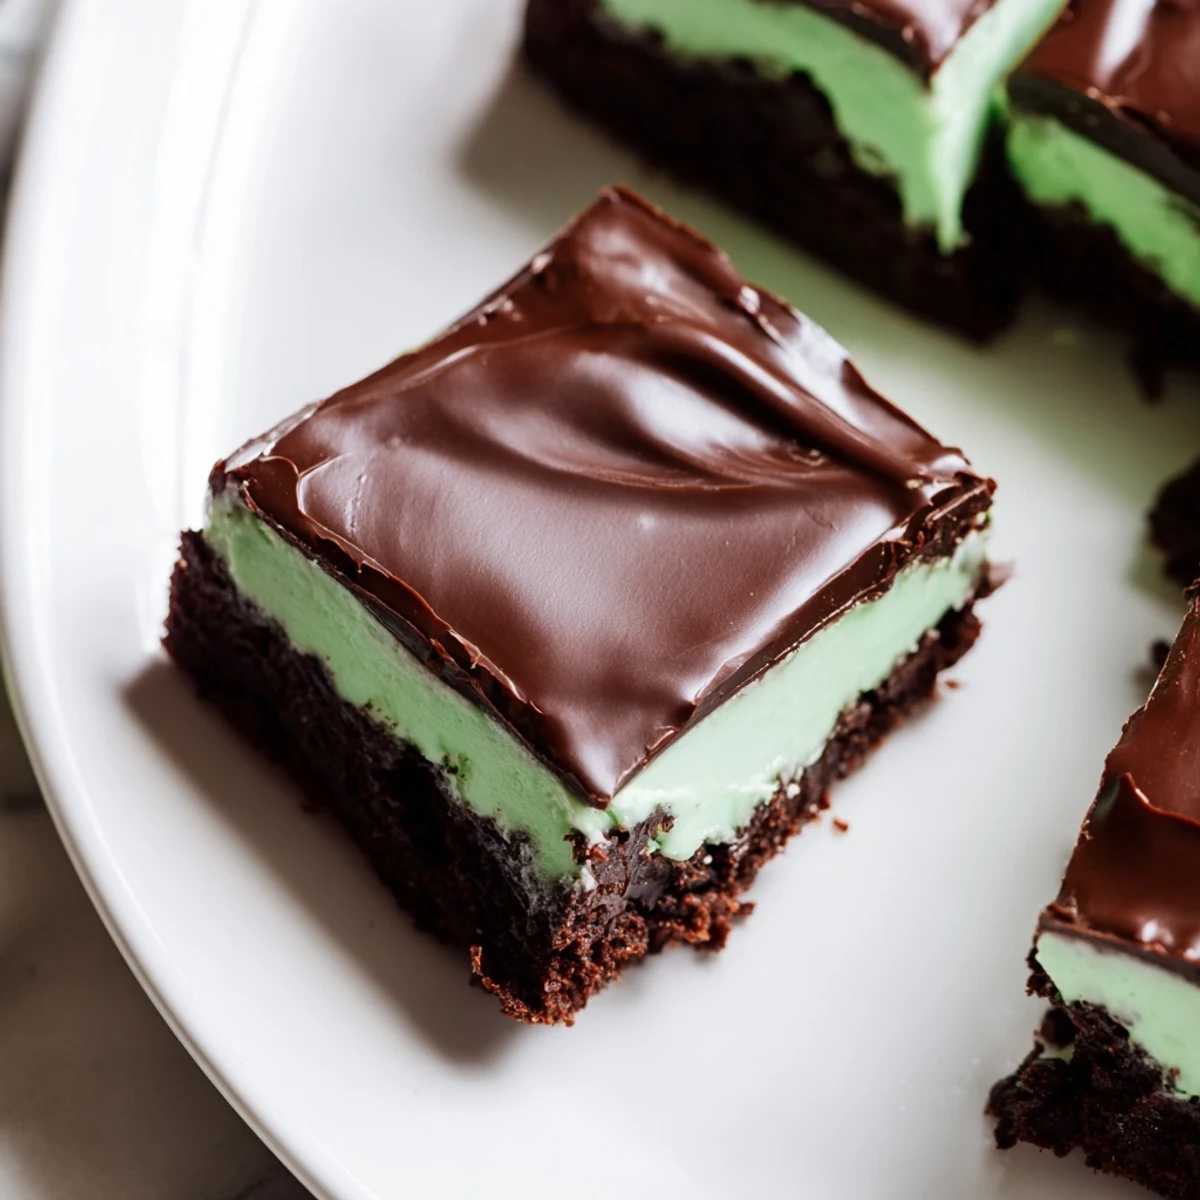
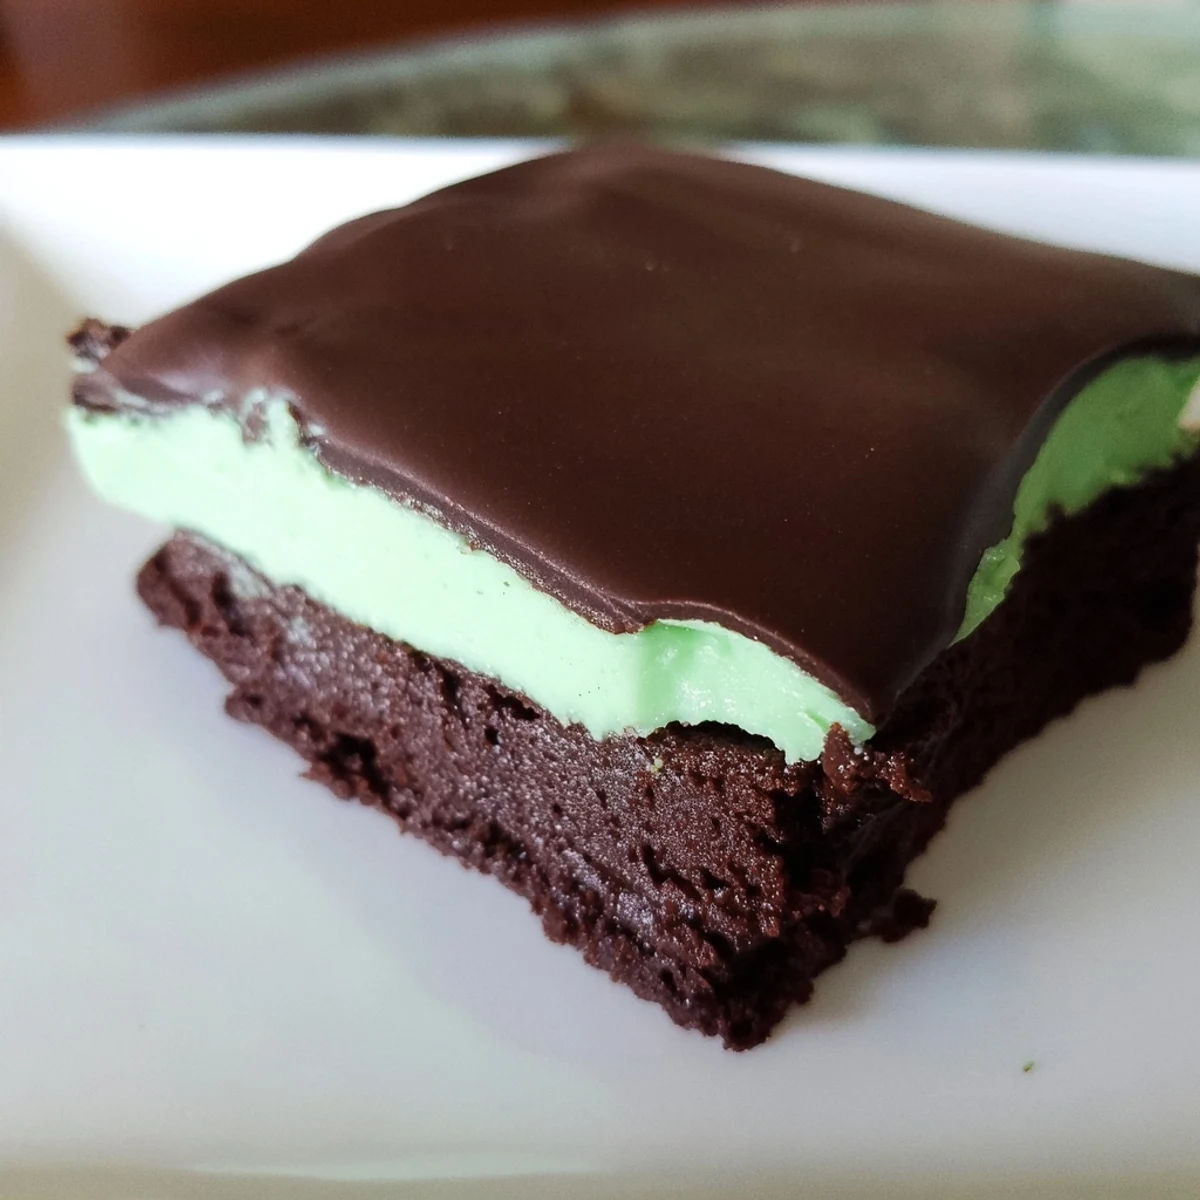
 These Shamrock Mint Brownies feature a rich, fudgy chocolate base paired with a smooth, cool mint cream layer. Topped with a velvety chocolate ganache, they offer a perfect balance of flavors and textures. Ideal for special occasions or satisfying a mint-chocolate craving, the brownies require about one hour plus chilling time. The process includes baking a moist base, layering with whipped mint cream, and finishing with a glossy ganache, chilled before serving for best results.
Perfectly balanced sweetness and refreshing mint combine with the dense chocolate foundation, making these an elegant dessert choice. Simple tools and straightforward steps yield a stunning and tasty treat to enjoy.
The first time I made these, my kitchen smelled like chocolate and mint collided in the best way possible. My roommate walked in mid-whisk and actually stopped dead in her tracks, asking what holiday I was secretly celebrating. That's when I knew these weren't just ordinary brownies—they're the kind that make people pause and smile.
I brought a batch to a St. Patrick's Day party once, and they disappeared before the main course even came out. Someone actually asked if I'd bought them from a bakery, which I'm still taking as the ultimate compliment. Now they're my go-to whenever I need something that feels festive without being fussy.
Ingredients
- Unsalted butter: I use this for all three layers because it lets the chocolate and mint flavors shine without competing with salt
- Granulated sugar: Creates that crackly, shiny top on brownies that everyone loves
- Large eggs: Room temperature eggs incorporate better and give you that fudgy texture we're after
- Vanilla extract: Just a background note that rounds out all the chocolate richness
- Unsweetened cocoa powder: Dutch-processed gives the deepest flavor, but regular works perfectly fine
- All-purpose flour: Just enough to hold everything together without making them cakey
- Salt: A tiny amount balances all the sugar and enhances the chocolate
- Baking powder: Helps them rise slightly for that perfect dense-but-not-heavy crumb
- Powdered sugar: Sifting is non-negotiable here—it prevents lumps in your mint layer
- Peppermint extract: Start with less than you think you need, you can always add more
- Green food coloring: Gel coloring gives you that vibrant emerald shade with less liquid
- Semi-sweet chocolate chips: These create a ganache that sets up beautifully without being too sweet
- Heavy cream: The fat content here is what makes your ganache glossy and smooth
Instructions
- Get your oven ready:
- Preheat to 350°F and line your pan with parchment—I let the paper hang over the sides like handles, which makes lifting the whole thing out so much easier later
- Mix the brownie batter:
- Melt your butter first, then whisk in the sugar until it's dissolved before adding eggs one at a time—this little trick prevents your sugar from staying grainy
- Add the dry ingredients:
- Fold in the cocoa, flour, salt, and baking powder just until combined, and stop as soon as you don't see dry streaks
- Bake and cool completely:
- The center should still have a few moist crumbs on a toothpick, and let them cool entirely before adding the mint layer or it'll melt right into your brownies
- Make the mint cream:
- Beat your butter until it's creamy, then gradually add the powdered sugar while mixing on low to avoid a sugar cloud
- Add mint and color:
- Pour in your milk and peppermint extract, then add food coloring drop by drop until you reach your desired green
- Chill the mint layer:
- Spread it evenly over your cooled brownies and pop them in the fridge for at least 30 minutes—this step keeps the layers distinct
- Prepare the ganache:
- Heat your cream until it's just starting to bubble around the edges, then pour it over your chocolate chips and let it sit for 2 minutes
- Finish and set:
- Stir your ganache until it's silky smooth, pour it over the mint layer, and chill again until the chocolate is firm to the touch
 Pin this
 My sister swears these taste better the next day, when all the flavors have had time to mingle and get acquainted. I've started making them the night before I need them, and she might be onto something.
Getting The Perfect Green
I've learned that gel food coloring is worth the extra trip to the baking aisle. Liquid coloring can thin out your mint cream, but gel gives you that bright St. Patrick's Day green without messing with the texture.
Slicing Clean Squares
Here's a trick I picked up: run your knife under hot water and wipe it dry between every few slices. The warm blade cuts through the ganache smoothly instead of dragging and leaving those messy chocolate streaks.
Storage And Serving
These brownies actually freeze beautifully, so I often double the batch and stash half for emergencies. Store them in the fridge for up to a week or wrap individual squares in plastic and freeze for up to three months.
- Let refrigerated brownies sit at room temperature for 15 minutes before serving
- A clean hot knife is your best friend for neat presentation
- Sprinkle with crushed peppermint candies right after pouring the ganache for extra crunch
 Pin this
 These have become my signature treat whenever I want to bring something that feels special but doesn't require hours of precision work. Hope they become a favorite in your kitchen too.
Recipe FAQs
- → How do I achieve a fudgy texture for the brownies?
-
Use melted butter and avoid overmixing the batter to ensure a dense and moist texture. Baking until a toothpick comes out with moist crumbs helps maintain fudginess.
- → What is the best way to layer the mint cream evenly?
-
Spread the mint cream gently over the cooled brownie base with an offset spatula, ensuring an even layer without tearing the surface.
- → Can I use fresh mint instead of peppermint extract?
-
Fresh mint can be infused into the cream or infused in the chocolate, but peppermint extract provides a stronger, more consistent mint flavor.
- → How should I store these brownies after preparation?
-
Keep brownies refrigerated to maintain the integrity of the mint cream and ganache layers, consuming within 3-4 days for best freshness.
- → Is it necessary to chill the brownies before slicing?
-
Chilling solidifies the ganache and mint layers, making it easier to cut clean squares without smearing or crushing.
- → Can these brownies be made gluten-free?
-
Substitute all-purpose flour with a gluten-free blend to adapt the base while keeping the same process for best results.
