 Pin this
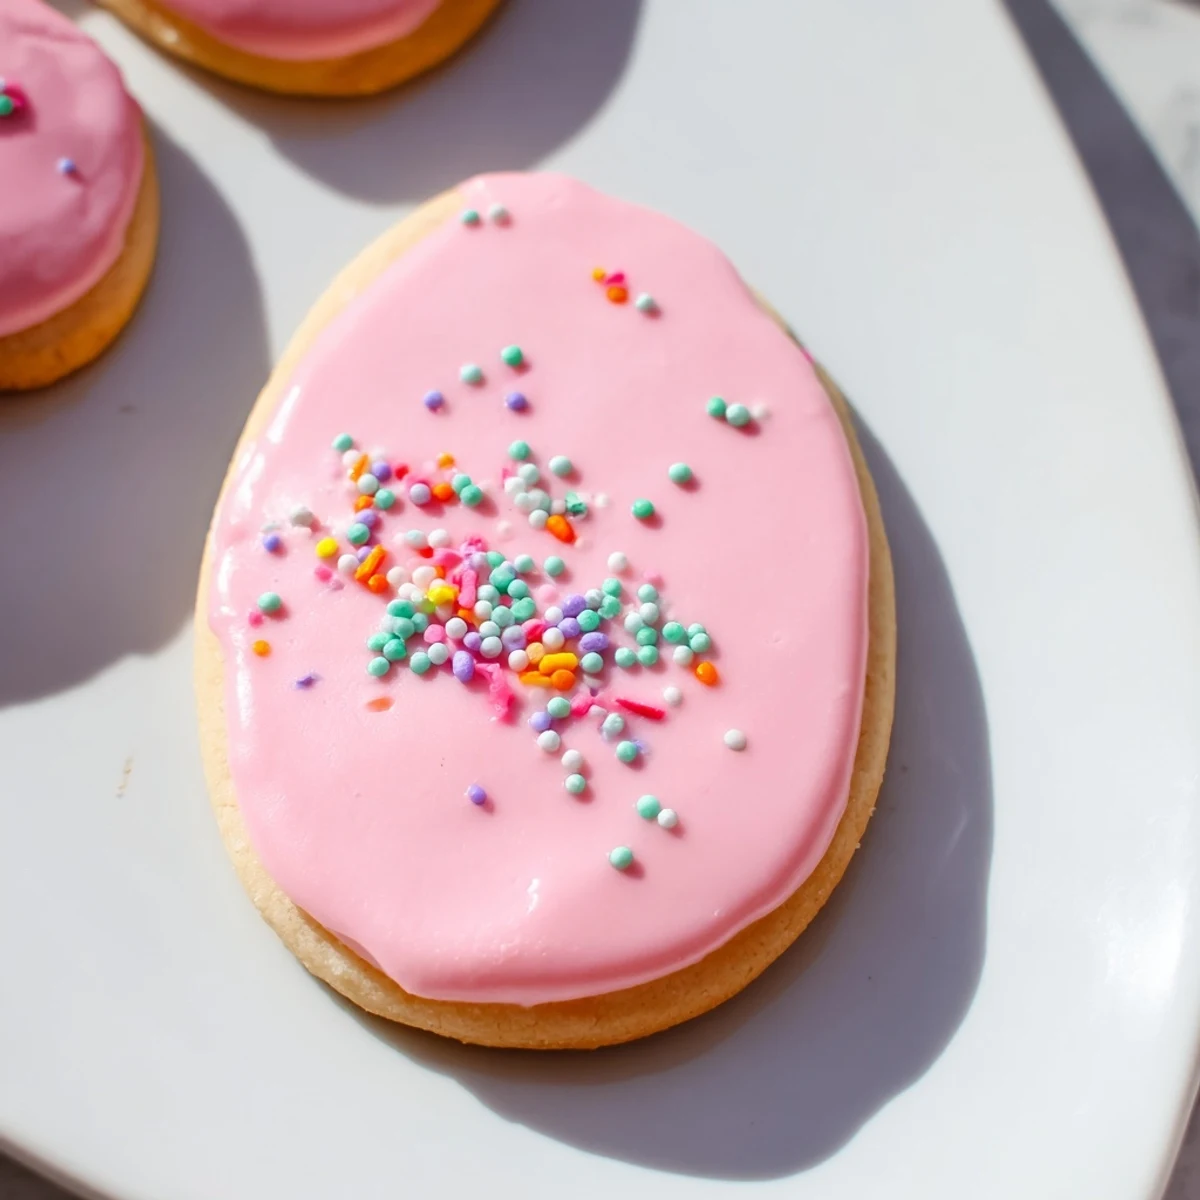
 Create beautiful, buttery sugar cookies that capture the essence of spring and Easter. These delightful treats feature a light, tender dough that bakes to golden perfection, then decorated with vibrant pastel royal icing in pink, yellow, green, and purple. Perfect for Easter gatherings, spring parties, or holiday gift-giving.
The dough comes together quickly and requires chilling for easy rolling. Cut into classic Easter shapes like eggs, bunnies, and flowers, then let your creativity shine with the decorated icing. These cookies store beautifully for up to a week, making them ideal for advance preparation.
Last April, my kitchen table disappeared under a mountain of pastel sprinkles and flour dust. My niece had come over for what was supposed to be a quick afternoon of cookie decorating, but somehow it turned into a full-blown Easter cookie production line. The best part wasn't even the cookies themselves—it was watching her discover that the bunny-shaped cutter made the best batch because they had the most surface area for her elaborate icing gardens.
I learned the hard way about dough temperature the first year I attempted these for our family Easter gathering. The cookies spread into unrecognizable blobs, my sister still brings it up every time someone mentions baking. Now I treat that chilling time as sacred—one hour minimum, preferably longer, because patience is what separates cute cookies from cookies that look like they melted in the oven.
Ingredients
- All-purpose flour: The foundation that gives these cookies their tender crumb—measure by weight if you can for consistency
- Unsalted butter: Use it straight from the counter, never the microwave, for proper creaming with the sugar
- Pure vanilla and almond extract: This combination creates that bakery-style flavor that makes people pause and ask what's different
- Meringue powder: The secret to royal icing that actually sets and won't stay tacky for days
- Gel food coloring: Liquid coloring will thin your icing too much—gel gives you those soft pastel Easter shades without compromising texture
Instructions
- Whisk the dry foundation:
- Combine flour, baking powder, and salt in a medium bowl, sifting if you spot any lumps that might interrupt your smooth dough later
- Cream butter and sugar:
- Beat them together for a full 2 to 3 minutes until the mixture looks pale and fluffy—this step creates air pockets that make cookies tender
- Add the egg and extracts:
- Crack the egg into the butter mixture, add both extracts, and beat until everything is incorporated and the mixture looks glossy
- Bring the dough together:
- Gradually add the flour mixture, mixing just until the flour streaks disappear—overworking here makes tough cookies
- Chill for success:
- Divide dough in half, form disks, wrap tightly, and refrigerate for at least one hour—this is non-negotiable for shapes that hold their edges
- Prep your workspace:
- Preheat oven to 350°F and line baking sheets with parchment paper while the dough chills
- Roll and cut:
- On a floured surface, roll dough to quarter-inch thickness and cut into shapes, dipping cutters in flour between each press
- Bake to perfection:
- Arrange cookies one inch apart and bake 9 to 11 minutes—pull them when edges just start showing color
- Cool completely:
- Let them rest on the baking sheet for 2 minutes before moving to a wire rack—warm cookies melt icing into messy puddles
- Prepare the royal icing:
- Whisk powdered sugar, meringue powder, and water until glossy and smooth, adding water drop by drop to reach thick honey consistency
- Color and decorate:
- Divide icing into small bowls, tint each with a tiny bit of gel color, and frost cooled cookies using offset spatulas or piping bags
 Pin this
 These cookies became an Easter tradition after that first slightly disastrous batch. The following year, I made triple the amount, and now my niece expects our annual cookie marathon every spring. There is something deeply satisfying about pulling out a tray of perfectly shaped Easter eggs, their edges just barely golden, knowing they will become someone's favorite holiday memory.
Making These Ahead
The dough actually improves with a rest in the refrigerator—you can make it up to three days before baking. Wrap the disks tightly in plastic, then foil, and let them soften slightly at room temperature before rolling. Baked cookies (without icing) freeze beautifully for up to a month. Thaw them on the counter, then decorate when you are ready to serve.
Getting Creative with Shapes
Beyond classic eggs and bunnies, try cutting out carrot shapes, little lambs, or even simple rounds that you can transform into tiny Easter baskets with icing. Some years I do an entire batch of flower shapes in different sizes. The key is keeping your cutter collection organized so you are not rummaging through drawers while the dough sits at room temperature.
Decorating Tips That Save Time
Set up your decorating station before you start icing—small bowls, spoons, toothpicks for spreading, and parchment paper under your cooling rack to catch drips. Work with one color at a time, starting with the lightest colors first so you do not accidentally tint your yellow bowl with pink residue. Add sprinkles while the icing is still wet, or they will bounce right off.
- Keep a damp paper towel over any bowls of icing you are not actively using to prevent them from forming a skin
- Use toothpicks to coax icing into corners and edges of detailed cutters
- Let cookies dry uncovered for at least 4 hours or overnight before stacking them
 Pin this
 Whether you are decorating with kids or treating yourself to a peaceful afternoon of baking, these cookies capture everything wonderful about spring baking. Hope they find their way into your Easter traditions too.
Recipe FAQs
- → How long should I chill the cookie dough?
-
Chill the dough for at least 1 hour. This helps firm the butter, making the dough easier to roll and cut without sticking. It also prevents cookies from spreading too much during baking, maintaining those crisp Easter shapes.
- → Can I make these cookies ahead of time?
-
Absolutely. The dough can be wrapped and refrigerated for up to 3 days or frozen for up to 3 months. Once baked and decorated, store cookies in an airtight container for up to one week at room temperature.
- → What's the best way to achieve smooth royal icing?
-
Mix powdered sugar, meringue powder, and water until completely smooth and glossy. The consistency should be thick enough to hold its shape but flow slightly when piped. Adjust with small amounts of water or powdered sugar as needed.
- → Can I use liquid food coloring instead of gel?
-
Gel food coloring is preferred because it won't thin the icing. Liquid coloring works but may require adding more powdered sugar to maintain proper consistency. Start with small amounts and adjust gradually.
- → How do I know when the cookies are done baking?
-
Bake for 9-11 minutes at 350°F. The cookies are ready when edges are just beginning to turn golden brown. They may look slightly underbaked in the center but will firm up as they cool on the wire rack.
- → Can I make these gluten-free?
-
Yes, substitute the all-purpose flour with a 1-to-1 gluten-free flour blend. The texture remains similar, though cookies may be slightly more tender. Ensure all other ingredients, including extracts and sprinkles, are certified gluten-free.
