 Pin this
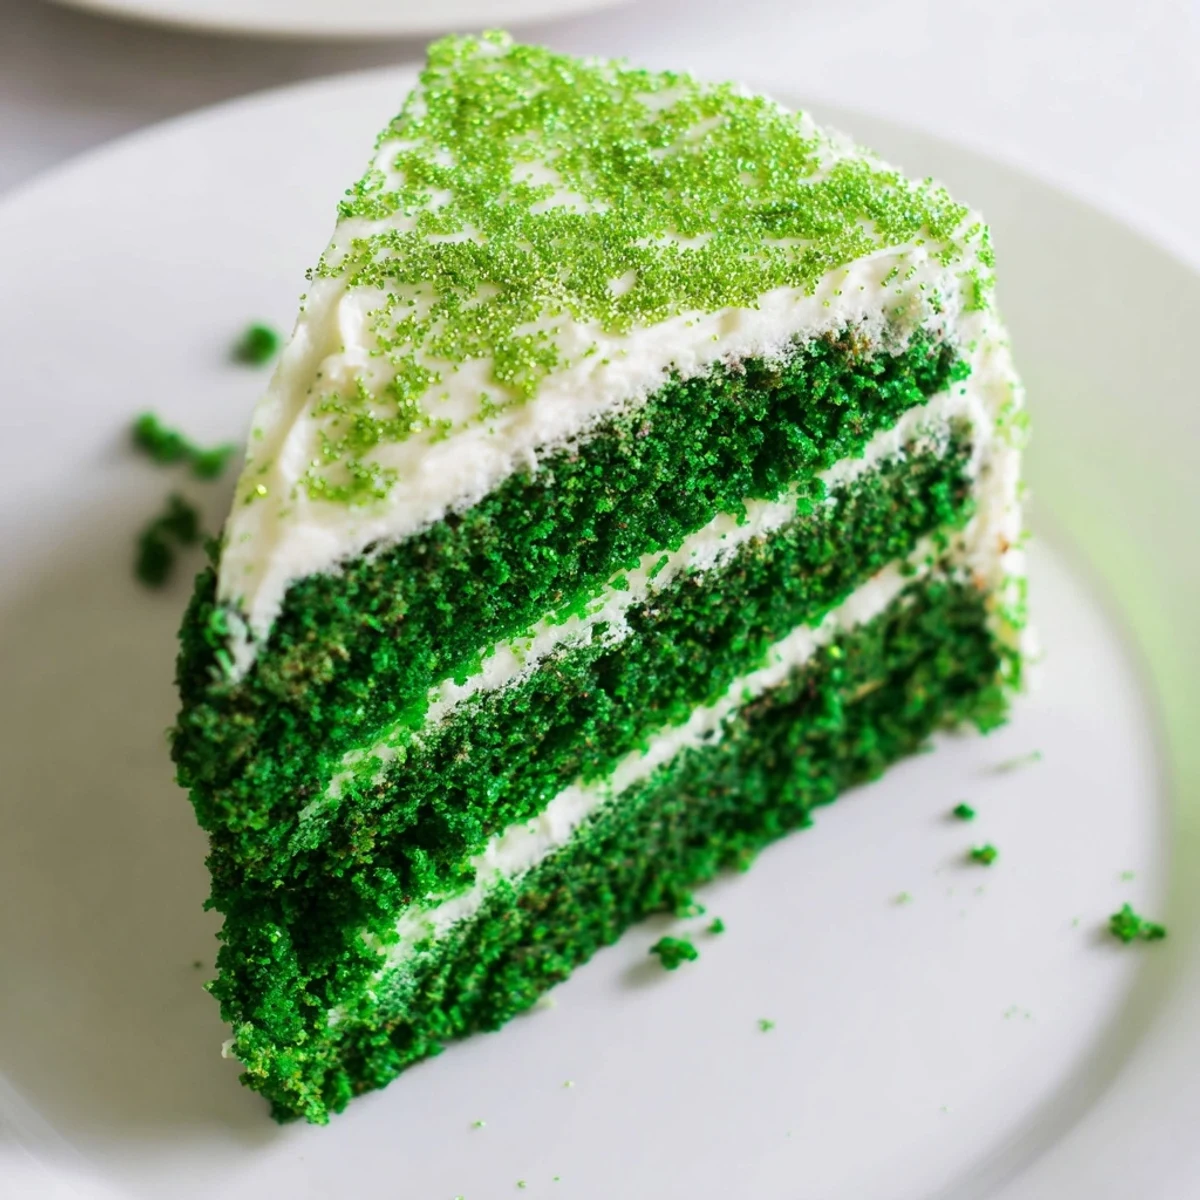
 This green velvet cake showcases a tender, moist texture enhanced with a subtle cocoa note and vibrant green coloring. It’s layered and topped with a creamy vanilla frosting that balances sweetness with a smooth tang. The combination of buttermilk, vanilla, and white vinegar creates a moist crumb while the green hue brings a festive feel perfect for St. Patrick’s Day. Ideal for medium skill bakers, this dessert yields 12 servings and pairs wonderfully with vanilla ice cream or Irish coffee.
The year I decided to go all in on St. Patrick's Day baking, my kitchen looked like a science experiment gone wrong. Green food coloring streaked the counters, powdered sugar dusted every surface, and somewhere in the chaos, this absolutely gorgeous green velvet cake emerged. My roommate walked in, took one look at the vibrant layers, and asked if we were celebrating leprechauns or just my obsession with festive desserts. We ate it straight from the pans while watching Irish movies, and honestly, that messy afternoon became one of my favorite kitchen memories.
I brought this cake to a friend's St. Patrick's Day party last year, and her dad—who claims he doesn't have a sweet tooth—went back for three slices. Something about that classic velvet crumb, the subtle hint of cocoa, and the festive color just makes people happy. Now it's the one recipe I actually get requests for weeks before March even rolls around.
Ingredients
- All-purpose flour: The backbone of your cake, providing structure for that tender velvet crumb we love
- Granulated sugar: Sweetens and helps create that moist, fine texture velvet cakes are famous for
- Baking powder and baking soda: Work together to give your cake the perfect rise without making it too dense
- Salt: Enhances all the flavors and balances the sweetness—don't skip it
- Unsweetened cocoa powder: Just enough to give that classic velvet cake depth without overpowering the green
- Buttermilk: The secret ingredient for tenderness and a subtle tang that makes velvet cake special
- Vegetable oil: Keeps the cake incredibly moist and gives it that velvety texture butter alone can't achieve
- Large eggs: Bind everything together and add structure—room temperature eggs incorporate better
- Vanilla extract: Rounds out all the flavors and makes the frosting taste professionally made
- White vinegar: Reacts with the baking soda for extra lift and enhances that classic velvet cake tang
- Green food coloring: Gel coloring gives you that vibrant emerald hue without altering the batter consistency
- Cream cheese: Must be completely softened for silky smooth frosting without any lumps
- Unsalted butter: Also softened to room temperature, creates that perfectly spreadable frosting texture
- Powdered sugar: Sifting it first prevents any lumps in your frosting and makes it perfectly smooth
Instructions
- Prep your pans and oven:
- Preheat oven to 350°F (175°C). Grease and flour two 9-inch (23 cm) round cake pans and line bottoms with parchment paper for easy release later.
- Whisk the dry ingredients:
- In a large bowl, whisk together flour, sugar, baking powder, baking soda, salt, and cocoa powder until everything is evenly combined.
- Mix the wet ingredients:
- In a separate bowl, whisk buttermilk, oil, eggs, vanilla, vinegar, and green food coloring until the mixture is smooth and uniform in color.
- Combine everything gently:
- Add wet ingredients to dry ingredients. Mix until just combined—do not overmix or you'll lose that tender velvet texture.
- Divide and bake:
- Divide batter evenly between prepared pans. Bake for 28–32 minutes or until a toothpick inserted in the center comes out clean.
- Cool completely:
- Cool cakes in pans for 10 minutes, then turn out onto wire racks to cool completely before frosting—warm cake melts frosting.
- Make the frosting:
- Beat cream cheese and butter until creamy. Add powdered sugar, vanilla, and salt; beat until fluffy and spreadable.
- Assemble your masterpiece:
- Place one cake layer on a serving plate. Spread with frosting. Top with second layer and frost top and sides. Decorate with green sprinkles or edible glitter if desired.
 Pin this
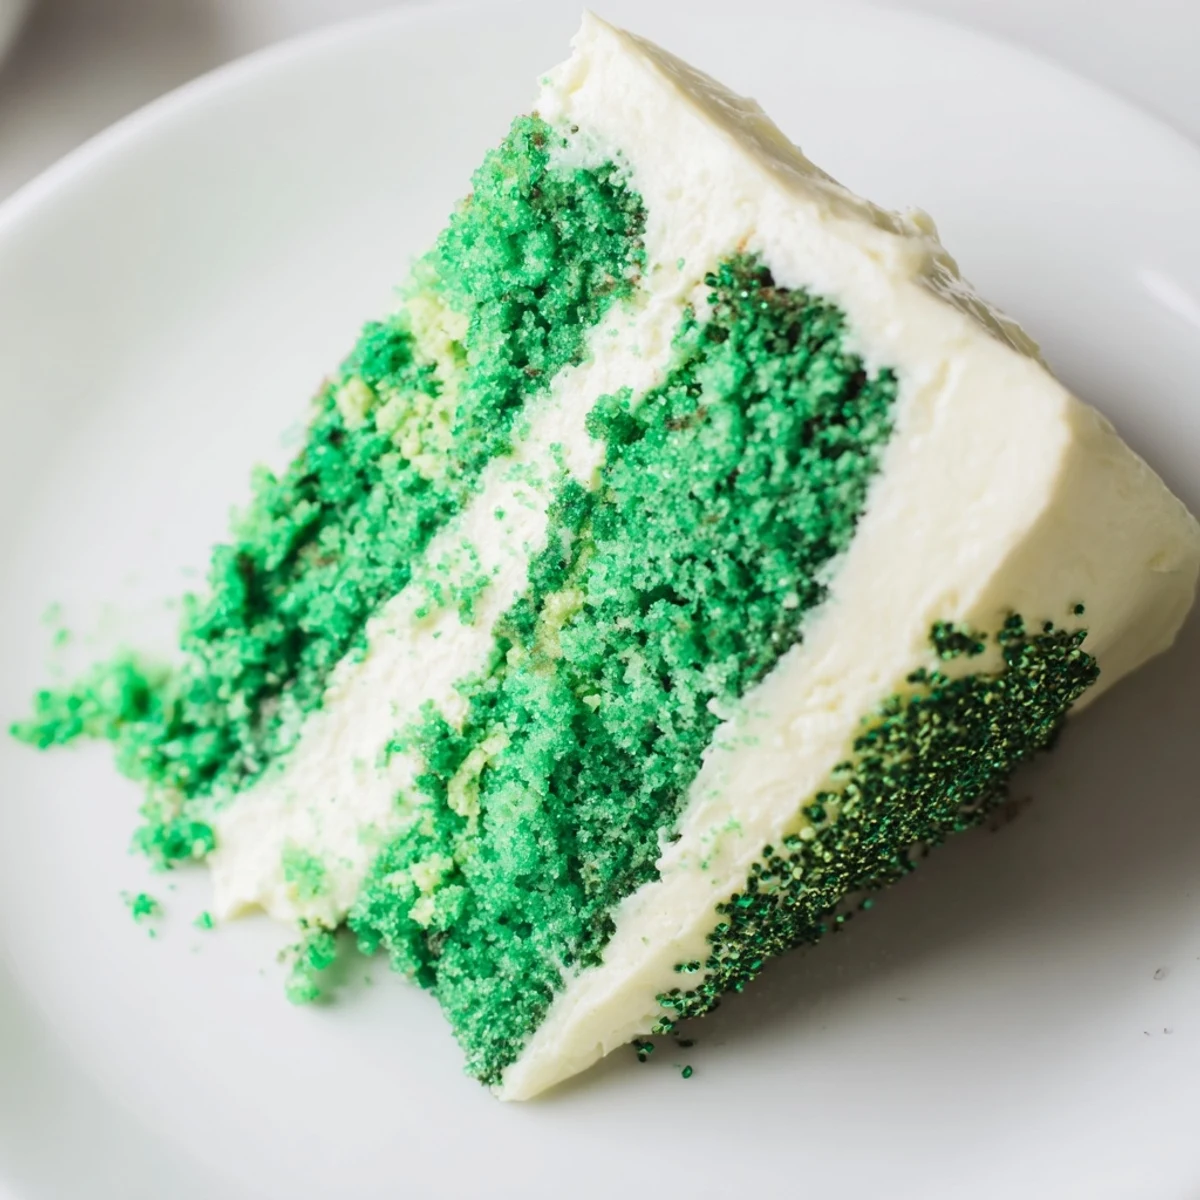
 Last year my niece helped me decorate this cake, and we may have gone overboard with the green sprinkles. But when she brought that slice to her dad, his face lit up like he was seven years old again. Food has this way of turning ordinary moments into something magical, doesn't it?
Getting That Perfect Green
Gel food coloring is absolutely worth the extra trip to the store. Liquid coloring can throw off your batter consistency and you'll need way more to achieve that vibrant St. Patrick's Day green. Start with one tablespoon of gel, then add drop by drop until you reach your desired shade. Remember that the color bakes up slightly lighter than it looks in the bowl, so aim for a shade or two darker than your goal.
Making It Ahead
You can bake the cake layers a day ahead and wrap them tightly in plastic wrap at room temperature. The frosting actually benefits from sitting in the refrigerator overnight—it firms up beautifully and makes spreading easier. Let the chilled frosting come to room temperature and give it a quick whisk before frosting your assembled cake.
Serving Suggestions
This cake deserves to be the star of your St. Patrick's Day celebration. Serve it with Irish coffee for the full experience, or pair it with a scoop of vanilla ice cream to cut through the richness. The green color creates such a stunning presentation that you really don't need much else on the dessert table.
- A light dusting of green sanding sugar on top adds sparkle without overwhelming the frosting
- Chill the frosted cake for 30 minutes before slicing to get those picture-perfect clean cuts
- Store any leftovers in the refrigerator—the cake actually tastes even better the next day
 Pin this
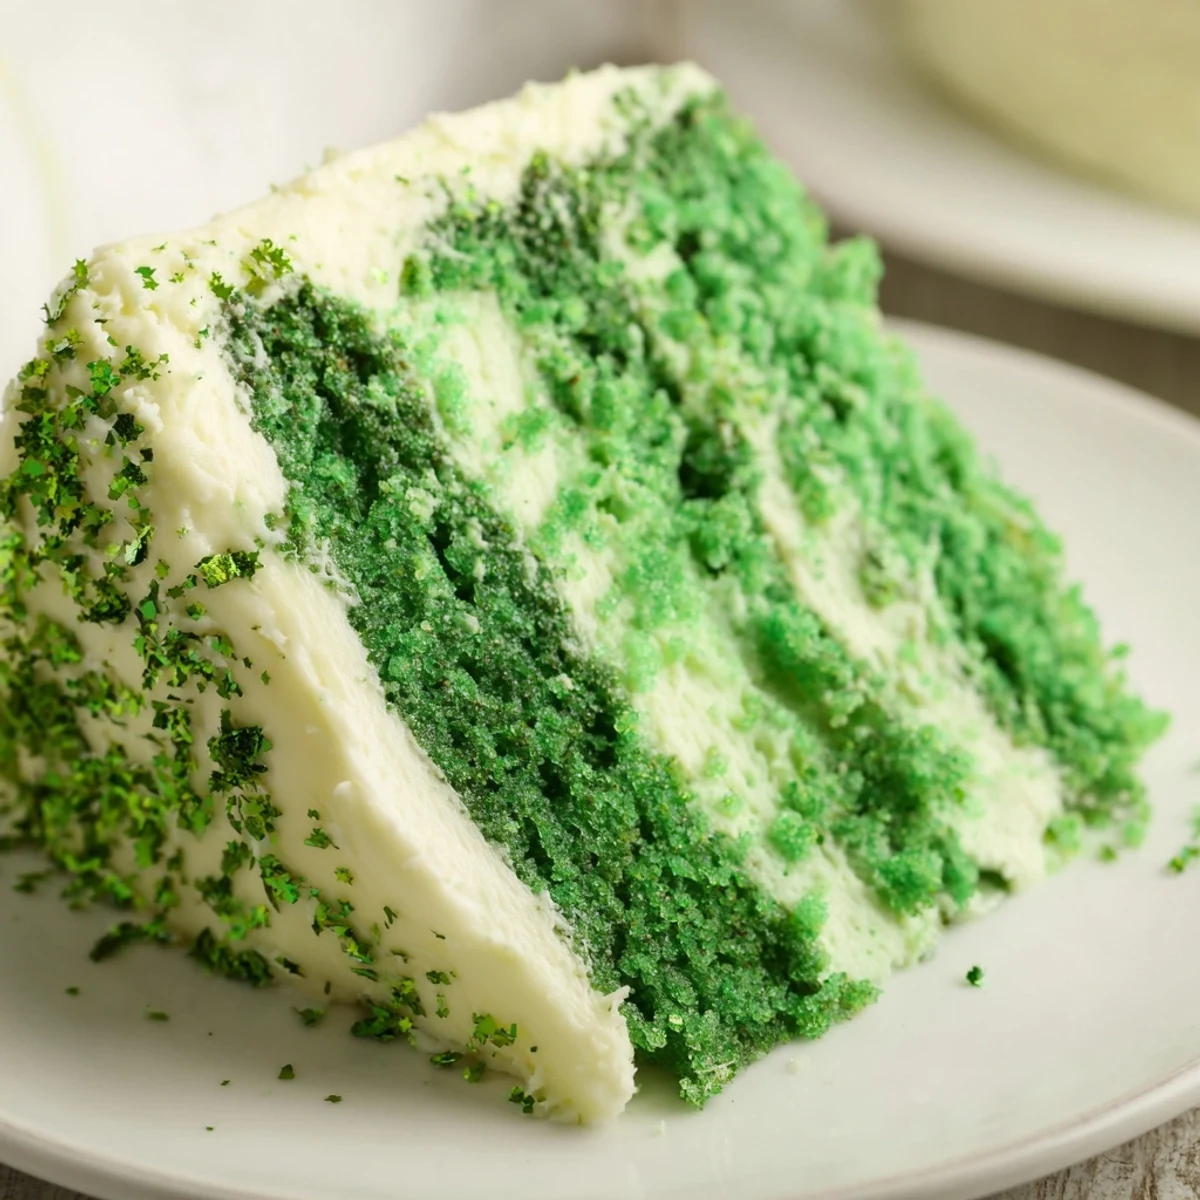
 Whatever you do, don't wait for March 17th to make this cake. Sometimes we need a little extra green and a lot of velvet in our lives, and this recipe delivers both in the most delicious way possible.
Recipe FAQs
- → How can I achieve a deeper green color?
-
Increase the amount of green food coloring gradually to reach your desired shade without altering the batter consistency.
- → What baking pans are recommended?
-
Use two 9-inch round cake pans lined with parchment paper for even baking and easy removal.
- → Can this be made as cupcakes?
-
Yes, bake the batter in cupcake liners for 18–20 minutes instead of the full cake pans.
- → How do I ensure the cake stays moist?
-
Incorporate buttermilk and avoid overmixing the batter to maintain a tender, moist crumb.
- → What frosting pairs best with this cake?
-
A creamy vanilla-based cream cheese frosting complements the cake’s subtle cocoa flavors and adds smooth richness.
