 Pin this
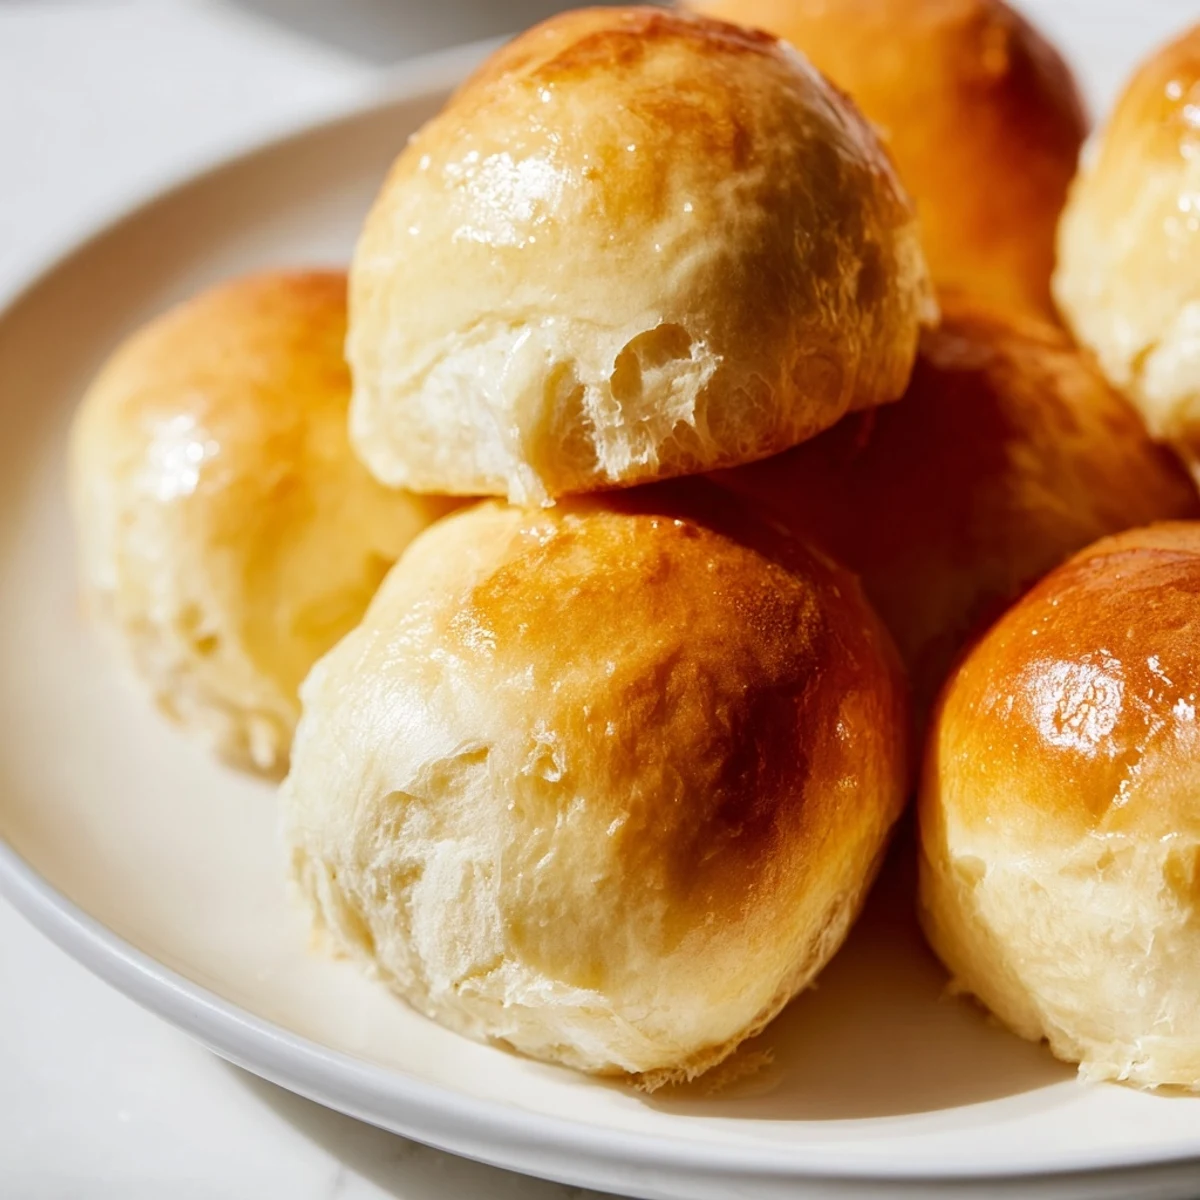
 These soft, fluffy vegan dinner rolls are crafted using plant-based milk, vegan butter, and cane sugar, blended into a tender dough that rises to golden perfection. The dough is kneaded until smooth, left to rise twice, then baked until beautifully browned and brushed with melted vegan butter for an irresistible finish. Suitable for various meals, these rolls offer a light, airy texture with a subtle buttery taste, free from dairy and animal products. Ideal for serving warm alongside soups, salads, or main courses.
The smell of yeast blooming in warm milk takes me back to my tiny apartment kitchen, where I first attempted homemade rolls during a holiday dinner panic. My oven was ancient, the counter space barely existed, but watching those dough balls rise into pillowy clouds felt like pure magic. Now, even with a proper kitchen, that first batch remains my benchmark for perfect comfort food.
I served these at my sister's dinner party last fall, right after she'd announced she was going dairy-free. Watching her eyes light up at that first bite, all warm and buttery without compromising her new lifestyle, reminded me why I started experimenting with plant-based recipes in the first place.
Ingredients
- Unsweetened almond milk: Creates the tenderest crumb, though any neutral plant milk works beautifully
- Vegan butter: The secret to that rich, buttery flavor without any dairy
- Organic cane sugar: Feeds the yeast while adding just enough sweetness to balance the salt
- Active dry yeast: Make sure it bubbles properly, otherwise your rolls won't rise to their full potential
- All-purpose flour: Provides the perfect structure for soft, pillowy rolls
- Fine sea salt: Essential for flavor balance and helps control yeast activity
Instructions
- Wake up the yeast:
- Warm your plant-based milk until it feels like a comfortable bath temperature, then whisk in melted butter and sugar until dissolved. Sprinkle the yeast on top and walk away for 10 minutes. You should come back to a foamy, fragrant layer that proves your yeast is alive and ready to work.
- Build the dough:
- Start mixing the flour and salt into the yeast mixture with a wooden spoon. The dough will look shaggy and messy at first. Keep mixing until it forms a soft ball that pulls away from the sides of the bowl.
- Knead with confidence:
- Turn the dough onto a lightly floured surface and push it away from you with the heel of your hand. Fold it back over, give it a quarter turn, and repeat. This develops the gluten structure that makes rolls chewy yet tender.
- First rise:
- Place the dough in a bowl greased with a little oil, turning it once to coat all sides. Cover with a clean towel and find the warmest spot in your kitchen. Let it rest for an hour until it's doubled in size.
- Shape the rolls:
- Gently punch down the dough to release air pockets. Divide into 12 equal pieces and tuck the edges underneath to form smooth, tight balls. Place them in your baking dish so they're touching slightly.
- Second rise:
- Cover the dish again and let the rolls puff up for another 30 minutes. They should look plump and airy, ready to spring into that gorgeous golden-brown crust.
- Bake to perfection:
- While your oven preheats to 375°F, watch the dough one last time. Bake for 18-20 minutes until the tops are deeply golden and the rolls sound hollow when tapped.
- Butter finish:
- Immediately brush the hot rolls with melted vegan butter. This step creates that soft, flavorful crust that makes them impossible to resist.
 Pin this
 Last Thanksgiving, my usually skeptical uncle took one bite and asked, Are you sure these're vegan' Sometimes the best validation comes from people who weren't looking for it in the first place.
Getting That Perfect Rise
I've learned that yeast is remarkably sensitive to temperature. Too cold and it goes dormant, too hot and it dies. That sweet spot around 100°F feels like perfectly warm bath water, and it's worth pulling out your kitchen thermometer for this crucial step.
Shaping Like a Pro
The tucking technique changed everything for me. Instead of rolling the dough between your palms, flatten each piece slightly, then fold the edges toward the center like an envelope. This creates surface tension underneath, helping the rolls hold their shape beautifully while baking.
Make-Ahead Magic
These rolls freeze incredibly well, which has saved me more than once when unexpected dinner guests appear. I bake a double batch, cool them completely, then freeze in a resealable bag. A quick 10-minute warm in the oven brings them right back to that fresh-from-the-oven texture.
- Wrap cooled rolls individually before freezing for best results
- Reheat at 350°F for 8-10 minutes, until warmed through
- Never microwave frozen rolls, they'll turn tough and chewy
 Pin this
 There's something deeply satisfying about pulling apart a warm, homemade roll. Hope these become your go-to comfort recipe too.
Recipe FAQs
- → What type of milk works best for these rolls?
-
Unsweetened almond milk is recommended, but you can substitute soy, oat, or cashew milk depending on preference.
- → Can I add extra flavor to the dough?
-
Yes, adding 1 tsp garlic powder or fresh herbs to the dough enhances flavor without altering texture.
- → How long should the dough rise?
-
The dough should rise for about 1 hour until doubled, then again for 30 minutes after shaping.
- → What is the ideal baking temperature and time?
-
Bake at 375°F (190°C) for 18–20 minutes until golden brown on top.
- → How should the rolls be stored or reheated?
-
These rolls freeze well; reheat gently before serving to restore softness.
