 Pin this
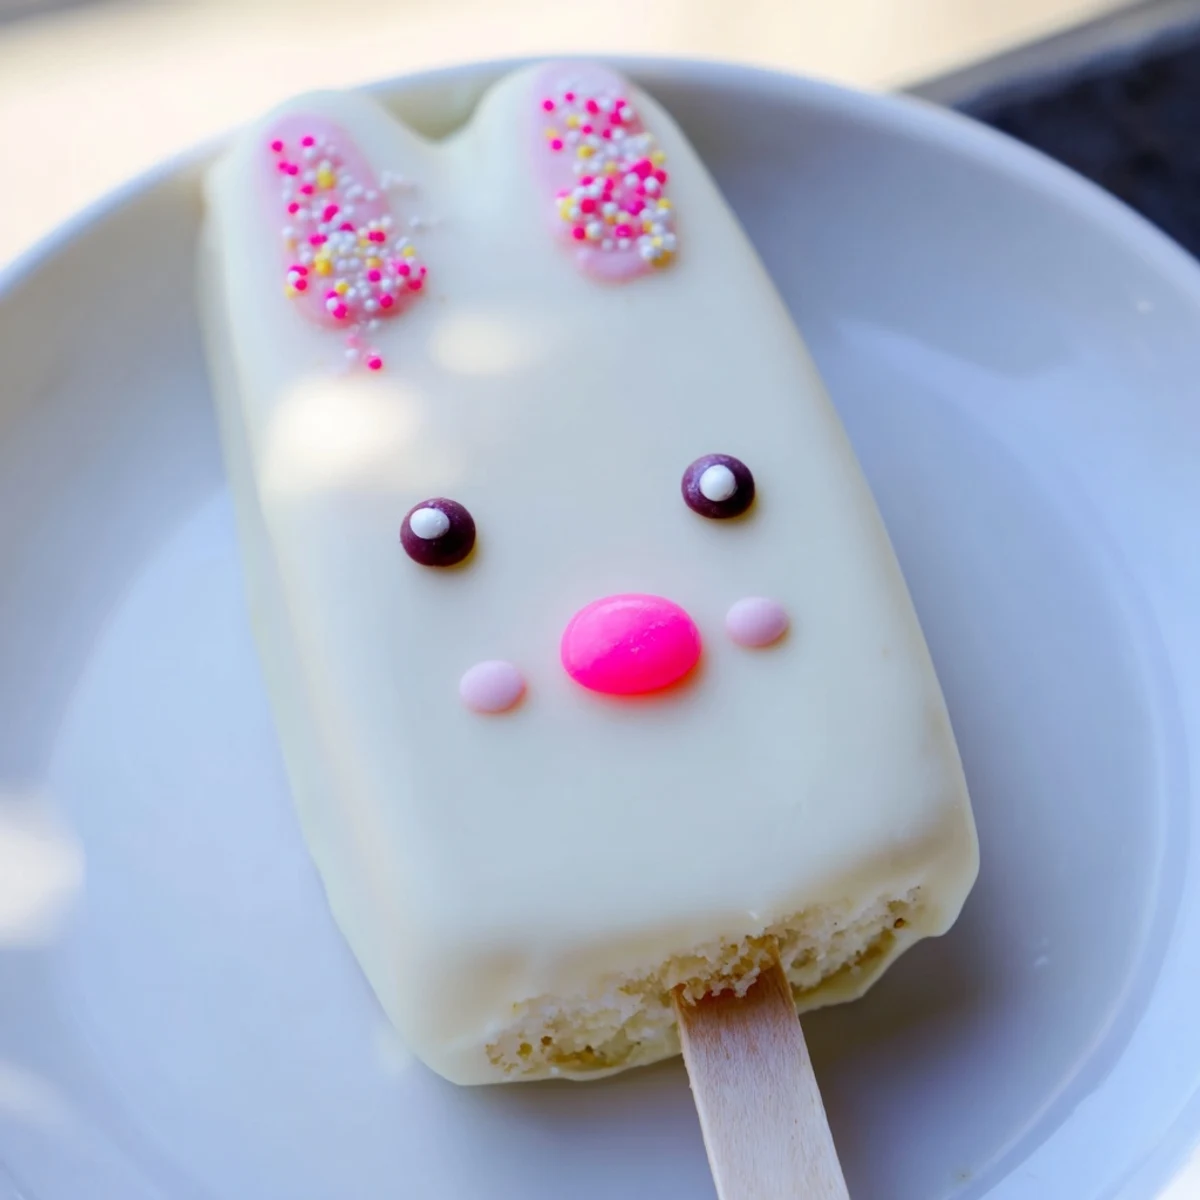
 These delightful bunny cakesicles combine crumbled vanilla cake with cream cheese and butter, formed into adorable shapes and dipped in smooth white chocolate. The result is a festive Easter treat that's both fun to make and beautiful to serve. Each cakesicle features a moist, sweet interior with a crisp chocolate shell that can be decorated with candy eyes, sprinkles, or fondant details.
Perfect for spring gatherings, these handheld treats are easier to make than they appear. The dough comes together quickly with simple ingredients, while the dipping process allows for creative customization. Kids and adults alike will enjoy decorating their own bunny faces with edible embellishments.
My niece cornered me last Easter with a desperate request for bunny treats that were actually cute, not the lopsided icing disasters from previous years. After three failed attempts at traditional cake pops that kept sliding off their sticks, I discovered cakesicles and never looked back. The flat shape is so forgiving, and there is something deeply satisfying about tapping off that excess chocolate drip.
My kitchen looked like a pastel explosion that first year, with pink gel coloring splattered across three countertops and sprinkles ground into the floorboards. The kids were so delighted decorating their own bunny faces that nobody noticed the slightly lopsided ears. Now it is our Easter tradition, and I have learned to cover the floor with a drop cloth.
Ingredients
- Vanilla cake crumbs: Store bought cupcakes work perfectly fine, just trim off any frosting first
- Cream cheese: Must be completely soft or you will get lumps in your dough
- Unsalted butter: Room temperature helps it blend seamlessly with the cream cheese
- Powdered sugar: Adds just enough sweetness without making the dough too sticky
- Vanilla extract: Pure vanilla makes a noticeable difference in the final flavor
- White chocolate: Candy melts are easier to work with than baking bars for beginners
- Edible gel food coloring: Gel coloring works better than liquid for not thinning out your chocolate
- Cakesicle sticks: Insert these before the dough firms up or they will not stay secure
- Sprinkles and decorations: Have everything ready before dipping because chocolate sets fast
Instructions
- Mix the dough:
- Combine cake crumbs, cream cheese, butter, powdered sugar, and vanilla in a medium bowl, mixing until the mixture holds together like soft dough.
- Shape the bunnies:
- Divide into eight portions and form each into a flattened oval with a slightly pointed top for bunny ears.
- Add the sticks:
- Push a cakesicle stick about halfway into each shape and place them on a parchment lined tray to chill for twenty minutes.
- Melt the chocolate:
- Heat white chocolate in thirty second intervals, stirring between each burst until completely smooth and fluid.
- Dip each cakesicle:
- Dip a chilled cake into the chocolate, tap off excess, and return to the tray to set for thirty seconds.
- Decorate quickly:
- Add candy eyes, sprinkles, and fondant details while the coating is still slightly tacky.
- Finish and serve:
- Let them set completely at room temperature or speed it up with ten minutes in the refrigerator.
 Pin this
 The year my daughter insisted on making a rainbow bunny batch remains my favorite kitchen memory. We ended up with tie dyed ears and accidentally blue faces, but everyone fought over taking them home.
Working With White Chocolate
White chocolate seizes faster than dark chocolate if any water gets into the bowl. Make sure all your utensils are completely dry before melting. If your chocolate does seize, add a teaspoon of vegetable oil and stir vigorously to rescue it.
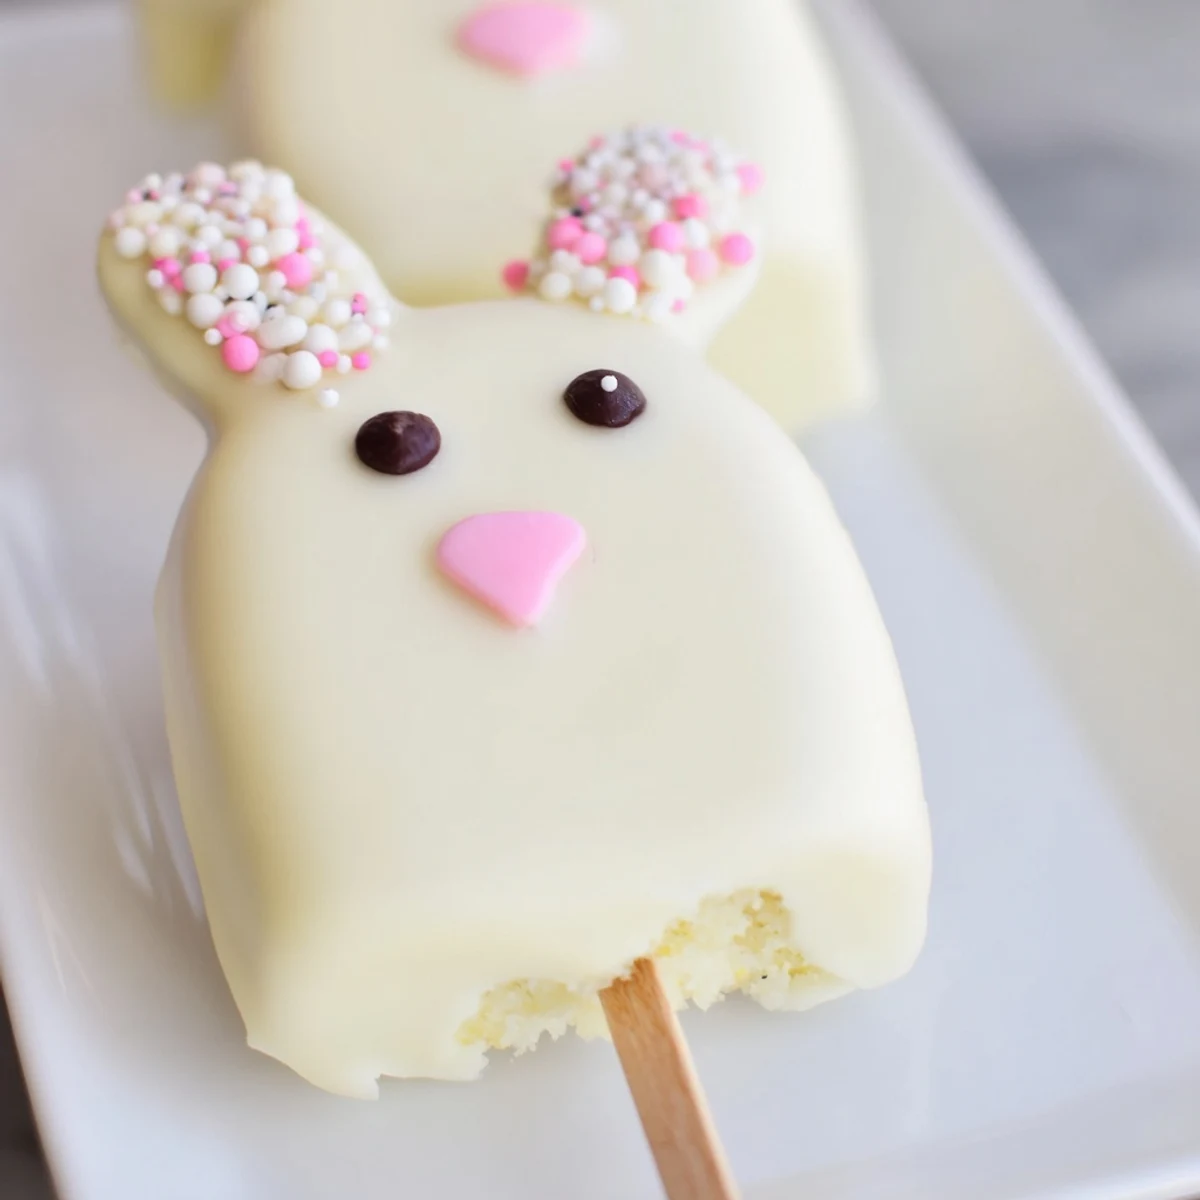
Getting The Shape Right
A cakesicle mold creates perfectly uniform shapes, but hand forming works just as well for a rustic look. The key is keeping the dough thick enough to hold the stick without being so heavy that it slides off during dipping.
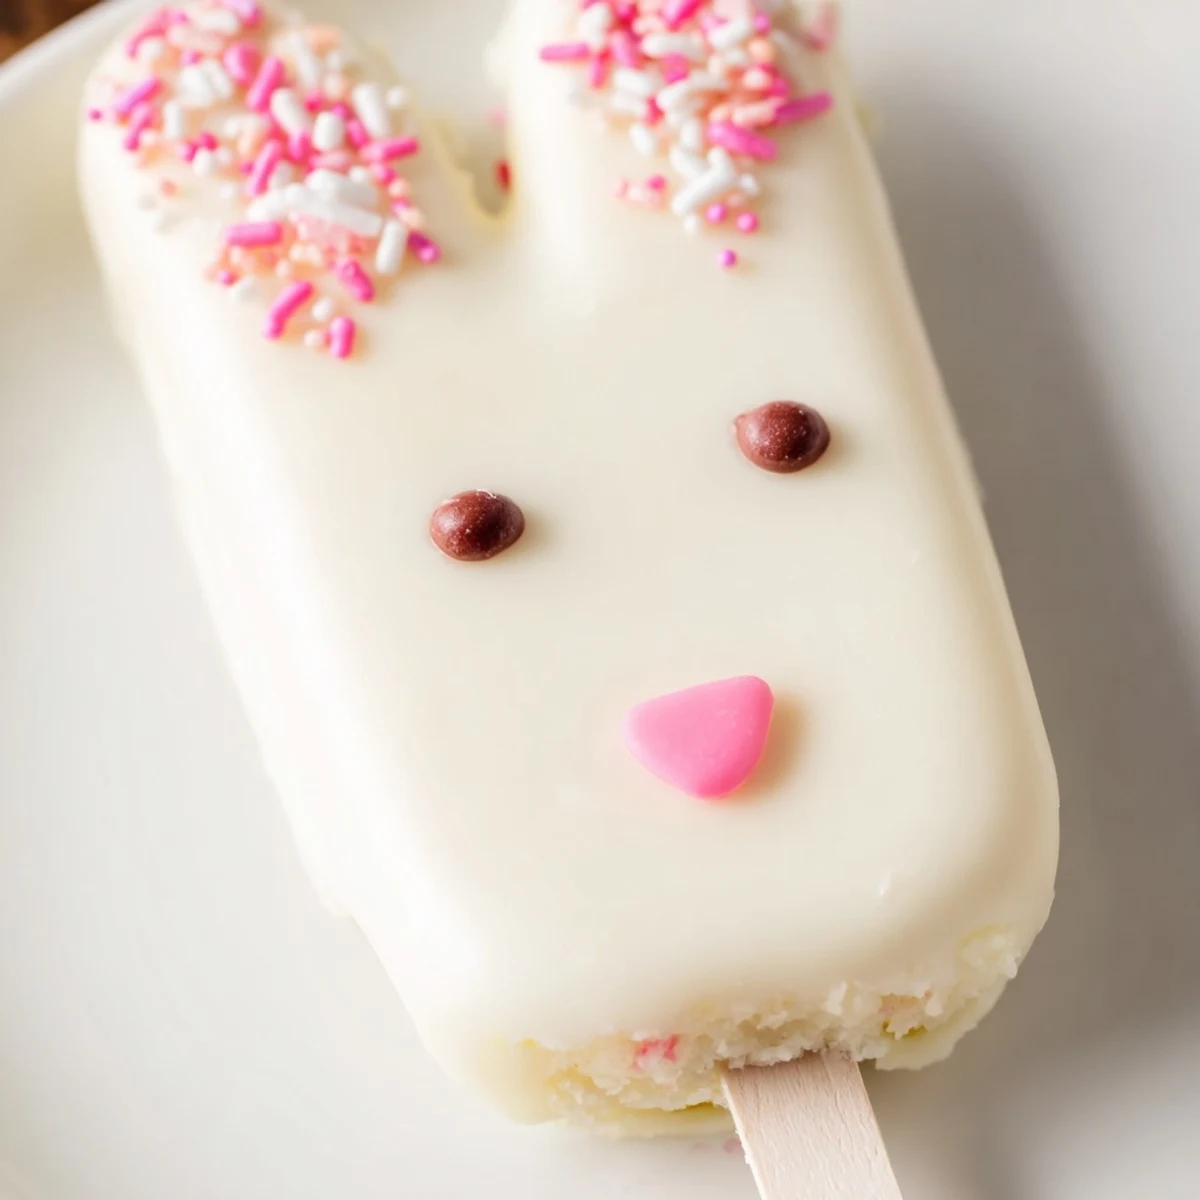
Decoration Ideas That Work
Pretzel sticks dipped in pink chocolate make adorable bunny ears that actually stay put. You can also use heart shaped sprinkles sideways for ears or pipe fondant directly onto the set chocolate.
- Keep decorations within reach before you start dipping
- Work with one cakesicle at a time for the neatest results
- Let the chocolate set for thirty seconds before adding heavy toppings
 Pin this
 These disappear faster than any other Easter treat I make, and the kids feel so accomplished making their own bunny designs.
Recipe FAQs
- → How long do cakesicles stay fresh?
-
Store in an airtight container in the refrigerator for up to 3 days. The white chocolate coating helps maintain freshness while the cake interior remains moist.
- → Can I make these ahead of time?
-
Yes! Prepare the shapes and refrigerate up to 24 hours before dipping. You can also dip and decorate them a day before serving, though decorations are best added shortly before serving for optimal appearance.
- → What other cake flavors work well?
-
Chocolate, lemon, red velvet, or funfetti cake crumbs all make delicious variations. The white chocolate coating pairs beautifully with most cake flavors, allowing for creative combinations.
- → Do I need a special cakesicle mold?
-
While molds create uniform shapes, you can form the bunny faces by hand. Simply shape into flattened ovals, insert sticks, and chill until firm before dipping in chocolate.
- → What's the best way to melt white chocolate?
-
Melt in 30-second intervals in the microwave, stirring between each burst. This prevents overheating and seizing. White chocolate is more delicate than dark chocolate, so gentle heating is essential.
- → Can I use candy melts instead of white chocolate?
-
Absolutely! Candy melts are easier to work with and come in various colors. They create a smooth coating that sets quickly and holds decorations well.
