 Pin this
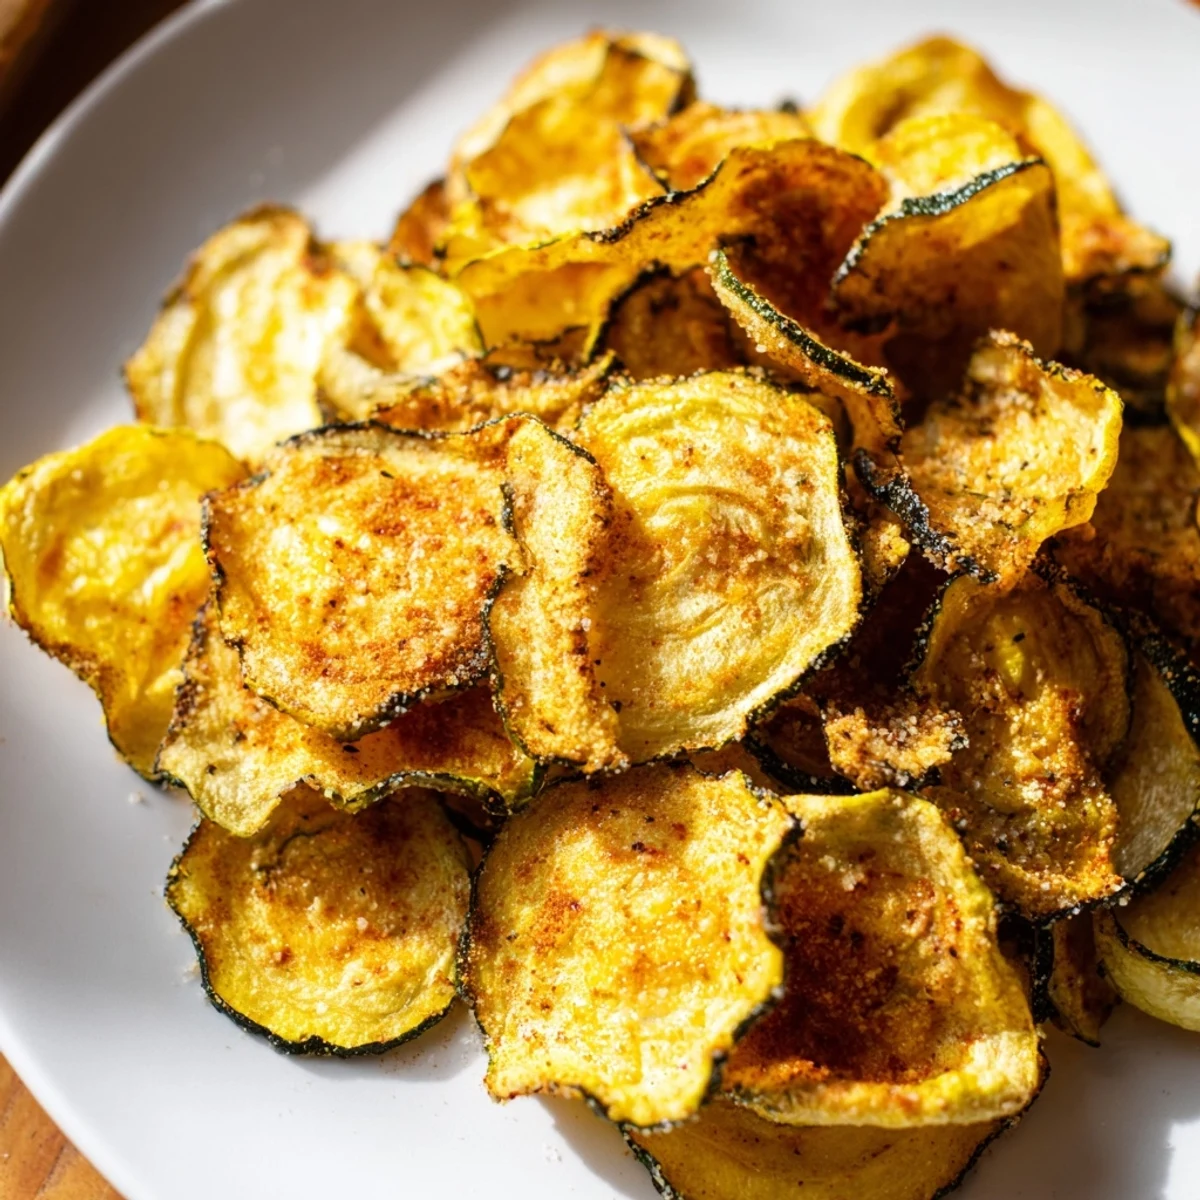
 Enjoy thinly sliced zucchini transformed into crispy, golden chips through slow baking at low heat. Lightly seasoned with sea salt, pepper, and optional spices, these chips offer a satisfying crunch without added heaviness. Perfectly suited for snacking any time of day, they are an easy way to turn fresh vegetables into a delicious treat with minimal prep and bake time.
The process includes drying the slices to remove moisture, coating them evenly with olive oil and seasonings, then baking for about an hour until crisp. Cooling on the baking sheet helps enhance the texture further. Variations with spices or cheese can add extra flavor while keeping it simple and wholesome.
My kitchen timer went off at midnight one summer, and I'd completely forgotten about the zucchini chips roasting in the oven—the smell hit me like a wake-up call, all garlic and paprika and something almost nutty. That's when I realized these thin slices had turned into something magical, crispy enough to snap between your fingers, nothing like the soggy vegetable chips I'd tried before. Since then, they've become my go-to when I need proof that healthy snacks don't have to taste like punishment.
I brought a batch to a movie night at my friend's place, and within ten minutes they were gone—everyone was reaching for more before the opening credits finished. That's the moment I stopped thinking of zucchini as something you tolerate and started seeing it as something people genuinely crave.
Ingredients
- Medium zucchini, thinly sliced: The thickness matters more than you'd think—aim for about 1/8 inch, which you can judge by eye if you don't have a mandoline, and make sure to wash them first.
- Sea salt: Brings out the vegetable's natural sweetness in a way that regular table salt doesn't quite manage.
- Freshly ground black pepper: The freshly ground part actually makes a difference, adding a sharper note that keeps things interesting.
- Garlic powder and smoked paprika: These optional seasonings are where you can play—the smoked paprika especially adds a depth that makes people ask what's in them.
- Olive oil: Just a tablespoon to help everything toast and crisp up evenly in the oven.
Instructions
- Start slow with the heat:
- Preheat your oven to 225°F and line two baking sheets with parchment paper—low and slow is the secret here, not a hot blast that'll burn the edges before the inside crisps up.
- Get those slices dry:
- Pat the zucchini slices with paper towels like you're drying off something precious; moisture is the enemy of crispiness, and this step makes the difference between chips and chewy rounds.
- Coat them evenly:
- Toss everything in a bowl so each slice gets kissed with oil and seasoning—this is where the flavors actually stick and develop.
- Lay them out single file:
- Arrange them on the baking sheets without overlapping so the heat reaches every surface; crowding them is the quickest way to get disappointment instead of crunch.
- Watch the transformation:
- Bake for 50 to 60 minutes, rotating the sheets halfway through, and keep a close eye in the last 10 minutes because the jump from golden to burnt happens faster than you'd expect.
- Let them finish crisping:
- Once they come out of the oven, leave them on the sheets for 5 to 10 minutes—they'll continue to crisp up as they cool, and that's when they reach peak texture.
 Pin this
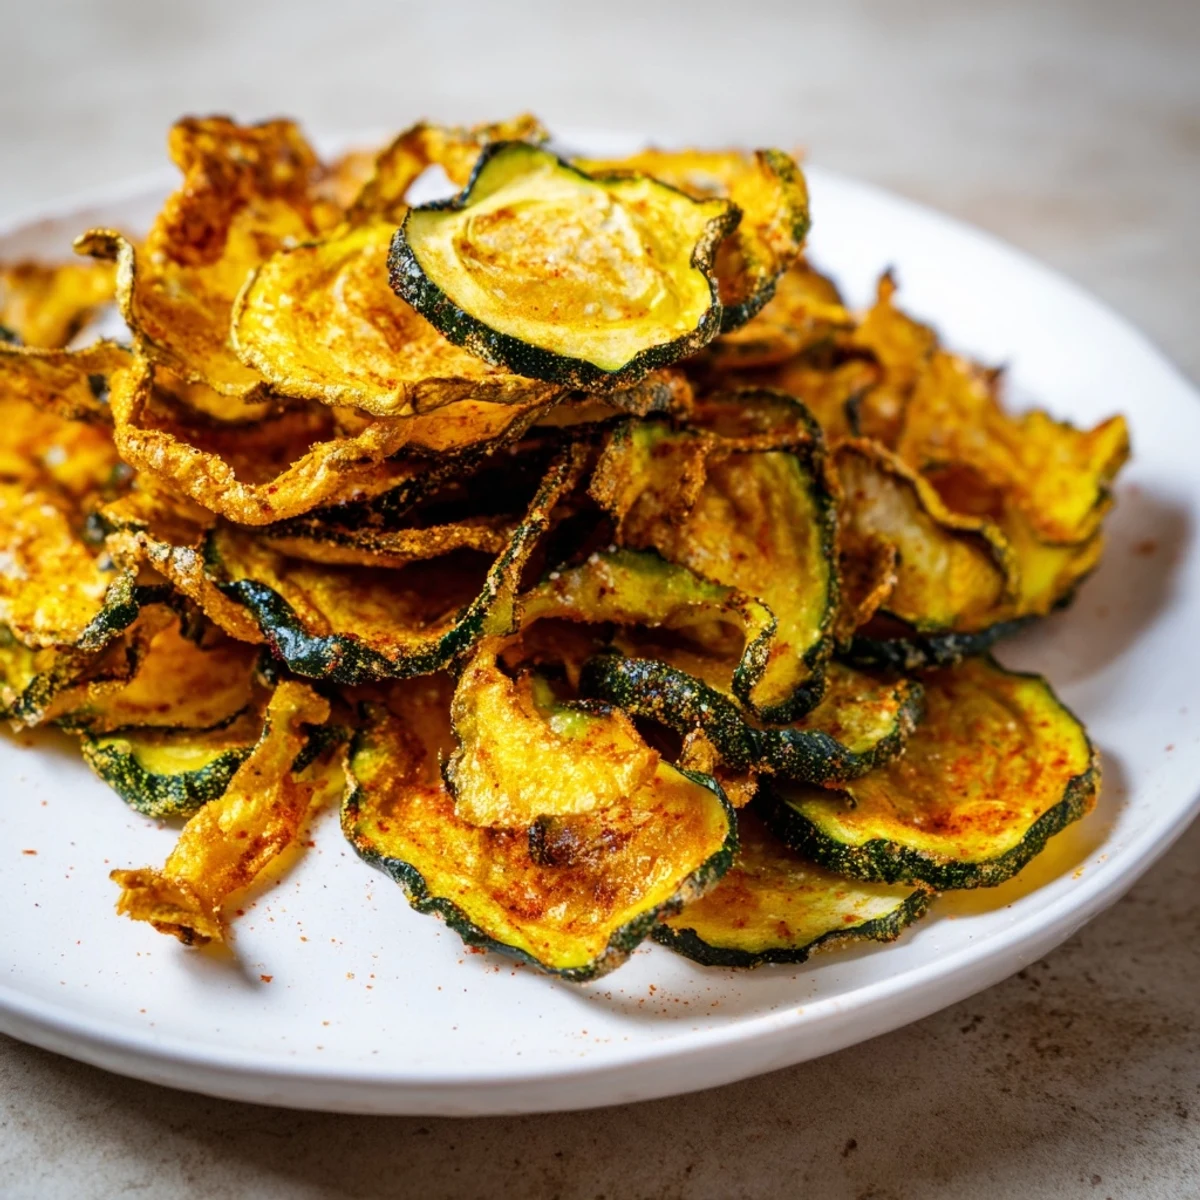
 There's something almost meditative about pulling a tray of these out of the oven and hearing that satisfying crunch when you bite into one—it's the sound of a vegetable transformed into something people actually reach for without hesitation.
Flavor Variations That Work
Once you've made the basic version, you'll start seeing possibilities everywhere—I've sprinkled grated Parmesan on before baking for a savory depth, dusted them with chili powder for heat, even tried ranch seasoning when I was curious about what my partner would prefer. The formula stays the same; it's just the seasoning layer that shifts.
Storage and Second Life
An airtight container keeps them fresh for up to two days, though they rarely last that long in my kitchen because the craving hits at random times. If they've gone soft from sitting, a quick pass through a 300°F oven for five minutes brings the crunch right back, which feels like a small kitchen miracle.
Equipment and Timing Notes
A mandoline slicer makes the work faster, but a sharp knife works just fine if you take your time and focus on consistent thickness—the evenness matters more than the method. This isn't a recipe that requires fancy gear or complicated timing, just attention and a willingness to wait for something good.
- Paper towels are non-negotiable for getting those zucchini slices actually dry before they hit the pan.
- Rotating the baking sheets halfway through ensures even crisping and prevents one batch from browning faster than the other.
- The last ten minutes of baking require your attention because that's when the magic happens and where things can tip from perfect to overdone.
 Pin this
 These chips turned out to be one of those simple recipes that shifted how I think about snacking—proof that healthy doesn't mean boring, and that good food sometimes comes from the most unexpected places. You're going to make them again and again.
Recipe FAQs
- → How do I get zucchini chips extra crispy?
-
Pat slices dry thoroughly before coating with oil. Arrange in a single layer without overlap and bake slowly at a low temperature. Cooling on the baking sheet helps maintain crispness.
- → Can I add other spices to these zucchini chips?
-
Yes, try chili powder, smoked paprika, ranch seasoning, or garlic powder to customize the flavor profile before baking.
- → What is the best thickness for slicing zucchini?
-
Approximately 1/8 inch thick slices work best to achieve a crispy texture without burning during the slow baking process.
- → How should leftover crispy chips be stored?
-
Store in an airtight container and consume within two days. To re-crisp, place them in a low oven for a few minutes before serving.
- → Can Parmesan cheese be added to the chips?
-
Sprinkling grated Parmesan before baking adds a savory touch and enhances flavor, but check for any dietary restrictions beforehand.
